
















In the motorcycle industry, a well-maintained fairing not only enhances appearance but also guards crucial components against wind and debris. For business owners, understanding the nuances of DIY motorcycle fairing repair can empower you to save costs while improving customer satisfaction. This article delves into three essential chapters: the importance of accurately assessing the damage, gathering the right materials and tools, and mastering effective repair techniques. By the end, you will gain valuable insights into maintaining the visual integrity and functionality of motorcycle fairings, ensuring that both you and your customers enjoy a smoother ride.
Reading the Scars: A Thorough Assessment Before DIY Motorcycle Fairing Repair
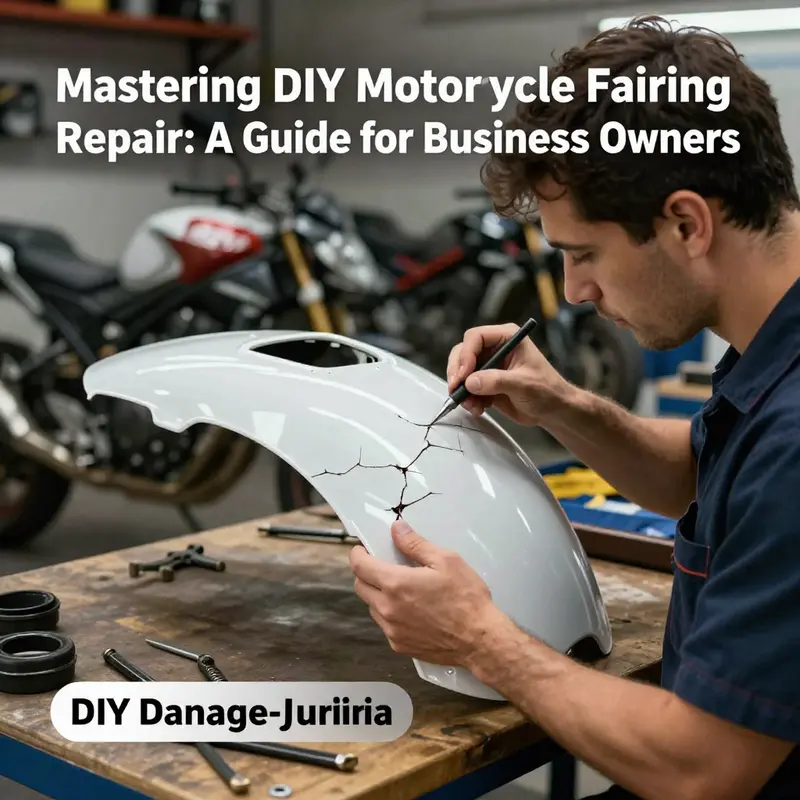 When a fairing shows its scars, the impulse can be to grab filler and paint and pretend the damage never happened. But in DIY work, the difference between a successful repair and a glossy but fragile finish often rests on the preliminary assessment. This chapter follows a single, steady thread: understand what the damage is, how it affects the structure, and what your repair must accommodate to restore both function and aesthetics. A careful inventory at the outset saves time, cost, and the risk of a rushed fix that fails under wind and vibration. The goal is not to condemn every mark as a catastrophe but to read the signals the fairing is sending. From a distance, a crack may look simple; up close, it can reveal a history of impact, temperature swings, and the way stress concentrates along seams. The fairing is a shield for the rider and a component in the bike’s aerodynamics, so assessment must balance safety with the practical limits of home repair. The approach is disciplined, not dogmatic, and it starts with a visual audit that becomes a guide for every subsequent step.
You begin with a visual inspection that treats the fairing as a map of past events. Cracks grab your attention first, of course, but the surface tells a broader story. Deep scratches can indicate surface-level harm, while fading or discoloration hints at UV exposure or chemical contact. Warping signals heat or long-term tension that may have loosened internal bonds. Dents narrate impact force, and the edges near seams are often where stress concentrates. The eye should scan the entire panel, not just the most obvious flaw. A critical habit is to compare the damaged area with an undamaged reference on the same fairing or a similar panel from the same model. Subtle differences in curvature, thickness, or line alignment can reveal structural issues that aren’t immediately self-evident. The visual readout becomes a diagnostic script you can follow as you decide whether the damage is within repairable limits or demands replacement.
Beyond the surface, you must also judge how the damage behaves under load. A structural crack may remain visually neat but compromise the fairing’s rigidity in wind and under rider forces. A gentle press with gloved fingers can reveal more than you expect. If you press near the crack or along a seam and the panel yields or flexes excessively, that softness often points to internal delamination or weakened bonds between layers. A hollow sound when tapping the surface is another cue that something beneath the surface isn’t bonded as it should be. These observations matter because the fairing is part of the bike’s protective envelope. It bears wind pressure at speed and must resist minor impacts without cracking further. If the assessor finds a combination of visible cracks and soft spots, the prudent move may be replacement or professional repair rather than a DIY patch that could fail later.
Accuracy in measurement becomes the logical next step after the initial scan. Measuring tools such as calipers or a straight edge help quantify what cannot be seen with the eye alone. You measure the depth of a dent, the length of a crack, and the distance from the edge to the nearest mounting point or seam. The numbers do more than satisfy curiosity; they create objective thresholds that guide your decision. For instance, a dent deeper than a couple of millimeters or a crack that travels across a mounting edge often exceeds the repair window afforded by fillers and adhesive bonds. When you compare your measurements to manufacturer references or the condition of an undamaged panel, you build a defensible case for DIY repair or for seeking replacement. The discipline of measurement converts uncertainty into a clear path forward, reducing the risk of overconfidence and underestimation alike.
Material reality also enters the assessment with its own constraints. Most motorcycle fairings use ABS plastic, a material with good impact resistance but not immune to cracking under stress or temperature extremes. ABS can delaminate when subjected to rapid heating or cooling, and repeated flexing near a damaged area may compound the problem over time. Understanding the material helps you select a repair strategy that will actually endure the next ride. If the damage indicates a brittle crack that originates at a stress point, you might lean toward a repair approach that reestablishes a solid bond across the damaged zone rather than masking it with filler. In such cases, the root cause—an impact, UV exposure, or thermal stress—also informs your preventive plan. A repair that ignores the reason behind the damage is unlikely to stand the test of time. In practice, you’ll want to document whether the damage came from a one-time impact, long-term sun exposure, or heat from extended engine operation. The patterns you observe today should guide not only the fix but also the expectations for the next season.
Safety and workspace preparation deserve sober attention as an inseparable part of assessment. The process you follow will bring you into contact with solvents, adhesives, and sanding dust. Even mild chemicals can irritate eyes or lungs if you work in a poorly ventilated area. A clean, well-ventilated space reduces dust and helps you notice dust or debris that could ruin a paint job. An organized workspace with clear lighting makes inspection more reliable. The harm in rushing often lies in skipping steps rather than using the wrong tool. So set up a surface you can easily clean, gather disposable containers for mixing, and have a tack cloth ready to remove dust before you proceed from inspection to preparation. Personal safety matters as well: gloves to protect skin from resins, safety glasses to shield eyes from debris, and a respirator or particle mask if you anticipate sanding or spraying. The investment in a proper workspace pays back in a smoother repair and a longer-lasting finish.
Having established a robust framework for inspection, the next move is to decide what kind of repair is appropriate given what you have found. If your damage is limited to minor surface scratches or light scuffs that do not penetrate the paint or the plastic, the repair path leans toward careful sanding, paint matching, and a cautious repaint. In such cases, the egg-tale of a good outcome is in the preparation. Sanding around the damaged area with progressively finer grits smooths the surface and offers a key for the new material to bond. The color matching must be precise; even a small discrepancy in shade will be visible under bright sunlight. While the surface is being restored, you will inevitably encounter micro-swirls or a hazy finish. Wet sanding with fine-grit paper helps erase these marks and keeps the surface glossy without burning through the paint layer. The goal here is to re-create the original plane of the fairing so that the repaired area blends invisibly with its surroundings. The steps are straightforward in theory, yet they demand patience. Rushing the paint layer or applying heavy coats can invite runs, sags, and a dull finish that defeats the purpose of the repair.
If the assessment reveals deeper compromise—cracks that breach into the interior, or warping that suggests misalignment of the fairing’s structure—the repair path becomes more nuanced. In some cases, small cracks can be stabilized with a combination of surface repair and edge reinforcement. This involves laying down filler to smooth the transition, then using a structural adhesive system at the crack line to reestablish bond strength. The aim is to restore stiffness while ensuring the patch sits flush with the surrounding plane. But when cracks extend toward mounting points or edges, the risk of re-cracking increases if the bond cannot withstand the load of fasteners and wind pressure. In those situations, you must weigh the incremental gains of DIY work against the certainty of a robust finish and the time invested. A fairing with significant interior damage or compromised mounting anchors often deserves a replacement panel or, at minimum, a professional repair that can confirm the integrity of the bonds and the alignment under load. The line between a good DIY patch and a false economy is crossed when performance and safety are at stake.
The assessment framework thus becomes a living guide. It not only informs whether you should proceed but also shapes the preparation and materials you will select. When the damage is within the repairable range, your steps ahead will rely on standard plastics repair practices: surface preparation, a compatible filler for plastics, careful sanding, priming with a plastic-compatible primer, and a color-accurate paint layer with controlled application. The process should always begin from the assumption that every store-brought filler has a specific working time and that you must mix only what you will use within that window. Overestimating the amount can lead to waste, while underestimating can stall the repair mid-way and leave you with an inconsistent finish. The working time tends to be short, especially in warmer temperatures, so you must plan the repair sequence and your workspace accordingly. The narrative of repair then becomes a disciplined choreography: assess, decide, prepare, fix, finish, verify, and reinstall.
In the spirit of practical planning, consider what you would do if the damage turns out to be beyond the DIY threshold. The decision to replace a fairing is often driven not only by the extent of the damage but by the risk of an uneven surface that undermines aerodynamics and rider protection. A fairing’s stiffness matters for weather resistance and crash protection, and when its integrity is in doubt, the simplest fix becomes a band-aid that may fail under wind loads. This is not a surrender to defeat but a strategic recognition of limitations. The assessment provides the backbone for that decision. It is not an invitation to abandon effort but a map that keeps your project honest and safe. If you reach a point where the damage intersects with mounting points, the condition of the underlying structure, or the need for a flawless color match, you will want to have a clear repo of your findings and a plan for the next steps. The chapter you are reading now is a thread in a longer conversation about how to repair a fairing with integrity, whether you are matching a factory finish or restoring a panel that has carried years of road use.
For riders who want to visualize a path forward, a practical note is worth remembering: a well-documented assessment becomes your best evidence when you consult a shop or search for model-specific parts. It helps you articulate why a repair is feasible and what limitations you foresee. If you decide that replacement is the prudent choice, model-specific options exist and can accommodate exact geometries and mounting interfaces. A quick note here ties the assessment to a concrete resource: model-specific replacement panels can be found by exploring a dedicated collection for your bike’s fairings, which helps you locate panels that align with your frame geometry and mounting points. When you browse, look for panels that match the model year and submodel to avoid misfit. This approach preserves the aesthetics, preserves fit, and minimizes the risk of interference with the instrument cluster or windscreen. Where the damage is primarily cosmetic, a careful repair often yields an almost invisible result; where it runs deeper, replacement offers a cleaner, safer outcome that protects both rider and machine.
As you complete the assessment, retain a clear picture of the future steps. Photograph the damaged area from multiple angles, note the dimensions you measured, and summarize the material behavior you observed under pressure and heat. Keep a simple sketch of the damaged zone relative to mounting holes and seams. Those records will be useful when you consult repair guides or seek advice from a shop. If you want to explore repair or replacement options with a broader selection of panels, you can browse model-aligned panels such as the Honda fairings collection for reference. This internal resource can help you gauge the scale of a typical panel replacement and the precision required to preserve the bike’s lines and balance. The road from assessment to repair is smoother when you treat the process as a careful, measured sequence rather than a single, decisive moment.
In closing, the assessment stage is not a barrier to DIY work but a guardrail that protects your time, your equipment, and your safety. It requires patience and honesty about what the damage means under real-world riding conditions. When you approach the task with a clear sense of the fairing’s role in aerodynamics, protection, and longevity, you can choose a path that aligns with your goals and your skills. Whether you proceed with a surface repair or decide to replace a panel, the results depend on your ability to translate the initial scan into a reliable plan. And that plan begins with the simple act of looking closely, measuring honestly, and respecting the material you are working with. By maintaining a practical perspective, you maximize the chances that your DIY repair will endure the next ride and the next season, while preserving the pride of restoration that many riders prize in their machines.
External resource for further grounding and techniques: MMI – Motorcycle Repair Guide on Fairing Repair.
Internal reference for model-specific options and parts: explore model-aligned panels from a dedicated collection such as the Honda fairings collection, which can be found here: Honda fairings collection.
The Repair Arsenal: Materials, Tools, and Techniques for Restoring Your Motorcycle Fairing
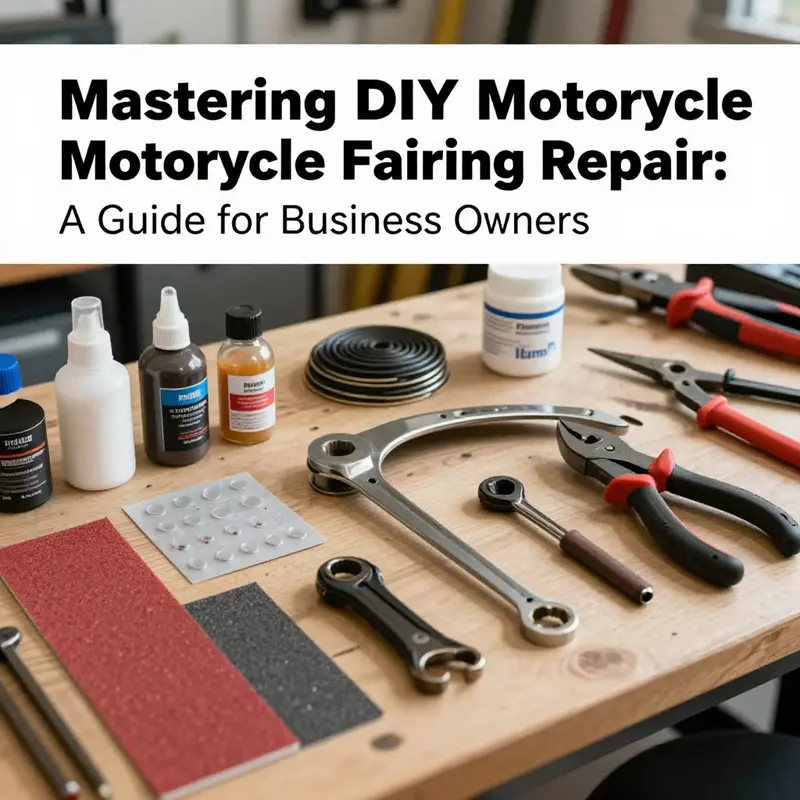 When a motorcycle fairing bears the marks of a crash, a weathered paddock, or a careless driveway, the impulse to fix it at home can feel empowering. The repair is less about a magic fix and more about assembling a reliable arsenal of materials and tools, then applying them with a patient, systematic approach. The right combination of plastic-friendly fillers, compatible primers, durable paints, and careful surface preparation can restore the fairing’s function and its finish, often at a fraction of the cost of a full replacement. This chapter doesn’t promise a miracle cure overnight, but it does lay out a practical, cohesive path. It treats the repair as a craftsman’s process, where each material plays a specific role, and where the sequence matters as much as the substances themselves. Understanding what you need and why you need it makes the difference between a repaired surface and a surface that looks repaired.
The first decision is damage assessment, which guides the choice of material and method. Small scratches that only touch the clear coat can be addressed with light sanding, polishing, and touch-up paint, while deeper chips that expose the base plastic may require filler and, in more serious situations, even plastic welding. The repair arsenal begins with materials that address the damage’s depth and the plastic’s type. Plastic welding rods, for example, are not universal band-aids. They are designed to fuse with the same or compatible plastic, creating a contiguous patch over larger cracks or punctures. This is not cosmetic camouflage; it is a structural repair that can prevent hairline cracks from propagating and turning a simple scratch into a larger compromise. When the damage is at the level of dents or removed skin where the original plastic has become a hollow space, a filling compound becomes essential. A body-filler designed for plastics fills the gap, creating a solid, sandable base that can be shaped to match the surrounding aero profile.
Yet the repair is incomplete without the tools that shape the surface and lock in the finish. Sanding papers progress through grits in a way that mirrors the learning curve of the repair itself. Start with a coarse discipline to remove old paint and level the surface, then move toward a finer discipline to coax a glass-like smoothness. In this sense, the 120-grit paper is less about aggression and more about establishing a new plane where the filler can anchor. Once the filler has cured, 240-grit paper steps in to smooth the transition, followed by 400-grit for a final, almost mirror-like texture. The choice of grit is not arbitrary; it is a careful choreography that prevents gouges and reveals a seamless contour to the eye and to the sander’s touch. Wet sanding, while optional, can reduce dust and swirls, but it demands patience and a fresh supply of clean water and paper with a finer grit.
Between the repair and the color, primer is the next essential step. A plastic-compatible primer forms the bond between the repaired surface and the final paint layer. It does more than just provide adhesion; it also helps cover areas where the filler compresses differently from the surrounding plastic, reducing the risk of pinholes showing through the paint later. The paint itself must match the bike’s original color, a task that becomes simpler when you choose a pigment system designed for plastics and, ideally, a two-part epoxy-based formula. This type of paint promises durability and chemical resistance, which matters when a fairing is exposed to heat from the engine compartment and the sun’s UV rays. The clear coat is optional but highly recommended if the goal is showroom shine and extra protection against chips. The decision to use a clear coat should consider the local weather, riding conditions, and the level of gloss you want to preserve; it also demands additional cure time, often extending the project by a day or two but yielding a harder, more resilient finish.
Finally, the reinstallation demands its own quiet precision. The fairing’s mounting points and seams have to align with the bike’s chassis. After a thorough cure, you reattach the piece using the original fasteners, and you torque them to the manufacturer’s specifications to avoid overtightening that could crack the new finish or under-tightening that could loosen under wind pressure. A well-executed reinstallation is as important as the cosmetic repair because a misaligned fairing can alter air flow, create creaking sounds at speed, and compromise the bike’s aesthetic harmony. A precision torque wrench becomes a silent ally here. It ensures fasteners are snug without overdoing it, protecting the integrity of both the mounted panel and the fastened frame beneath.
In the toolbox of materials, plastic welding rods stand as a central pillar for structural repairs. They are chosen to bond with the same material as the fairing, whether that’s a common ABS or a polycarbonate blend. The welding process is simple in concept but precise in practice: you heat the rod and the damaged area enough to fuse, creating a solid repair that behaves as part of the original material. The discipline required overlaps with the filler’s role in smoother surfaces; you use the welding to close large cracks or rebuild missing lips, then you backfill with a filler compound to fill in gaps and to keep the fix flush with the original contour. The motive is to achieve a composite repair, where the welding handles strength and the filler handles cosmetic contour.
The filler itself must be a type designed for plastics—one that adheres to the selected base material and sandable once cured. The filler’s working time and cure speed depend on the product and the ambient conditions, so you mix only what you can use within minutes, and you apply in thin layers, gradually building up the surface. The trick is overfilling slightly in the first pass, then bringing it down with subsequent passes as the layer cures. It is the incremental approach that prevents air pockets and gives you a surface that can be sanded to a perfect plane. A flat approach to sanding is aided by sanding blocks or pads, which hold the paper at a constant angle and apply uniform pressure. This becomes especially important when you are restoring a curved surface—the plane of the fairing’s curve must remain true, not dulled by uneven sanding.
Each stage demands its own meticulous attention to safety. When you cut, sand, grind, or spray, you generate dust and fumes that can irritate the eyes, lungs, and skin. A proper respirator protects against fine particulates, while safety goggles shield the eyes from flying debris. Gloves safeguard your hands from solvents and uncured fillers, and a long-sleeve shirt helps keep skin protected during long sessions of sanding. A well-ventilated workspace is not just a courtesy but a necessity. Dust collection, good airflow, and a dedicated spray area reduce the risk of dust contamination in the paint and the chance of an uneven finish caused by stray fibers or hairs.
Ultimately, the repair’s success hinges on the cleanliness and compatibility of each layer. The preparation begins with a thorough cleaning of the damaged area, removing wax, oil, and contaminants. A degreaser or solvent wipe is standard, followed by a light scuff with 120-grit to create a stable bonding surface for the filler and the primer. The edges of the damage are feathered so that the transition between old paint and new material is invisible under the light. This feathering is not just technique; it is a signal to the eye that the repair blends into the surrounding shape rather than standing out as a patch.
The materials list also points toward a practical approach to sourcing. The goal is not to stock everything at once but to assemble a core set that covers most common problems. The welding kit is essential for structural damage, while the filler, sandpapers, primer, paint, and clear coat create a complete cosmetic system. A set of sanding blocks, a spreader for the filler, a razor blade for trimming cured edges, masking tape, and protective papercovers are the quiet workhorses that keep the process smooth. The mixing sticks and disposable cups keep the process clean and reproducible. And beyond the materials themselves, the process benefits from a methodical space: a clean bench, a stable vice or stand, and dedicated dust-free zones for priming and painting where possible.
As you select these items, you begin to feel the difference between improvisation and method. Improvisation relies on makeshift tools and quick fixes; method relies on purpose-built materials, compatible with plastics and designed to endure the environment a motorcycle faces. The choice of a plastic primer is not incidental. Primers are formulated to resist peeling and to promote adhesion with the specific type of paint you will apply. The paint itself should be matched to the fairing’s base color yet robust enough to withstand UV exposure and temperature cycles. Two-part epoxy-based paints, while more demanding in handling and cure time, deliver a durable finish that resists chipping and fading. When you add a clear coat, you add another protective layer that preserves gloss and provides additional chemical resistance. The sequence—clean, repair, sand, prime, color, clear—becomes a rhythm that translates into consistent results, day after day, model after model.
In practice, the repair begins with a careful plan. If the damage is near mounting points or a seam, you may prioritize structural repair, using welding rods first and then filling any gaps. If the damage is cosmetic, you might start with a light sanding, apply filler to low spots, and then walk through the layers more cautiously to avoid buildup at the edges. The work is iterative. You may find the first pass reveals a sign of lingering low spots. Patience becomes the technician’s greatest tool, and the surface will tell you when it is ready for primer. It is entirely acceptable to step back, let the area cure fully, and re-evaluate before proceeding to paint. The path to a seamless repair is rarely a straight line; rather, it is a careful mapping of the surface and the materials that interact with it.
Along the way, you may seek inspiration and guidance from communities that discuss fairing repairs in practical terms. A single, model-relevant resource can be invaluable for confirming paint codes, compatibility, and the right sequence for a particular bike’s plastics. For those who want to explore parts that are compatible with a specific model, there is a centralized collection of fairings that can help with color matching and fitment. If you are aiming to restore a common sport bike’s fairing to its former appearance, you can start by examining the available options in the Honda fairings collection, which provides a sense of the standard curves, mounting points, and surface transitions you’re trying to replicate. This reference helps you anticipate how the final color, finish, and contour will align with the rest of the bike, ensuring that the repaired section looks like a natural extension rather than a patch.
The journey from bare plastic to a finished surface hinges on discipline in preparation, patience during curing, and respect for the materials themselves. The repair kit is more than a toolkit; it is a set of constraints that guide your decisions. The filler’s cure time, the primer’s dry window, the paint’s flash-dry periods, and the clear coat’s cure time all become milestones in a project that can be completed in stages if needed. You can treat the work as a sequence of experiments—each layer tested, each gap filled, each edge feathered—until the eye accepts the repaired area as part of the original design. When you finally reinstall the fairing, you do so with confidence that the surface underneath is strong, smooth, and well protected from future impact and weathering. The result is more than a cosmetic fix; it is a durable, aerodynamic panel that preserves the bike’s silhouette and value.
In the final analysis, gathering the right materials and tools is an investment in long-term maintenance rather than a one-off repair. It preserves the bike’s look and reduces downtime, offering a practical alternative to expensive professional repairs for many riders. And because these materials are standard across many plastic surfaces, this approach translates across different models and brands. You gain a repeatable workflow, a deeper understanding of the interaction between plastics and coatings, and the confidence to tackle future fixes with the same level of care. By treating the fairing repair as a craft rather than a chore, you honor the bike’s design while preserving its performance. The road ahead may demand more daring stunts and more miles, but your repaired fairing will keep pace with both, thanks to the careful synthesis of material science and hands-on skill that underpins every successful DIY project.
For readers seeking practical sourcing strategies that align with the chapter’s approach, it helps to consider how to assemble the core toolkit first, then add model-specific components as needed. A balanced mix of structural repair capability, surface finishing ability, and a reliable, color-matching paint system serves most common damage scenarios. Always approach the work with a clean workspace, proper safety equipment, and a plan that emphasizes bonding, feathering, and layering rather than rushing to finish. With time, patience, and attention to detail, the repair becomes a reliable skill set—one that keeps your ride looking sharp and performing at its best every mile of the way.
Internal resource for model-specific parts can be useful in the planning stage. For riders aiming to maintain or replace components aligned with a particular model, exploring the Honda fairings collection is a practical starting point to understand how the repaired surface aligns with the rest of the bike’s geometry and color family. This contextual awareness helps prevent mismatches that can undermine the repair’s credibility and the bike’s aesthetic integrity. You can explore that collection here: Honda fairings collection.
External resource: A general online marketplace offers repair kits and model-specific components that can complement the materials described here. These kits typically include filler compounds, primers, and paints designed for plastic surfaces, making it easier to source compatible products in one place. Access a representative external resource here: https://www.aliexpress.com/w/wholesale-cheap-motorcycle-fairing.html
Rebuilding the Shield: A Fluid, Patient Pathway to DIY Motorcycle Fairing Repair
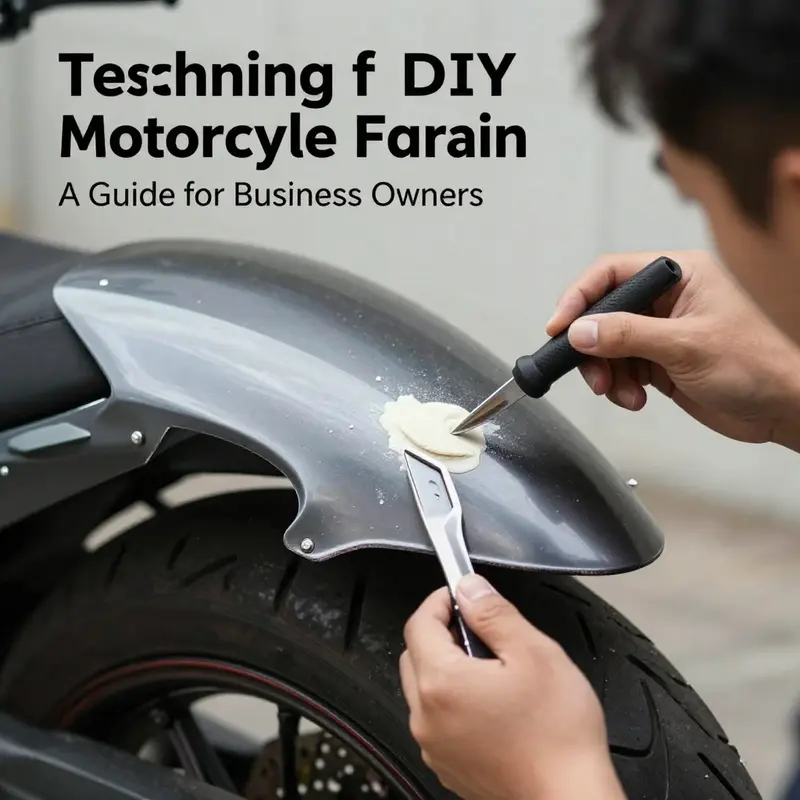 The motorcycle fairing is more than a cosmetic shell. It is a shield, shaping aerodynamics, protecting delicate components, and giving your bike its personality. When a fairing sustains damage—whether from a low-speed spill, a stray curb, or a highway rock—it can feel like a small war wound on a larger machine. The impulse to cover it up with quick paint and a dab of glue is strong, but a durable, seamless repair requires a calm, methodical approach. The core idea is simple: first assess, then prepare, build up, finish, and protect. When done with patience and care, you can restore the fairing to a near-new appearance and maintain its structural integrity, all without the cost of a full replacement. The steps below weave together practical technique with the realities of working on thermoplastics and composites common to modern fairings, while emphasizing safety, ventilation, and long-term durability.
Begin with assessment, because the damage tells you what kind of repair is appropriate. A superficial scratch or chip may respond to polishing and touch-up paint, while a hairline crack might require filler and careful smoothing. A larger crack or a piece that has delaminated or broken away from mounting points demands more careful consideration of whether restoration is feasible or whether replacement is wiser. In a few cases, the damage is near a mounting seam or an integral structural area; here the risk of compromising alignment or load paths becomes real. When in doubt, err on the side of caution and consider replacement or a professional evaluation for structural concerns. The aim is to preserve the fairing’s shape and fit while restoring a uniform surface that can accept paint and clear coat evenly.
With the problem framed, the preparation begins. Cleanliness is not merely nice to have; it is essential. Dirt, oil, wax, or silicone on the surface will create a barrier that prevents fillers and primers from bonding properly. A degreaser or plain soap and water can do the job, followed by a thorough dry with a microfiber cloth. If the area h