


Custom fairing kits have become a popular choice for motorcycle enthusiasts looking to enhance not only the aesthetics of their rides but also their performance. These aftermarket components serve both functional and visual purposes, making them integral to a motorcycle’s identity. Business owners in the motorcycle industry can tap into this trend by understanding the varied options available, the critical aspects of installation and compatibility, the materials used for durability, and the creative avenues for personalization. Each chapter of this article dives deeply into these aspects, providing valuable insights that can help you make informed decisions, whether you’re retailing these products or considering modifications for your stock motorcycles.
Shaping Speed and Style: The Anatomy of Custom Fairing Kits for Motorcycles
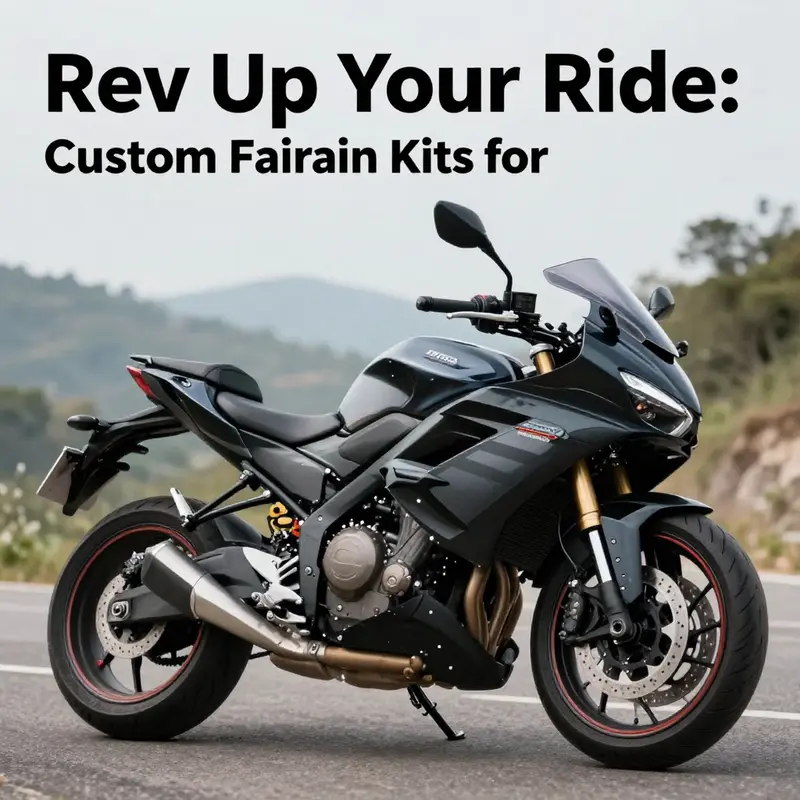
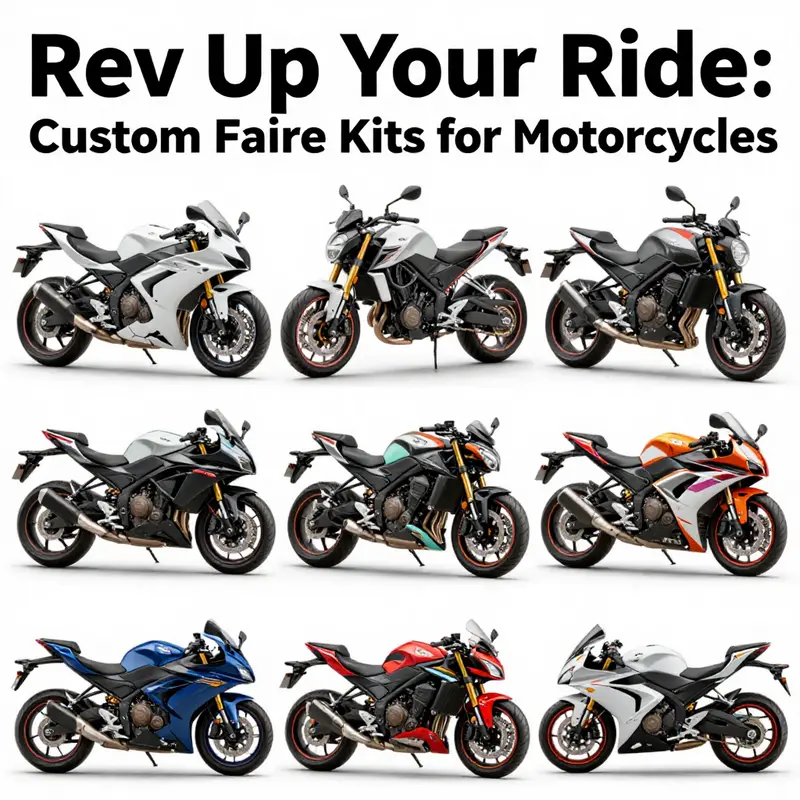 Custom fairing kits are more than a cosmetic upgrade. They are a deliberate re-sculpting of a motorcycle’s silhouette, a measured intervention that can alter aerodynamics, heat management, weight, and even handling feel. When riders talk about fairings, they are often balancing two priorities: visual identity and practical performance. A kit that looks dramatic on a showroom floor might not deliver the same advantage on a windy highway or a race track, just as a kit designed for pristine showroom presentation may hinder serviceability after a mid-season maintenance session. The modern market recognizes this tension and responds with a spectrum of types, each tailored to a specific riding purpose, model fit, and rider preference. In this landscape, the four principal categories—half, full, low, and specialty or show-focused designs—provide a coherent framework for understanding what each option promises and where it shines. The choice is rarely about choosing the most aggressive or the most elegant design; it is about selecting the configuration that harmonizes aerodynamics, weight, accessibility, and personal expression with the bike’s inherent geometry and the rider’s intent.
Half fairings sit at a sweet spot where aerodynamics meet practicality. They hug the upper portion of the bike, typically wrapping around the headlight and instrument cluster while keeping the lower engine and frame exposed. This partial enclosure offers tangible wind deflection without obstructing access to the engine for routine checks, maintenance, or quick spannering at the side of the road. For riders who navigate a daily grind of city streets, mountain passes, and occasional track sessions, half fairings deliver a balanced blend: improved stability at highway speeds and a reduced cockpit wind blast, yet enough room to reach spark plugs, air filters, or radiator hoses without a full demolition of the paneling. The weight savings are meaningful as well; by shaving material from the front and sides, the overall sprung weight decreases, which can sharpen steering response and reduce fatigue over long rides. The advantages are complemented by a classic aesthetic that nods to traditional sportbike lines, making half fairings a popular choice for models in the middle of a sport-touring spectrum, such as the Honda CB650R or CBR600RR variants. While the wind protection is superior to no fairing, the level of wind deflection and noise suppression at high speeds is inherently less than with full fairings. An additional windshield or taller screen can often be the final touch that completes the comfort equation for riders who spend extended hours in the saddle.
Full fairings, by contrast, embrace the entire front profile of the motorcycle, from the leading edge of the headlight to the trailing edge near the seat. The aerodynamic payoff is substantial. A full fairing system corrals the air more efficiently, reduces drag, and creates a more sheltered riding cockpit. The result is sustained comfort at higher speeds and reduced steering effort as air pressure becomes more predictable around the bike’s geometry. For riders who chase track lap times or plan aggressive highway rides, full fairings translate into measurable performance dividends. They also support a cohesive visual package that many builders and show riders seek when assembling a showpiece or a performance-oriented machine. The tradeoffs are clear: full fairings add mass and complexity. Access to engine components becomes more involved, and any damage to a panel can require more time and sometimes more specialized parts to repair. The installation process can be meticulous, with panel gaps, alignment, and fitment demanding careful attention to mounting points and fairing hardware. Still, when precision fitment is achieved, a full fairing can transform a bike’s character, turning it into a wind-tunnel-tested silhouette that looks as fast standing still as it does when slicing through air.
Low fairings take a minimalist approach, prioritizing lightness and a sharp, aggressive stance. These kits emphasize the front section above the headlight and forks, delivering a clean line that accentuates the bike’s profile without burying the machinery beneath a heavy shell. The advantages of low fairings are clear for riders who value handling agility and a lean, uncluttered look. They are typically easier to install and modify, thanks to simplified attachment points and fewer panels to align. They also encourage a direct line of sight to the radiator and other cooling components, which can be a practical advantage for maintenance or for riders who want easy access during a race day tune-up. The downside, however, is that wind protection and body protection at lower speeds can be minimal, and the protection against debris and minor impacts is not as robust as with larger fairings. For racers who want to emphasize steering precision and weight reduction, low fairings offer a compelling balance. They have become especially popular on bikes built for agile handling and an unapologetically sporty stance, including models like the Kawasaki Z650 when configured in certain minimalist styling variants. The net effect is a bike that looks fast even when parked and feels sprightlier when ridden through corners and rapid direction changes.
Specialty or show-focused kits occupy a distinct space in the fairing ecosystem. These designs are less about the sheer efficiency of air flow and more about the storytelling power of color, graphics, and one-off finishes. Pink fairing kits or other bold colorways fall into this category, drawing attention in show environments, at brand-themed events, or in personal gift builds where the rider wants a highly individualized aesthetic. Specialty kits celebrate identity and theme, allowing riders to push the envelope with materials, textures, and color gradients that align with a personal or team brand. While these kits can be engineered to maintain structural integrity and fitment, their primary objective is expression. The fit and engineering considerations still matter, and many specialty kits are designed with the same attention to alignment, mounting, and compatibility as other types, but the emphasis on appearance means that the upfront design work may include more complex graphic layers, color-matched fasteners, and sometimes bespoke hardware. It is not unusual for show bikes to blend elements from multiple categories—perhaps a full fairing body with a custom pink accent or a half fairing integrated with a minimal tail cover to preserve a hybrid aesthetic that remains functionally coherent.
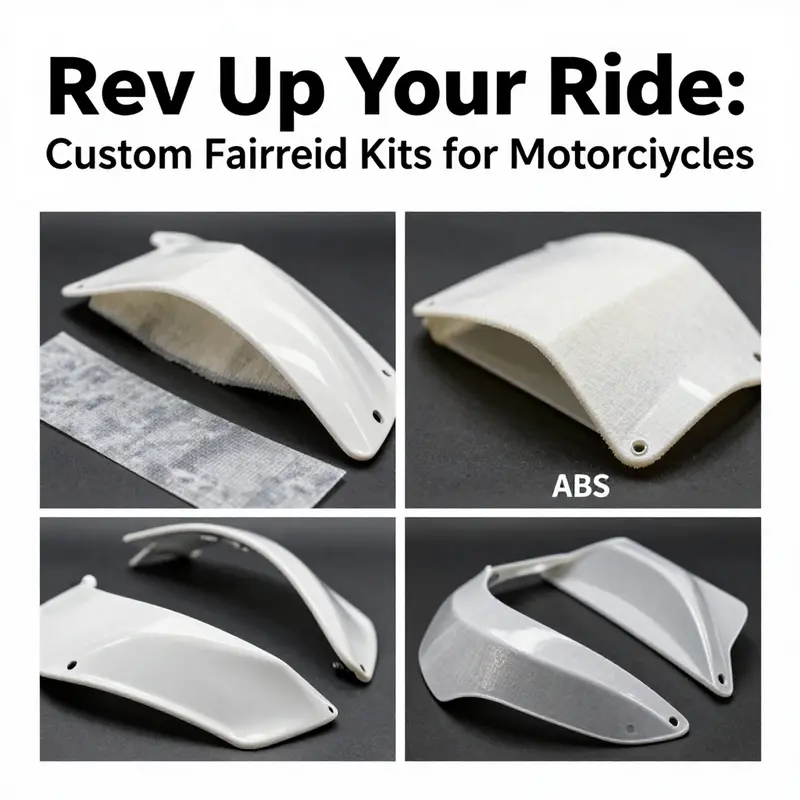
Integral to all these categories is the material choice. Fiberglass and ABS plastic are the two most common bases for aftermarket fairing kits. Each has its own set of strengths and tradeoffs. Fiberglass is noted for its stiffness, excellent paint adhesion, and the ability to mold complex shapes with a high degree of detail. It tends to be a bit more forgiving for repairs in a crash, given its workability and the ability to fill and rework panels. ABS plastic, by comparison, offers superior impact resistance, lighter weight in many designs, and a more forgiving resin-glue bonding process, which can speed up installation and repair work. The rigidity of ABS is generally adequate for most street and track applications, and its resilience across temperature fluctuations suits riders who live in climates with wide seasonal changes. For many riders, the best practical approach is to select a kit that uses a combination of these materials or a hybrid approach that leverages fiberglass for the main body panels and ABS for edge trims or inner fairings. The result is a shell that is both resilient and relatively easy to service. Fitment specifics are critical in any case. Without precise alignment to the bike’s frame and mounting points, even a well-made kit can exhibit flex, gaps, or rattles that degrade aerodynamics and noise suppression. The installation should be approached as a careful assembly, with attention to the original hardware compatibility and any required replacements or modifications to brackets, fasteners, and sometimes even mounting arms. For riders who want to preserve serviceability, half and low fairing configurations are particularly convenient because their modular nature often makes maintenance access less disruptive during routine checks.
Beyond the technical and mechanical considerations, compatibility remains a central question. A fairing is only as good as its fitment. Carefully verifying model compatibility—down to year ranges and submodels—helps avoid misalignment that can compromise rider safety and the bike’s structural integrity. Different manufacturers and aftermarket shops publish fitment guidelines, and many fairings require custom mounting hardware or minor modifications to the existing frame. Professionals emphasize careful pre-fit checks, where panels are mocked in place before any cutting or drilling occurs. This reduces the likelihood of irreversible mistakes. It also helps ensure that the bike’s lighting, instrumentation, and electrical routing remain uninterrupted, preserving essential functions such as indicators, headlights, and dash visibility. Riders contemplating a fairing upgrade should carry out a clear assessment of their riding goals. For street riders, a balance of wind protection, ease of maintenance, and visual cohesion with the bike’s lines often wins out. For track enthusiasts, the priority shifts toward aerodynamic efficiency, panel drainage, and precise fit to minimize turbulence. For show-focused builds, the look and finish may dominate, but a robust structure remains essential to withstand transport, handling, and light-duty use without compromising safety. The decision frequently leads to model-specific considerations, such as whether a fairing kit is designed for a particular generation of a given model or whether it accommodates accessory components like windscreen height or mirror conventions. In many cases, riders search for a catalog that aligns with their bike’s exact configuration—hence the appeal of model-specific collections. For example, riders exploring options for a Honda CBR600RR or CB650R may find that the Honda CBR600RR fairings collection (2013–2020) offers a broad range of compatible components that align with those model years and design cues. The linked collection serves as a practical starting point to gauge fitment, finish, and color options in a way that generic guides cannot. Honda CBR600RR fairings (2013–2020) collection.
Installation and upkeep are more approachable when a rider has a clear plan. A fairing kit is not a one-and-done purchase. It is an ongoing project that interacts with the bike’s maintenance lifecycle. Panels may need touch-up paint following installation, gaps might require minor adjustments, and wiring harnesses sometimes demand re-routing to maintain clean lines and reliable headlights, indicators, and sensors. For riders who intend to keep a pristine look, the attention given to the finishing touches—paint, clear coats, and edge sealing—will pay dividends in longevity and appearance. For riders who intend to keep the bike in active service, a focus on quick-release or modular components can reduce downtime during maintenance. In either case, professional installation is recommended because it minimizes misalignment, ensures correct torque for fasteners, and helps prevent future issues like rattling, cracked panels, or light misalignment that could interfere with visibility or aerodynamics. When done correctly, a fairing kit integrates with the bike’s lines so that the overall silhouette remains cohesive, the balance of the bike’s mass distribution is preserved, and the rider still feels the coveted blend of precision control and wind-driven feedback that makes sport riding so engaging.
In the larger ecosystem of aftermarket customization, fairing kits also intersect with legal and regulatory considerations. Some jurisdictions impose restrictions on modifications that affect lighting visibility, the front profile, or vehicle dimensions. Riders should verify local rules before committing to a particular kit, ensuring that the final build remains compliant and road-legal. Conversations with reputable shops often reveal a practical approach: plan the aesthetic and performance goals, confirm the specific model year compatibility, and assemble a bill of materials that includes mounting hardware, weather-sealed edges, and appropriate fasteners to secure panels against vibration without transmitting stress to the bike’s frame. The result is a fairing system that endures beyond a single riding season and remains serviceable after minor impacts or routine wear. The narrative around fairing kits is not just about the moment of installation; it is about maintaining the bike’s identity while safeguarding airflow management, rider comfort, and component accessibility. The interplay between these elements is what makes fairings both a technical pursuit and a personal expression. Each rider negotiates the balance between protection, weight, and style differently, and the market responds with a spectrum of choices that respect that diversity.
In this broader conversation, connecting with model-specific catalogs and resources helps ground the decision in real-world fit and performance. If the rider’s aim is to preserve or enhance a particular model’s geometry, a targeted catalog becomes a practical compass. A well-chosen kit will complement the bike’s inherent design language rather than imposing a look that feels out of place. For readers who want a tangible starting point in their research, exploring model-specific options and consulting trusted retailers can shorten the path to a satisfying result. It is also worth acknowledging that the aesthetic impulse—color, finish, and style—need not be at odds with performance. With careful selection and proper installation, a show-ready pink or color-customized kit can coexist with aerodynamic efficiency and mechanical reliability. The modern aftermarket scene supports this coexistence by offering panels that are engineered with attention to fit, durability, and finish, ensuring that riders do not have to sacrifice performance to pursue personality. As a final thought in this exploration, the practice of choosing a fairing kit is a process of aligning riding goals with the bike’s architectural realities. The right kit recognizes the bike’s original intent while offering the rider tools to craft an expressive, efficient, and reliable platform for the road ahead.
External references for further context can be found in broader industry resources. For a deeper look at aftermarket bodywork guidelines and performance considerations, one can consult external databanks and technical resources that discuss fairing materials, structural integrity, and aerodynamics in more detail. Motorcycle enthusiasts and builders often turn to these resources to complement hands-on experience with product documentation and fitment guidelines.
Note: The content above is designed to be cohesive with adjacent chapters and to avoid redundancy with previously discussed topics. It emphasizes how the types of custom fairing kits interrelate with riding needs, model compatibility, and the long-term care of the bike.
External resource: Motorcycle Blue Book
Fitting Right: Ensuring Compatibility and Installing Custom Motorcycle Fairing Kits
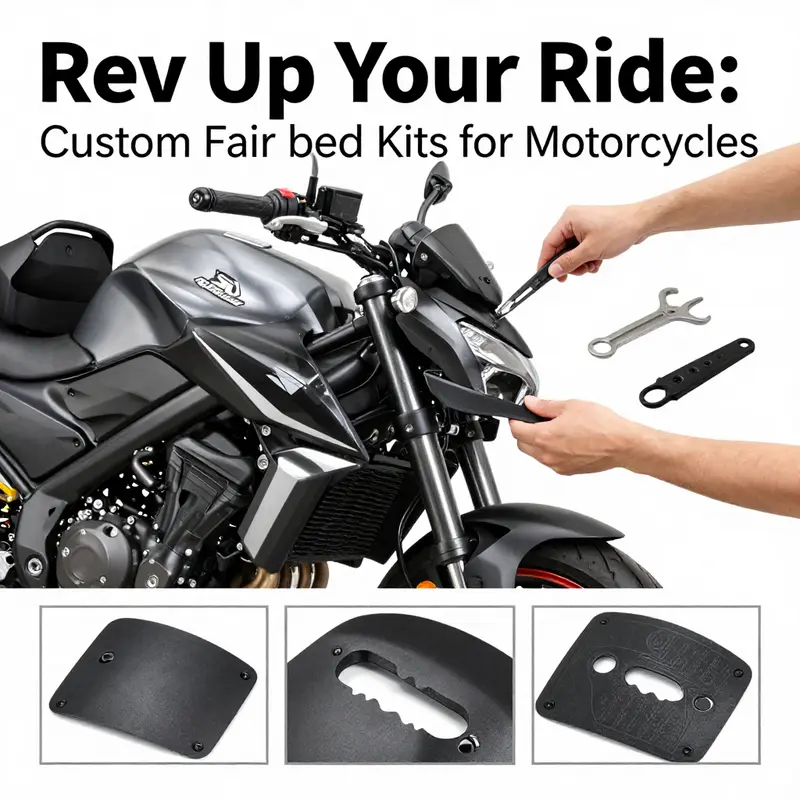 Installing a custom fairing kit is more than a visual upgrade. It is a structural and aerodynamic change that must respect the motorcycle’s engineering, electrical layout, and the rider’s practical needs. The process begins long before tools appear: with diligent compatibility checks and realistic expectations about fitment, clearance, and integration. When a kit is designed to match a specific make, model, and year, it often aligns with mounting points, lighting positions, and airflow routes. But many custom kits deviate from factory geometry to deliver new lines, unique colorways, or race-focused aerodynamics. That deviation is the source of both creative opportunity and potential problems. Understanding where compromise is acceptable — and where it is not — keeps the result safe, durable, and visually cohesive.
A critical first step is confirming model-specific fitment. Manufacturers who build replacement panels commonly list exact model years and sub-models; their specifications often mention variations such as ABS vs. non-ABS models, different headlight assemblies, or changes to fork diameter and triple-clamp offsets. If a kit is sold as “universal” or “custom,” treat it as a starting point rather than a finished match. Measure the bike yourself: mounting hole spacing, headlight cutout dimensions, and the distance from upper triple clamp to the front wheel axle. These measurements reveal whether an upper fairing will sit flush with the headlight cowl, and whether lower belly pans will clear the exhaust or oil filter. A disciplined approach to measurement reduces surprises when test-fitting begins.
Materials matter. ABS plastic and fiberglass dominate the aftermarket. ABS offers impact resistance and flexibility; it tolerates heat cycles and resists cracking in low-velocity impacts. Fiberglass can be thinner and is often preferred for show pieces because of its ease of repair and smoother finish for custom paint. Both require different handling during installation: ABS can flex into place on existing mounts, while fiberglass often demands more precise mounting brackets and may need reinforcement to avoid vibration-induced fractures. Composite kits that blend materials aim to capture benefits from both worlds but still require planned attachment strategies. If a kit arrives with pre-drilled holes and factory-like tabs, that is a sign the manufacturer expects a bolt-on installation. If holes are absent or misaligned, plan for drill-guides, backing plates, and possibly new brackets.
Mounting hardware and bracketry are frequently the deciding factor between a neat installation and a lengthy retrofit. Some kits include universal bolts, washers, and generic rubber grommets. These are useful, but rarely sufficient for a perfect fit. Custom installations typically need a combination of OEM-style fasteners and bespoke brackets. When panels meet the frame or subframe, use corrosion-resistant hardware and consider vibration-damping washers or nylon inserts to prevent loosening. In locations where panels bear load — for example, near the steering head or where a windscreen mounts — add reinforcement plates behind the fairing to distribute stress. If the kit alters the location of the headlight or indicators, ensure mounts replicate the original alignment to preserve beam aim and visibility.
Clearance is another non-negotiable. Full-body kits that envelop the lower portion of the bike may come close to exhaust headers, radiator hoses, or the chain. Confirm that heat-sensitive components maintain safe distances and that air intakes remain unobstructed. For sport and track applications, fairing ducts that claim improved cooling must be aligned precisely with radiator inlets; a slight misalignment can reduce airflow and raise engine temperatures. When a kit relocates the airbox or modifies the front cowl, inspect for rub points where the fairing could contact moving parts during suspension travel or steering lock. Simple mock-ups using masking tape can show where rubbing will occur before any drilling takes place.
Electrical integration is a common sticking point. Repositioning lights, indicators, or instrument clusters can require extended wiring harnesses or new connectors. Many custom kits come with templates for headlight cutouts, but headlight geometry varies across model years. If the kit requires trimming or modifying the headlight bucket, preserve seal integrity to prevent water ingress. Use dielectric grease on connectors and secure wiring with proper clips to prevent chafing. When routing wires through new holes, use grommets or sleeving to protect against vibration. For race builds, where auxiliary lights may be removed, ensure the removal complies with local regulations if the bike will still be ridden on public roads.
Precision in alignment yields more than a clean look; it safeguards aerodynamic intent. An upper fairing that sits a few millimeters off axis can change airflow patterns and increase buffeting behind the windscreen. For riders seeking improved wind protection, test-fit the windscreen and check rider sightlines and helmet clearance. Consider adjustable windshields if small differences in height or angle affect comfort. For track-focused builds, pay attention to how the fairing affects front-end stability at speed. Even subtle changes in the cowl’s lip or the undertray shape can alter pressure distribution and lift. When in doubt, calibrate through staged testing: fit panels temporarily, ride at incrementally higher speeds in a controlled environment, and make adjustments before permanent fastening.
Practical maintenance access should guide final decisions. Half fairings strike a common compromise by protecting the rider while leaving the lower engine exposed. They allow easier oil changes and chain adjustments without removing multiple panels. If a full-body kit is chosen, design quick-release fasteners and access ports for routine tasks like oil filter changes and coolant checks. Magnetic fasteners and quarter-turn clips can speed service intervals while maintaining a clean exterior. Labelling panels and storing original hardware in a dedicated kit bag simplifies reassembly and preserves the bike’s resale value.
Fitment testing benefits greatly from staging the installation in phases. Start with dry-fitting: loosely attach every panel to confirm alignment, gaps, and mounting hole positions. Use non-permanent fasteners like zip-ties or clamps for this step. Address any misalignments by trimming tabs, adding washers, or fabricating small brackets. Only after the visual and mechanical fit is satisfactory should you move to final drilling and securing. When drilling into the frame or making permanent alterations, double-check measurements and mark once — then verify. A well-placed pilot hole avoids mistakes that are difficult or impossible to reverse.
Professional installation is not a luxury; it is often the wisest choice. Certified installers bring specialized tools and experience with model-specific quirks. They can adjust panel gaps to factory tolerances, align headlights for legal beam patterns, and integrate aftermarket windshields without damaging paint. If a kit requires significant wiring changes or frame modifications, shop installation reduces the risk of improper bonding, cracked panels, or misrouted wires. A reputable installer will also test for aerodynamic behavior and advise on reinforcement points or bracket upgrades where necessary.
Regulatory and safety considerations should never be overlooked. Local laws may restrict modifications to lighting, audible signals, or the visibility of registration plates. If the kit alters turn signal placement or relocates reflectors, verify compliance before riding on public roads. If you plan to race the bike, confirm that the fairing meets series-specific safety rules and that tow points remain accessible. Structural modifications that affect crash protection or the integrity of mounting brackets require extra scrutiny. Where structural welding or frame alterations are proposed, consult an engineer or licensed fabricator to ensure no compromise to the chassis occurs.
For those who value aesthetic customization, color-matched kits and bespoke finishes deliver standout results. Yet customization often increases lead times and costs. Custom-colored kits tend to be produced in smaller batches and may use more labor-intensive finishing processes. Accurate color matching requires a paint code, and for multi-tone or metallic finishes, expect additional clearcoat layers and cure times. If the kit is to carry decals or sponsor graphics, ensure the surface preparation and clearcoating process will retain those graphics under heat and abrasion.
Finally, documentation and reference materials are indispensable. Keep fitment guides, template drawings, and manufacturer instructions close at hand. When replacing OEM panels, archive original parts and take photos during disassembly to aid reassembly. If you need model-specific replacement options or want to compare kick-starter designs and fairing styles for different years, a dedicated parts collection for your motorcycle family can help you find compatible panels and pre-cut kits for your model. For an authoritative guide to model-specific compatibility and installation tutorials, refer to respected compatibility charts and installer resources such as the Motorcycle Parts Direct fairing compatibility guide: https://www.motorcyclepartsdirect.com/fairing-kit-compatibility-guide
A successful fairing installation balances form and function. When compatibility checks, material choices, bracket solutions, electrical routing, and regulatory requirements are addressed before the first cut or drill, the result is a motorcycle that looks integrated, rides predictably, and maintains serviceability. Thoughtful staging, professional help when needed, and precise measurement protect your investment and ensure the kit enhances both performance and presence on the road or track.
For riders who want to explore model-specific fairing panels and pre-cut collections, the catalog for common sportbike platforms offers a helpful entry point into choosing the right kit for your motorcycle: https://www.summitfairings.com/collections/honda-fairings
The Material Blueprint: Durability, Weight, and Performance in Custom Motorcycle Fairing Kits
 A motorcycle’s fairing is often the first thing observers notice, but the material beneath the paint and finish tells a deeper, more consequential story. The composition of a fairing kit is not simply a matter of color, curvature, or brand affiliation; it is the primary determinant of how the bike slices through the air, how it endures road debris, and how easily a rider keeps the skin of the machine pristine after a season of use. In the world of custom fairing kits, durability and weight are not competing ideals but two sides of the same equation. The choice of material—whether ABS plastic, fiberglass, or carbon fiber composites—shapes everything from the feeling of leverage at the bars to the smoothness of wind contact at hundreds of kilometers per hour. What makes the right choice uniquely human is how riders balance budgets, aesthetic ambitions, and the realities of daily riding with the demands of track days and spirited canyon runs. The material story is not only about strength; it’s about resilience in the face of heat, UV exposure, impact, and the steady rhythm of vibration that comes with high-speed travel. It is about how a kit ages and what it reveals when a bike is first opened after a winter layup or after a long, sunlit summer of passing time on the clock face of the odometer. In this sense, the material blueprint is a rider’s ally, shaping practicality as much as it defines personality.
ABS plastic is the most common starting point for many custom fairing kits, and the reasons are straightforward. It offers an excellent balance of impact resistance, formability, and manufacturability. ABS can be injection-molded or thermoformed into complex shapes, which makes it ideal for both mass production and bespoke designs. A fairing made from ABS can absorb a light sting from road debris and minor contact with guard rails or gravel without the catastrophic shattering that fenders of lesser materials might suffer. The material also takes paint well, allowing a high-gloss finish or bold colorwork that riders associate with their personal identity on the bike. The trade-off, of course, is that ABS, while tough, can crack or chip under sharp, concentrated impacts and tends to show hairline cracks as it ages. For daily riders who spend more time in traffic than on the track, ABS provides that practical middle ground: a robust, affordable shell that can be easily repaired and touched up when scuffs occur. The ease of repair is not merely about cosmetic fixes; it’s about keeping a machine ride-ready without sending a rider to a specialist shop after every little mishap.
Fiberglass sits a notch higher on the durability spectrum and offers a different set of design freedoms. It is favored by builders who want more rigidity and can accept a modest increase in weight. The hand-laid or molded fiberglass process yields fairings that hold their shape well at high speeds, resisting deformation that can plague thinner ABS panels when wind pressure is intense. Fiberglass also accommodates more aggressive aerodynamic detailing. In practice, this means smoother transitions, more pronounced canards or vents, and the ability to craft intricate air-management features that influence stability and flow. However, fiberglass is heavier than ABS and, while highly repairable, repairs require a skilled touch. The resin system and layup must be carefully validated to avoid cracks propagating along seams or through layers under impact. The result is a durable shell that performs well on mild to moderate track days and in show builds where the silhouette and stiffness of the panel are prized. For riders who push beyond street limits, fiberglass offers a reliable mid-range option that respects both budget and ambition.
Composite materials—most notably carbon fiber composites—represent a different paradigm altogether. Carbon fiber is celebrated for its sublime strength-to-weight ratio and its visual appeal, which many riders associate with premium performance and a refined, race-ready aesthetic. In the hands of skilled manufacturers, carbon fiber fairings are manufactured through methods like vacuum-assisted resin transfer or autoclave curing, producing panels with exceptional stiffness and minimal weight. The performance implications are meaningful: reduced unsprung mass is not a marketing phrase; it translates into crisper handling, more responsive steering, and improved throttle finesse, particularly during rapid lane changes and during deliberate load transfer at speed. The caveat is price and practicality. Carbon fiber kits demand higher material costs, lo