
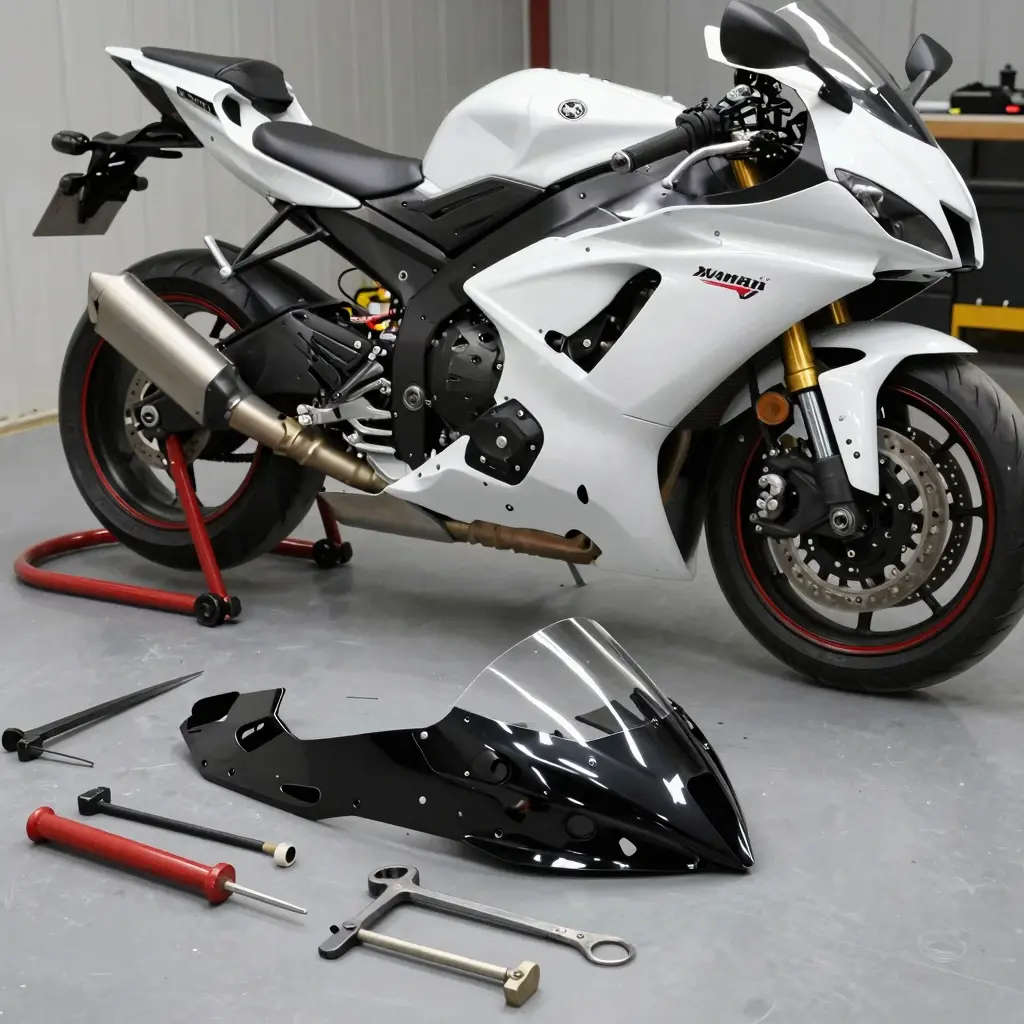
Introduction to Fairing Removal for the 2007 Yamaha R6
Maintaining the performance and style of your 2007 Yamaha R6 often involves the critical task of fairing removal. Fairings not only protect the motorcycle’s vital components but also play a significant role in its aerodynamics and overall aesthetic appeal. Whether you’re looking to repair damages, upgrade parts, or customize your bike for a personal touch, removing the fairings is an essential first step. This process may seem daunting for some, but understanding its importance can transform your motorcycle maintenance routine and enhance your riding experience.
Regular maintenance helps ensure that your R6 performs at its best while also prolonging its lifespan. During fairing removal, you have the opportunity to check for any underlying issues that may be hidden from view, such as leaks or wear and tear on components. Additionally, if you’re considering customization, the fairings can be replaced with stylish options that reflect your personal taste. At summitfairings.com, you can explore various custom fairing options tailored for your Yamaha, ensuring your bike not only runs smoothly but looks amazing too.
Essential Tools for Fairing Removal on a 2007 Yamaha R6
Removing the fairings from a 2007 Yamaha R6 requires certain essential tools to ensure the process is safe, efficient, and minimizes the risk of damage to both the fairings and the motorcycle itself. Here’s a detailed list of these tools along with the reasons for their importance:
Screwdrivers (Flathead and Phillips)
These are fundamental for removing various screws that fasten the fairings. Using the correct size helps prevent stripping screws, which is crucial for re-installation. According to MR Fairing, JIS (Japanese Industrial Standard) screwdrivers are particularly effective as they prevent cam-out and ensure a secure grip.Socket Set (8mm and 10mm)
A socket wrench set is essential for loosening bolts that hold the fairings in place. The use of the right socket size is important for avoiding rounding off the fasteners, which could lead to complicated removal and potential damage.Plastic Trim Removal Tools
These tools are designed specifically to handle delicate clips and tabs without scratching or damaging the plastic edges of the fairings. Using a plastic trim tool minimizes the stress on clips, which is vital in preventing them from breaking during the removal process, as highlighted in various guides including the one from Summit Fairings.Pry Bar
A small pry bar can help in separating the fairing panels when they are tightly fitted. The importance of this tool lies in its ability to gently assist in loosening snug connections without applying excessive force that could crack the fairings.Safety Gloves
Wearing gloves ensures a better grip and protects the hands from sharp edges or potential injuries caused by slipping tools. Safety should always be a priority, especially when handling plastic parts that might splinter or chip.
In conclusion, having the right tools is not just a matter of convenience but a necessity for the effective removal of fairings on a 2007 Yamaha R6. Proper tools will help maintain the integrity of both the fairings and the motorcycle, leading to a smoother repair or maintenance process. For higher quality fairings, consider checking out our ready-to-ship fairings to ensure top-notch replacements if needed.
Step-by-Step Guide to Remove Fairings from a 2007 Yamaha R6
Removing fairings from a 2007 Yamaha R6 may seem daunting, but with some patience and the right approach, you can accomplish this task efficiently. This guide will take you through the process step-by-step while providing you with essential precautions and tips to make your experience smoother.
Tools and Materials Needed
- 5mm, 6mm, and 8mm socket wrenches
- Screwdrivers (Phillips and flathead)
- Pliers
- Torque wrench
- Motorcycle stand
- Soft cloth or mat (to protect your fairings)
Precautions
Before beginning the fairing removal process:
- Ensure Safety: Make sure the motorcycle is in a stable position, preferably on a motorcycle stand. This will prevent it from tipping over.
- Disconnect the Battery: To avoid any electrical issues, disconnect the negative terminal of the battery.
- Be Mindful of Prone Areas: Take care to avoid damaging any wiring or quick-release fasteners during the disassembly process.
- Use Soft Cloths: Place soft cloths on the ground or on your work surface to avoid scratches to the fairings.
Step 1: Preparing the Motorcycle
- Position the Motorcycle: Place your R6 on a level surface. Use a motorcycle stand for better stability.
- Remove the Seat: Start by locating the seat fasteners, usually secured with screws or bolts. Remove these using the appropriate socket wrench or screwdriver, then lift the seat off carefully.
Step 2: Detaching the Fairings
- Locate and Remove Bolts:
- Examine the bike to find bolts securing the upper and lower fairings. Generally, these are located at the sides and beneath the bike.
- Use your socket tool to remove these bolts. Ensure you keep them organized for reassembly.
- Unclip the Quick Release Fasteners:
- Some fairings may have quick-release clips. These can be tricky; gently pull them straight out without applying too much force to prevent breaking them.
- Remove the Side Fairings:
- Start with the side fairings. Carefully lift and pull outward, releasing any clips or tabs holding them in place.
- Be cautious of any wiring connected to the lights within the fairings.
- Detach the Front Fairing:
- After the side fairings are removed, proceed to the front fairing.
- Look for any additional bolts that might be hidden under panels or stickers. Once located, remove them carefully.
Step 3: Inspecting and Storing Fairings
- Inspect for Damage: With all the fairings removed, take this opportunity to inspect them for cracks, scratches, or damage.
- Store Fairings Properly: Place the fairings in a safe area where they won’t be scratched or damaged. Utilize soft cloth or bubble wrap for added protection.
Tips for a Successful Fairing Removal
- Take Photos: Before and during disassembly, take photos of the fairing layout, especially wiring connections. This will make reinstallation much easier.
- Label Components: Consider labeling bolts and parts as you remove them to avoid confusion later.
- Use a Manual: If possible, reference a repair manual for the Yamaha R6 for additional details on securing bolts and fairing connections.
Conclusion
Removing the fairings from your 2007 Yamaha R6 is a manageable task that requires focus and organization. Following these steps and tips will help ensure that the process is smooth and protective of your motorcycle components. For those interested in upgrading or replacing your fairings, check out our collection of custom Yamaha fairings to find the perfect fit for your bike.
By following this guide, you’ll not only successfully remove your bike’s fairings but also enhance your knowledge and comfort in handling your motorcycle’s maintenance tasks.
The Importance of Fairing Maintenance in Motorcycles
When maintaining a motorcycle, the importance of fairing upkeep cannot be overstated. Fairings are critical not only for a bike’s aesthetics but also for its performance and longevity. As a motorcycle maintenance expert once said:
“A well-maintained fairing is essential for the longevity of your motorcycle and helps protect its vital components from the elements. Ignoring it can lead to damage that could have been easily prevented.”
This quote underscores the significant role that fairings play in safeguarding the internal workings of your bike, particularly for models like the 2007 Yamaha R6.
Why Fairing Maintenance Matters
- Protection Against Elements: Fairings shield the motorcycle’s internal components from harsh weather conditions like rain and debris.
- Aerodynamic Efficiency: Damage to fairings can lead to increased drag, affecting fuel efficiency and overall performance.
- Aesthetic Appeal: Keeping fairings in good condition ensures the bike maintains its visual appeal, enhancing resale value.
- Safety: In the event of a fall, fairings provide critical protection for both the rider and the motorcycle.
For more detailed insights into motorcycle fairings, check out our featured products or explore our options for custom Yamaha fairings.
Overall, investing time in fairing maintenance is a small price to pay for ensuring your motorcycle remains in peak condition for years to come.
Troubleshooting Tips for Fairing Removal on a 2007 Yamaha R6
When it comes to removing the fairings from a 2007 Yamaha R6, a few common issues may arise. Below are some troubleshooting tips to help address these challenges effectively:
Common Issues and Solutions
| Issue Description | Possible Cause | Solution |
|---|---|---|
| Fairing screws stripped | Incorrect tool used or over-tightening | Use a screw extractor kit to remove broken screws. |
| Fairing panels misaligned | Improper installation or damaged clips | Realign panels and replace any damaged clips. |
| Difficulty removing front fairing | Bolts are rusted or caked with dirt | Apply penetrating oil and clean bolts before retrying. |
| Missing hardware | Parts lost during removal process | Ensure all components are accounted for before starting. |
| Cracks in fairing | Dropped or improperly handled fairing | Use a plastic repair kit to fix minor cracks. |
| Incomplete service manual | Not following exact steps | Search for detailed guides online for your specific model. |
| Time-consuming process | Complex design of fairing | Prepare tools beforehand and consult guides to streamline the process. |
General Tips for Fairing Removal
- Preparation: Ensure the motorcycle is stable and secure. Gather necessary tools like a socket set and screwdrivers.
- Identify Fasteners: Fairings are held by screws/bolts located in various places, including under the seat and on side panels. Use care when removing them.
- Remove the Seat and Panels: Start by removing the seat followed by the side panels, ensuring to check for any hidden screws.
- Handle Electrical Connections Carefully: Disconnect any wiring connected to the fairings to prevent damage.
- Pry Gently: If fairing seems stuck, gently pry using a plastic tool to prevent cracks in the panels.
- Document the Process: Consider taking photos as you disassemble to assist with reassembly.
By following these troubleshooting tips and methods, you can streamline the fairing removal process on your 2007 Yamaha R6. For additional resources, you might explore guides such as Removing, Replacing and Repairing R6 Fairings or visit forum discussions specifically focused on fairing removal techniques.
Graphical Overview of Common Fairing Issues
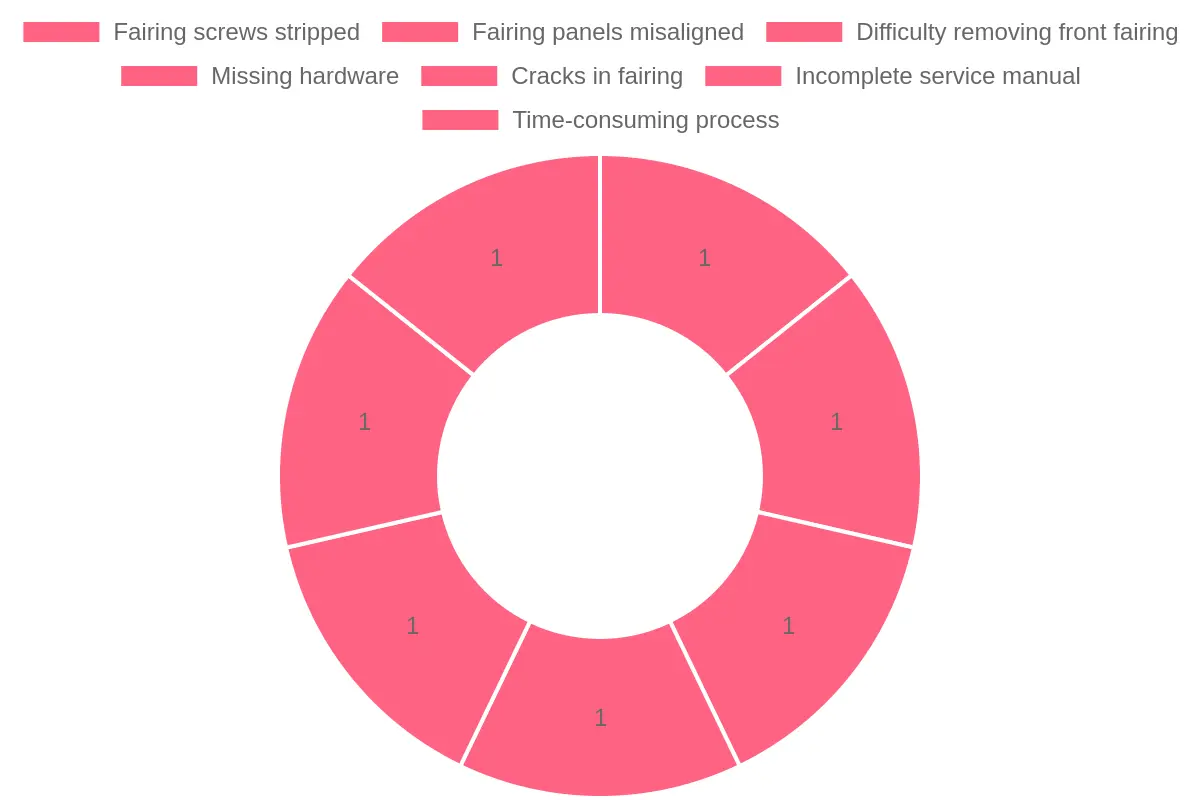
Visual representation of common issues faced during fairing removal.
Comparison Table of Fairing Options for the 2007 Yamaha R6
When considering fairings for the 2007 Yamaha R6, several options are available, each with different materials, weights, and price ranges. Below is a comparison of several popular fairing options:
| Fairing Type | Material | Weight (Approx) | Price Range |
|---|---|---|---|
| NT Fairing | ABS Plastic | 10 lbs | $400 – $600 |
| Nice Cycle Fairings | ABS Plastic | 10 lbs | $300 – $500 |
| Summit Fairings | ABS Plastic | 10 lbs | $450 – $700 |
| Aftermarket Kit | Fiberglass | 8 lbs | $500 – $900 |
| Premium Kit | Carbon Fiber | 5 lbs | $1000 – $1200 |
Material and Pricing Insights
- ABS Plastic: Generally more affordable and durable for everyday use. Most commonly used in aftermarket fairings.
- Fiberglass: Offers a good balance of weight and cost but may require more care and maintenance.
- Carbon Fiber: The lightest and most premium option, best suited for racing and performance enhancements but comes at a higher price point.
Explore more about different styles of fairings and customization options at Summit Fairings. For other customization options for Yamaha, check out custom Yamaha fairings.
In conclusion, the process of removing fairings from your 2007 Yamaha R6 presents an excellent opportunity to enhance both the aesthetics and performance of your motorcycle. Throughout this article, we have covered the essential steps involved in fairing removal, emphasizing the importance of proper tools and techniques to avoid damage. Additionally, we explored the various benefits of upgrading to new fairings, such as improved aerodynamics, custom designs, and the ability to replace damaged components. By selecting high-quality fairings from reputable sources like Summit Fairings, riders can not only elevate the visual appeal of their bikes but also ensure optimal performance on the road. Thus, if you are considering fairing removal, do not overlook the advantages of investing in upgrade options afterward. It’s an opportunity to personalize your motorcycle while potentially increasing its value and performance. Embrace the potential for transformation and consider making that upgrade today!
Take Your Yamaha R6 to the Next Level
Having learned the ins and outs of removing your 2007 Yamaha R6 fairing, it’s time to consider what comes next in enhancing your bike. A well-maintained fairing not only preserves your motorcycle’s aesthetics but also boosts its performance by reducing drag and improving aerodynamics. At Summit Fairings, we offer premium custom-fit fairings tailored specifically for your Yamaha R6.
Explore our extensive collection, where you can find unique designs that fit your style while ensuring top-notch quality. The commitment to craftsmanship means every fairing is built for durability and performance, turning your vision into reality. Whether you’re looking to replace an old fairing or upgrade to a custom design, we’ve got you covered!
Don’t wait any longer! Visit summitfairings.com today to browse through our premium offerings and find the perfect fairing that matches your bike’s aesthetics and your personal flair. Join the numerous customers who have transformed their rides and experience the difference today!
FAQ: Fairing Removal and Installation for 2007 Yamaha R6
1. What tools do I need for fairing removal?
To remove the fairings of a 2007 Yamaha R6, you will generally need the following tools:
- Screwdriver set (Phillips and flat-head)
- Socket wrench with various socket sizes
- Pliers or a trim tool for clips
- A soft cloth or padding to lay the fairings on to avoid scratches
2. How do I start the fairing removal process?
Begin by securing the bike on a stable surface. Remove the seat and any components that obstruct access to the fairings. Typically, the first step involves unscrewing any visible fasteners on the fairings. It helps to follow a guide such as the one provided by Road Glide Forum.
3. What are the common challenges during fairing removal?
Some common issues include:
- Stubborn clips: Clips may become stuck due to age or lack of maintenance. Applying a gentle upward force or using a trim tool can help release them.
- Reaching hidden screws: Ensure you check for any concealed screws or fasteners that might be missed at first glance.
Learn about more installation challenges on our Summit Fairings Blog.
4. Is it necessary to remove all fairings?
Not all fairings need to be removed when performing maintenance or repairs. For some access points, such as sliders or signals, only the affected fairings may need to be removed, allowing for simpler and quicker access. Refer to detailed instructions on OES Accessories.
5. How do I install fairings correctly?
When installing fairings, it is advisable to:
- Check each component to ensure it is clean and free from damage.
- Install all pieces loosely first. This allows you to adjust fit before tightening securely.
- Avoid over-tightening screws as this can crack the fairings. Community discussions emphasize careful alignment and securing without excess force.
For further insights, see our post on Mastering Motorcycle Fairing Removal.
6. What are some best practices for maintaining fairings?
Regular checks for cracks, scratches, and loose fasteners can help prolong the life of your fairings. Cleaning the fairings with manufacturer-approved products can also maintain their appearance. Make sure to inspect all clips and screws periodically to ensure they’re in good condition.