
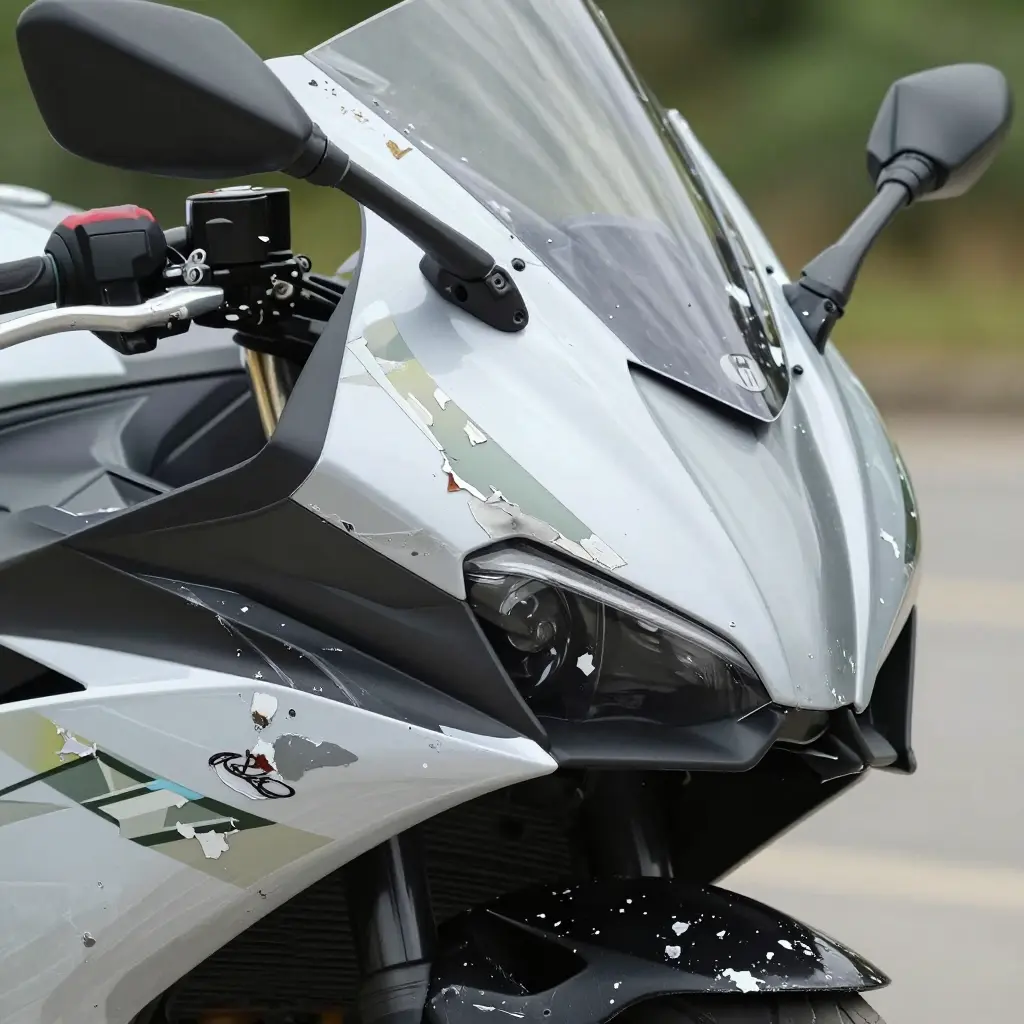
Root Cause: The Clear Coat and Surface Prep, Not the Decal
When a graphic lifts off a motorcycle fairing after a single riding season, most riders blame the decal. Usually that’s the wrong suspect. In most cases the failure is in the clear coat or the surface prep under the decal, not in the decal film itself.
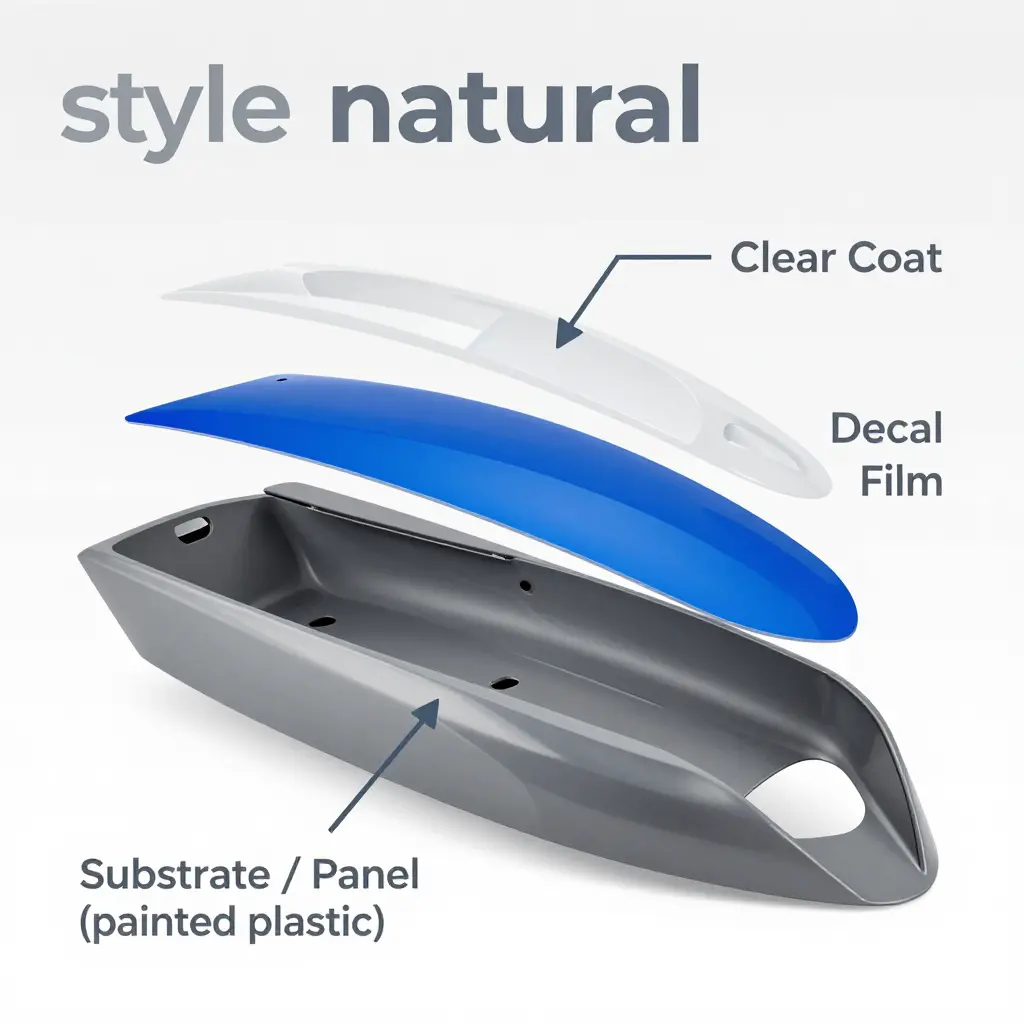
A decal on a painted fairing isn’t one object. It’s a three-layer stack, and it holds only as long as each layer keeps its grip on the layers next to it.
The Three-Layer Relationship
Substrate (panel). The painted plastic or fiberglass underneath everything. Its cleanliness, texture, and paint cure state set the foundation. Contamination, leftover mold release, sanding dust, or an undercured base coat will undermine every layer stacked on top of it.
Decal film. The vinyl or printed graphic is the middle layer. It has to bond to the panel below and accept the clear coat above. A quality film rarely fails on its own.
Clear coat. The top layer seals and protects the graphic while bonding it in place. Its chemistry, thickness, and cure schedule decide whether it grips the decal and survives sun, fuel spills, and repeated washing.
Each layer carries part of the bond, so one weak link eventually shows up as peeling. Because the failure sits below the visible surface, the symptom appears on the decal even when the decal is intact. Swap in a new graphic without repairing the layer beneath it and the problem repeats.
Panel and finish choices matter here too. Our guide to custom motorcycle fairings explains how material and finish affect what will actually stick.
The failures come from four places: contamination during surface prep, clear coat chemistry that doesn’t match the vinyl, too little cure time between paint and topcoat, and edge lift driven by film thickness and exposure. Working out which layer gave way is what lets you fix the panel instead of replacing decals every season.
Why the Layer Stack Matters
A decorated fairing panel is built as a stack of bonded layers, and a decal holds only while every layer beneath and above it stays intact. When one layer fails, the bond goes with it, and the edges start to lift.
Picture it as a three-story structure. The substrate panel is the foundation, the decal film is the decoration bonded on top, and the clear coat is the roof that seals everything in. A contaminated foundation means the decal never truly adheres. A clear coat that is too thin or cured wrong leaves the decal exposed to UV, fuel, and road grime.
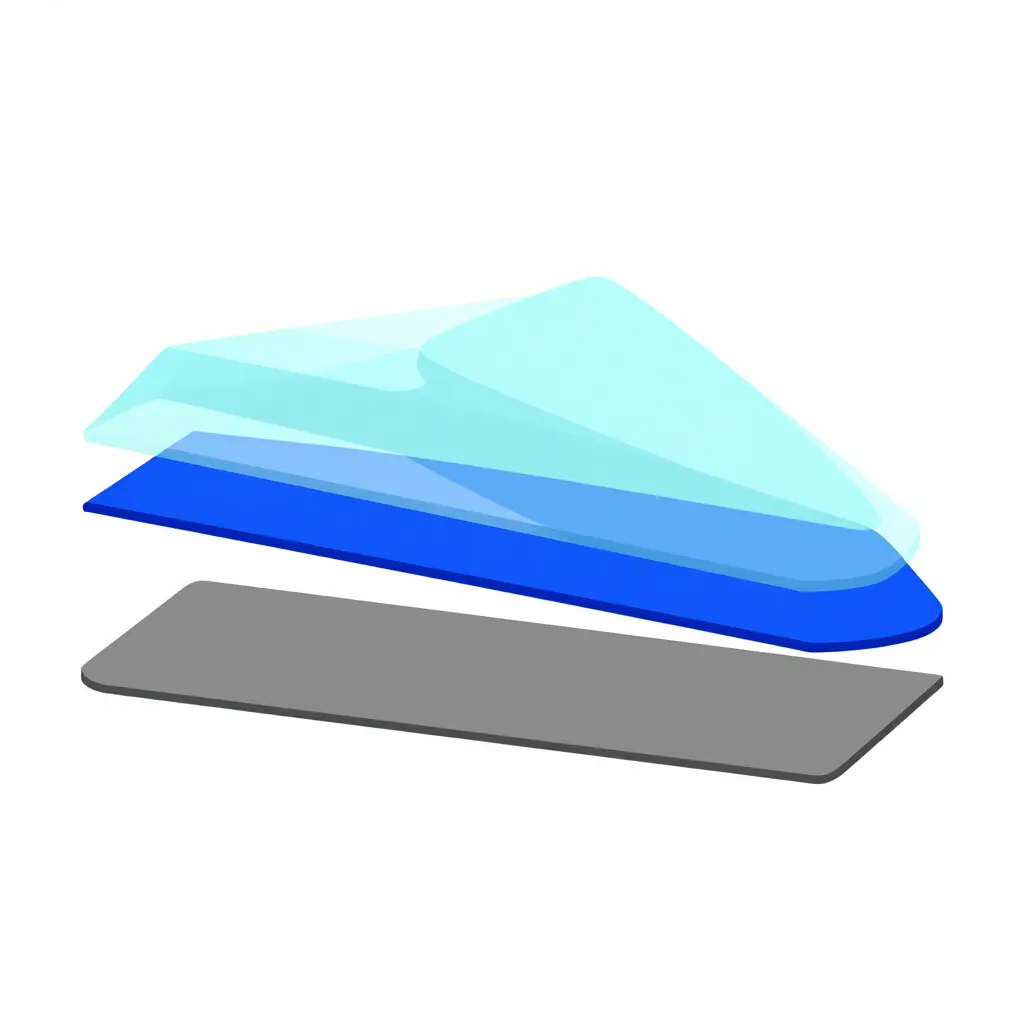
The diagram shows that stack at its best: substrate at the bottom, decal film in the middle, clear coat sealing the top. Almost every case of peeling after a single season traces back to a weakness in one of those three layers – most often the clear coat on top or the surface prep at the bottom. Our guide to what fairings are made of helps you spot which layer is letting you down.
Clear Coat Failure: Why Fairing Decal Peeling Shows Up After One Season
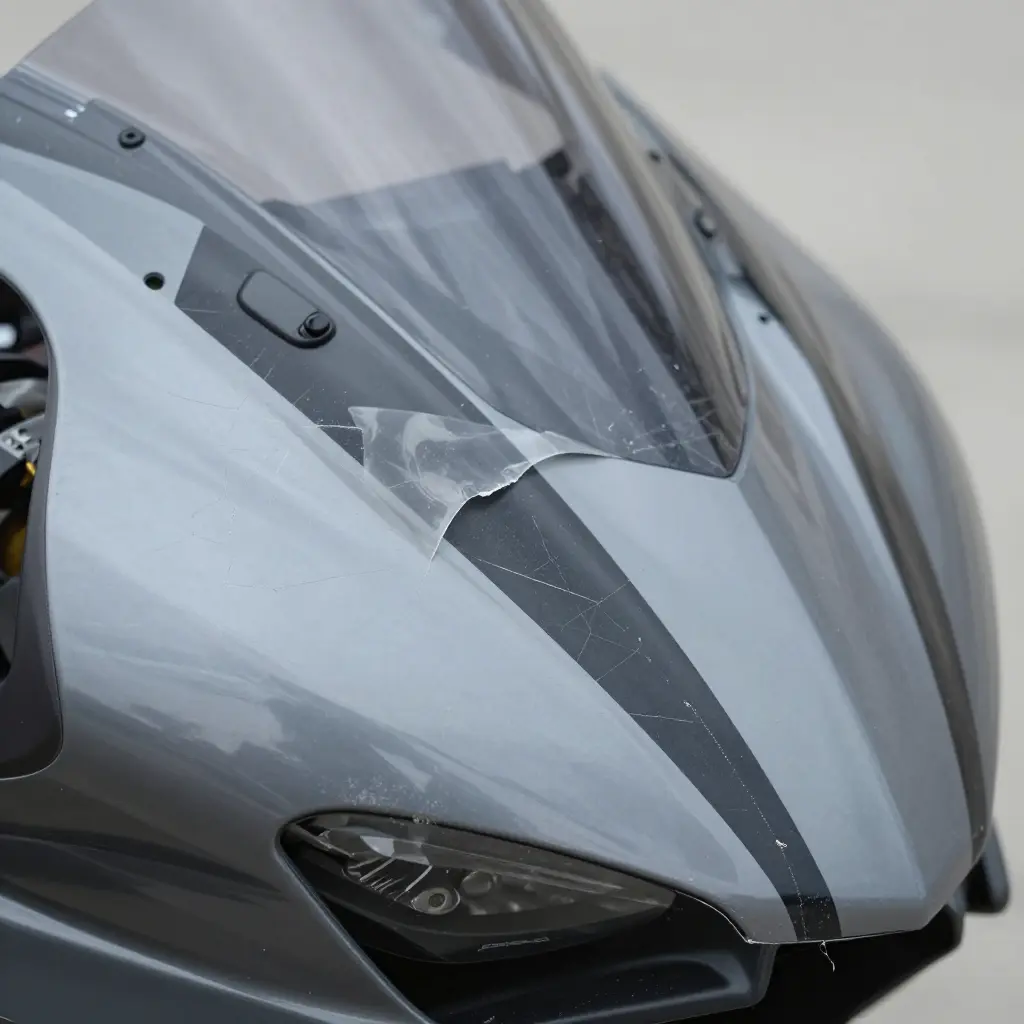
A decal is only as durable as the clear coat sprayed over it. When that top layer is weak, too thin, or improperly cured, fairing decal peeling appears quickly, often inside a single riding season. The pattern shows up on aftermarket and OEM motorcycle fairing panels alike, which points to a finishing problem rather than a specific brand.
Insufficient Clear Coat Thickness
Clear coat needs enough build to form a continuous shell over the graphics. A thin layer leaves high spots at the decal edges, and those edges are the first place air and moisture find a grip. Once the film is breached, peeling works along every decal border.
Poor UV Protection
Low-cost clears often lack adequate UV blockers. Sunlight breaks down the resin, and the surface turns dull, then powdery. A degraded film no longer holds the decal.
Incompatible Clear Coat Chemistry
Decals and clear coats have to be chemically matched. A hot solvent-based clear applied over a vinyl decal can attack the adhesive and the vinyl, softening the bond from underneath. This kind of mismatch is one of the most common reasons a fresh paint job fails early.
Curing in Humid or Cold Conditions
Clear coat cures by releasing solvent. In a humid or cold shop, that release slows or traps moisture in the film, leaving a soft, under-cured layer that never fully locks down the decal.
Symptoms You Can See
The failure is visible long before the decal falls off. Watch for these signs:
| Symptom | What It Signals |
|---|---|
| Edge lifting | Weak adhesion at decal edges |
| Hazy or chalky surface | UV breakdown of the clear coat |
| Micro-cracking | Brittle, under-cured film |
| Delamination along decal borders | Chemical incompatibility or trapped moisture |
Two panels can look identical and still age differently. The symptoms above usually point to the finishing step that was missed, and our guide to motorcycle fairing materials and construction explains how that finishing is done.
How Surface Prep Failures Cause Fairing Decal Peeling
When a decal peels after one season, the adhesive usually never bonded to the panel in the first place. Surface prep is where the bond is won or lost, and the symptoms tend to follow a pattern.
Residual mold release agents are a common culprit. Panels pulled from a mold carry a waxy layer that repels adhesive. Leave that layer in place and the decal sits on top of it instead of gripping the substrate beneath.
Oil and silicone contamination makes it worse. Silicone spreads easily, and even trace amounts from shop rags, hand lotion, polish, or airborne overspray create a slick film that no adhesive can penetrate.
Insufficient sanding or scuffing leaves the panel too smooth. Adhesives need a mechanical bonding profile: a network of fine scratches for the glue to bite into. A polished or fully cured surface without that profile offers almost no grip.
Skipped degreasing rounds out the list. Sanding embeds oils and dust in the surface, and without a proper degrease afterward, that contamination stays trapped under the decal.
The symptoms tell you which of these happened. Early bubbling means trapped solvent or moisture. Lifting that starts at the center and spreads outward points to a weak bond combined with a shrinking film. Full-panel delamination, where an entire decal releases at once, means the adhesive never made real contact with the panel.
| Surface Prep Failure | What It Leaves Behind | Result on Decals |
|---|---|---|
| Residual mold release | Waxy film | Adhesive sits on film, not panel |
| Oil and silicone | Slick contamination | Bond never forms |
| Insufficient sanding | No bonding profile | Weak mechanical grip |
| Skipped degreasing | Trapped oils and dust | Contamination under decal |
| Decal over polished or cured surface | Glossy, low-energy surface | Poor adhesion and easy lift |
Shops finishing custom fairings see the same pattern across builds, and it points to surface prep rather than the decal. The chemistry doesn’t change: contamination and a missing bonding profile defeat every adhesive, however strong the decal claims to be.
Quick Diagnostic: Why Fairing Decals Peel
Use this reference to match what you see on a panel to its likely cause and the correct fix. Whether you’re touching up a weekend build or running a shop that handles custom motorcycle fairings, finding the real source before you re-coat saves hours of rework and a second failed season.
| Cause | Typical Symptom | Likely Timing | Corrective Fix |
|---|---|---|---|
| Weak clear coat | Decal edges lift or curl; film looks dull and chalky | Weeks to a few months | Strip old film, re-sand, apply a quality 2K clear coat with proper build |
| Contaminated surface | Bubbles, fish-eyes, or patchy adhesion trapped under the decal | Days to a few weeks | Degrease with wax/grease remover, wipe with a tack cloth, re-apply the decal |
| Insufficient sanding | Decal peels in sheets; glossy untouched spots underneath | First wash or first ride | Scuff to 600-800 grit to create a mechanical key, then re-clear |
| Incompatible clear coat chemistry | Wrinkling, hazing, or solvent popping over the decal | Hours to a few weeks | Match solvent and 2K systems, test on a sample panel, strip and re-coat |
Pro tip: When two or more symptoms appear together, suspect surface prep before the clear coat itself. Fix the foundation first and the decal stays put.
The Repeatable Surface Prep Sequence
Run this sequence in order to stop fairing decal peeling before it starts. Each step is quick, and skipping any one of them is the fastest way to watch your graphics lift after a single riding season.
- Degrease the panel first with a wax-and-grease remover to strip oils and silicones.
- Scuff-sand the whole surface with 600- to 800-grit paper for a mechanical bite.
- Wipe down with the correct solvent, such as isopropyl alcohol, to lift every trace of residue.
- Tack-cloth the panel to remove dust and lint before any coating touches it.
- Control ambient temperature and keep it steady between 65 degrees F and 80 degrees F for proper adhesion.
- Apply an adhesion promoter whenever your custom motorcycle fairings call for it.
- Let each layer fully flash off before you move on to the next step.
Repeat the list on every panel. Careful prep is what keeps a decal on through the seasons.
The Numbers Behind the Peeling: Clear Coat and Surface Prep Lead
Across fairing decal peeling cases reported after a single riding season, the causes are lopsided. Clear coat failure and surface prep failure together account for more than three-quarters of reported incidents, while decal film quality and environmental/UV exposure trail well behind.
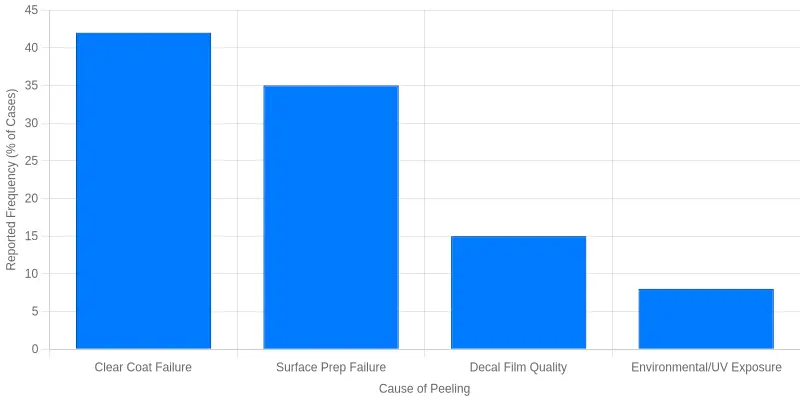
| Cause of Peeling | Reported Frequency (% of Cases) |
|---|---|
| Clear Coat Failure | 42 |
| Surface Prep Failure | 35 |
| Decal Film Quality | 15 |
| Environmental/UV Exposure | 8 |
Note: Values are illustrative placeholders for trend comparison, reflecting commonly observed patterns rather than a single controlled study.
The takeaway is simple. When you diagnose fairing decal peeling, start with those two categories. A clear coat that cured poorly, went on too thin, or was chemically incompatible with the vinyl fails before the graphics do. And surface prep – a dusty panel, residual mold release, a skipped scuff-and-clean – quietly undermines even a perfect decal. Film quality and UV exposure matter, but they rarely cause failure on their own.
That ranking should decide where you spend time and money on a repair. Chasing premium decal film while skipping panel preparation is like buying expensive paint for a wall you never primed. Fix the foundation and the finish follows.
What Public Sources Say About Decal and Film Durability
Manufacturer application guides, paint-maker technical data sheets, and aftermarket forums tend to agree on one point: adhesive decals and paint protection films hold up when they are bonded to a fully cured, clean, compatible substrate. The material itself rarely fails first. Vinyl, urethane film, and laminate are commonly described as lasting several years outdoors when properly applied, while water-based or freshly sprayed coatings that have not fully outgassed are repeatedly flagged as poor bonding surfaces. Decals applied over a brittle or chemically mismatched clear coat tend to lift at the edges first, because the adhesive holds more firmly to the decal than the coating holds to the panel.
Why One Season Is a Common Failure Point
Edge lifting, bubbling, and curling reports cluster around the first riding season, when a decal goes through its first full cycle of sun exposure, heat, washing, and the occasional fuel or solvent contact. The causes cited most often are wax, silicone, or polish residue left on the panel, an insufficiently cured clear coat, missing or incompatible adhesion promoters, and coatings that were never designed to accept an overlying film. All of them come back to preparation or coating condition rather than the decal product, which is why the same graphic can survive years on one panel and fail within months on another.
The Practical Takeaway
For anyone working with motorcycle fairings, the explanation that keeps coming up is clear coat condition and surface prep. A properly cured, compatible finish that is degreased and free of contaminants gives the adhesive a stable base, while shortcuts in cleaning, sanding, or cure time invite premature lifting. These descriptions come from general industry guidance and owner reports rather than controlled studies, so the details vary, but the emphasis on coating readiness and preparation does not.
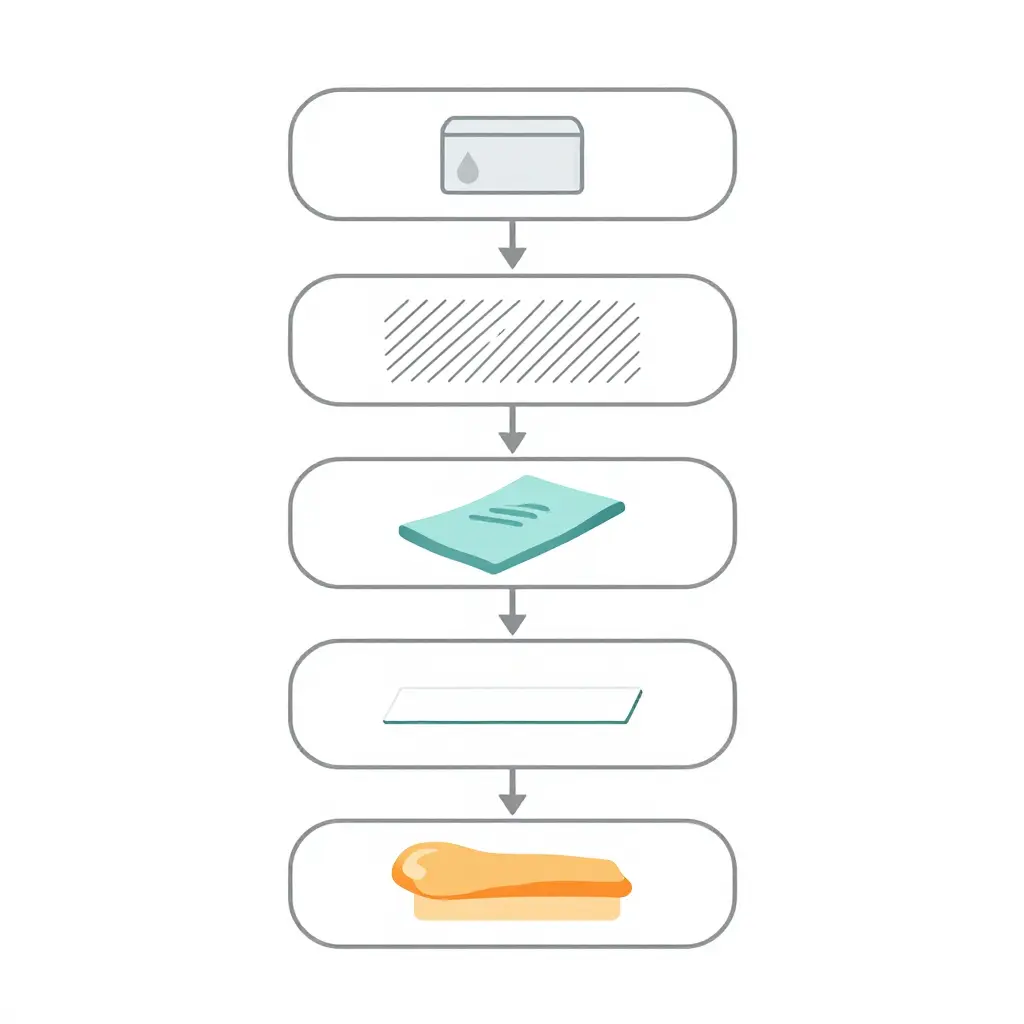
The flowchart above sets out the prep and coating sequence that keeps decals bonded through wet weather, UV exposure, and temperature swings, and it leads into the fixes that follow.
Preventing Fairing Decal Peeling and Maintaining Decals Over Time
Peeling after a single season is rarely bad luck. When motorcycle fairings shed their graphics early, the story usually starts with a clear coat that was too thin, a surface that wasn’t prepared properly, or a curing window that got rushed. The remedy is consistent process, for enthusiasts, custom builders, and repair shops alike.
Clear Coat Selection and Film Thickness
Pick a clear coat that is chemically compatible with the base paint and rated for flexible substrates such as ABS. Rigid, hard clears crack as panels flex, and those hairline cracks let moisture creep under and lift decal edges. Film thickness matters just as much: too thin and the clear offers little protection over the graphic, too thick and it turns brittle. A measured, even build of two to three coats over the decal is the reliable middle ground.
Surface Prep Discipline
A contaminated panel defeats a good clear coat faster than anything else. Prep means degreasing, sanding with the correct grit, and cleaning the panel again before any paint or adhesive touches the fairing. Wipe with a dedicated panel wipe, let solvents flash off fully, and handle panels with clean gloves so skin oils never reach the decal zone. This one habit prevents more adhesion failures than any premium product can rescue.
Curing Time and Environment
Cure to the product’s schedule, not the clock on the wall. Apply and cure in a warm, dust-free space within the stated temperature range, and let the clear reach full cure before washing or riding hard. Rushing this step reintroduces the solvent and flex stress that drive fairing decal peeling.
Washing and UV Protection Habits
Once cured, keep maintenance gentle. Wash with a pH-neutral soap and a soft mitt, keep pressure washers away from decal edges, and finish with a UV-protective sealant or wax. Sun and heat work slowly, so covered parking and periodic sealant reapplication keep graphics crisp season after season.
Starting with quality panels makes every step above easier. Decal-ready custom motorcycle fairings and complete motorcycle fairing kits from a trusted supplier give builders a smoother substrate and predictable clear coat bonding from the first coat.
Frequently Asked Questions: Fairing Decal Peeling After One Season
Why do decals peel so quickly?
Peeling after a single season usually comes down to two things: weak surface prep and an inadequate clear coat. Mold release agents, wax, or dust keep the adhesive from bonding, so heat, vibration, and UV exposure lift the edges within months. Without a clear coat over the decal, road grime and sun attack the film directly and speed up the failure.
Does clear coat or surface prep matter more?
Both matter, but surface prep is the foundation. If a panel isn’t cleaned, sanded, and degreased, even the best clear coat will peel away with the decal stuck underneath it. A quality clear coat adds durability and UV protection, but it can only protect a bond that already exists.
Can peeling fairings be repaired?
Yes, most peeling fairings can be repaired rather than replaced. Remove the lifted decal, clean and sand the area, apply a fresh decal, and seal it with clear coat for a fix that lasts. If the paint underneath is damaged, the panel may need a repaint before the new decal goes on.
How can I tell if prep was the problem?
Prep is usually the culprit when decals lift at the edges while the center stays attached, or when they peel away to reveal a smooth, glossy surface beneath. Adhesive residue left behind, rather than the decal tearing, also points to poor bonding. If the clear coat itself is cloudy, cracked, or separating, the coating is the more likely problem.
Are all motorcycle fairings affected equally?
No. Cheap aftermarket panels often use thinner paint, low-grade clear coat, and inconsistent prep, which makes them more prone to fairing decal peeling than OEM or premium bodywork. Textured, matte finishes and flexible plastics also hold decals differently than smooth, high-gloss ABS. For a deeper look at how materials shape durability, see what motorcycle fairings are made of.
How do I choose fairings less prone to peeling?
Look for brands that spell out their surface prep process, paint quality, and clear coat thickness. High-gloss, properly sealed ABS panels with factory-applied clear coat resist peeling better than budget alternatives. Long-term durability reviews are more useful than product photos.
The Bottom Line: Prep and Clear Coat Decide Whether Your Decals Last
When fairing decal peeling shows up after a single season, the pairing is usually the same: an inadequate clear coat and rushed surface prep. Decals bond to whatever they sit on, so any residue, wax, or rough sanding scratch left behind becomes the starting point for lifting edges and bubbling vinyl. A proper clear coat, applied in the right number of coats and given time to cure, seals that bond and shields the graphic from UV, road chemicals, and the constant flexing of a motorcycle fairing.
That is worth remembering every time you refinish or replace panels. If you would rather start with a surface that is already sound, browse the styles and budget-friendly options at Summit Fairings. Their motorcycle fairings combine variety with a real pricing advantage, giving builders, shops, and riders a dependable base for decals that hold up. Do the prep, finish with clear coat, and your graphics will stay put.