
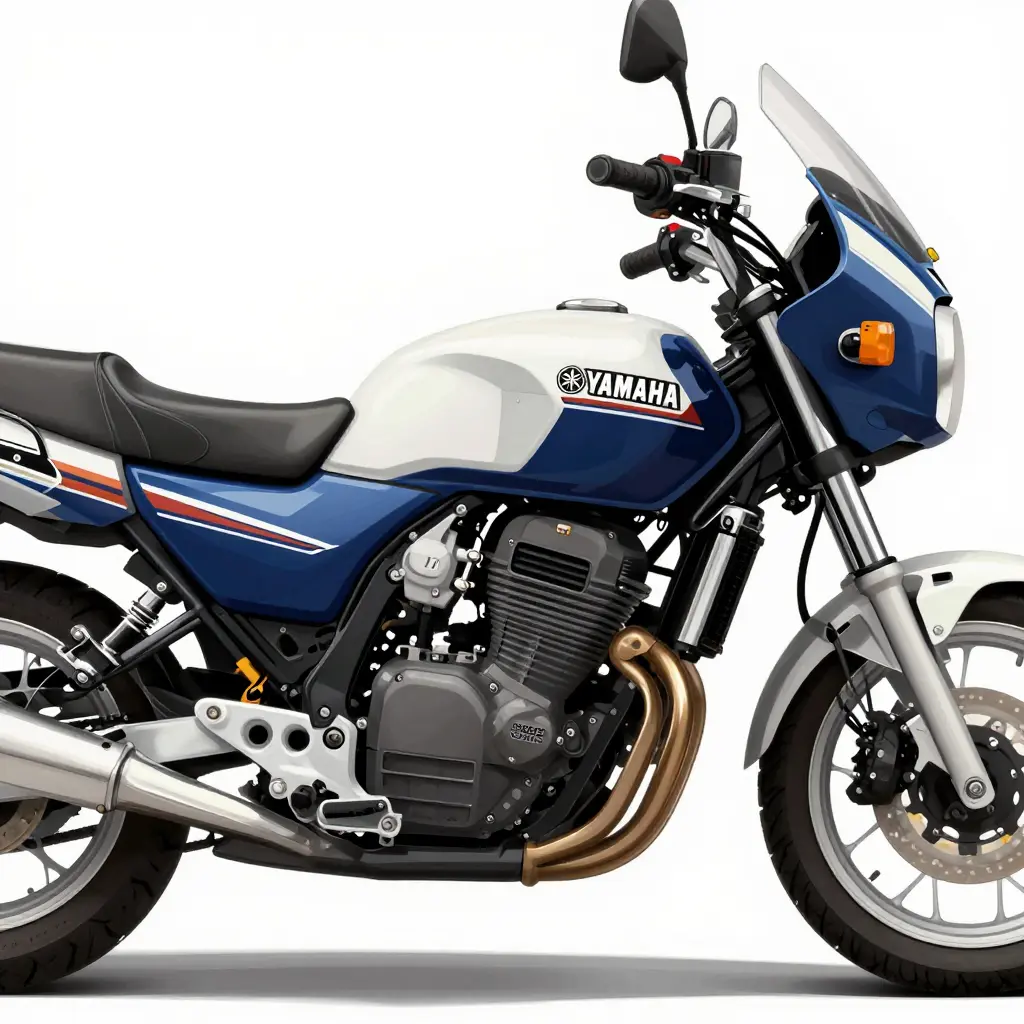
How the Audio Pod and Vent Duct Dictate Panel Selection
On a 1990 Yamaha Venture 1300 fairing, the audio pod and the vent duct are the two components that determine which fairing panels you need. Their mounting bosses and cutout footprints decide how the surrounding panels are shaped, drilled, and layered, so panel choice flows from the pod and the duct rather than the other way around.
The audio pod anchors the upper dash area, and its mounting bosses are fixed reference points that every adjacent panel has to respect. The shape of the pod and the depth of its fastening points limit which inner and outer shells will bolt up cleanly.
The vent duct works the same way, but through airflow geometry rather than fasteners. Its opening footprint dictates where material must be removed instead of added, so the panels around it are trimmed to a specific profile rather than a generic one.
Neither part can be treated as an afterthought: both sit at the structural center of the fairing. If you first understand what motorcycle fairings actually are in terms of layers and mounting points, it becomes clear why Yamaha Venture fairing panels are sold as a matched system. The pod and the duct come first; the panels follow.
Fairing Panel Zones of the 1990 Yamaha Venture 1300
The 1990 Yamaha Venture 1300 fairing is not one continuous molded shell. It is organized into five distinct panel zones, and each zone holds, routes, or feeds one of two components: the audio pod or the vent duct. That layout determines fitment when you order replacement bodywork, because those two components, not the paint code or trim level, decide which panel belongs on a given bike.
The five zones
- Upper fairing shell – the large forward panel that frames the headlight and forms most of the cockpit structure. It provides the mounting face for the audio pod and the upper opening that feeds the vent duct.
- Inner dash panel – the interior panel behind the windshield that carries the gauge cluster and supports the rear of the audio pod.
- Side panels – the left and right panels that close the fairing body and shield the upper runs of the vent duct.
- Lower leg shields – the panels that extend downward to protect the rider’s legs and continue the vent-duct channel toward the lower fairing.
- Vent-duct housing – the dedicated structure that captures and directs airflow, integrated with the audio pod mounting points.
Why the two components decide the panels
Every panel zone supports the audio pod, the vent duct, or both.
| Panel Zone | Component It Supports |
|---|---|
| Upper fairing shell | Audio pod and vent duct |
| Inner dash panel | Audio pod |
| Side panels | Vent duct |
| Lower leg shields | Vent duct |
| Vent-duct housing | Vent duct and audio-pod mounts |
The mounting bosses, cutouts, and duct openings in these fairing panels are shaped around those two parts, so the audio pod and the vent duct are the deciding factors for panel selection. A panel made for a Venture 1300 without an audio pod, or with a different vent arrangement, will not line up. When you compare motorcycle fairings for this model, match each panel to the components it must carry, then match the color. For more background on how these parts are described, see what motorcycle fairings are.
The Audio Pod and the Panels It Demands
The audio pod is the enclosed console on the 1990 Yamaha Venture 1300 fairing that houses the radio, cassette deck, and its speakers. On this model it mounts high on the inner dash, seated above the gauge cluster and tucked directly behind the windshield, within easy reach of the rider’s left hand. Because the pod is a distinct module rather than part of a single molded shell, it dictates which Yamaha Venture fairing panels you need.
Choose the audio pod layout first, then the panels follow. Every panel decision flows from the shape, depth, and mounting pattern of the pod you install.
Mounting tabs
The pod attaches through a set of molded tabs that bolt to the fairing’s internal frame. These tabs set the pod’s height and angle, so the supporting panel must expose matching bolt locations and enough structural backing to hold the console steady.
Wiring pass-throughs
A wiring pass-through (a grommet-lined opening that lets the audio harness travel safely through the fairing) runs from the pod down to the bike’s electrical system. The panel behind the pod needs a corresponding opening, or the harness has nowhere to route without pinching.
Speaker and control cutouts
The pod’s speaker openings and control cutouts fix where sound and buttons emerge. These cutouts decide the diameter and placement of grilles and access points on the surrounding shell.
The panels that follow
- Inner dash panel – supports the pod’s tabs and covers the wiring pass-through.
- Upper fairing shell – carries the speaker cutouts and frames the pod.
- Matching side panels – close the gaps left by the pod’s width and mounting depth.
Cut to the pod’s layout, these three panels make the assembly look intentional and fit like stock. For anyone weighing a full replacement set, reviewing what goes into a quality motorcycle fairing helps frame the choice.
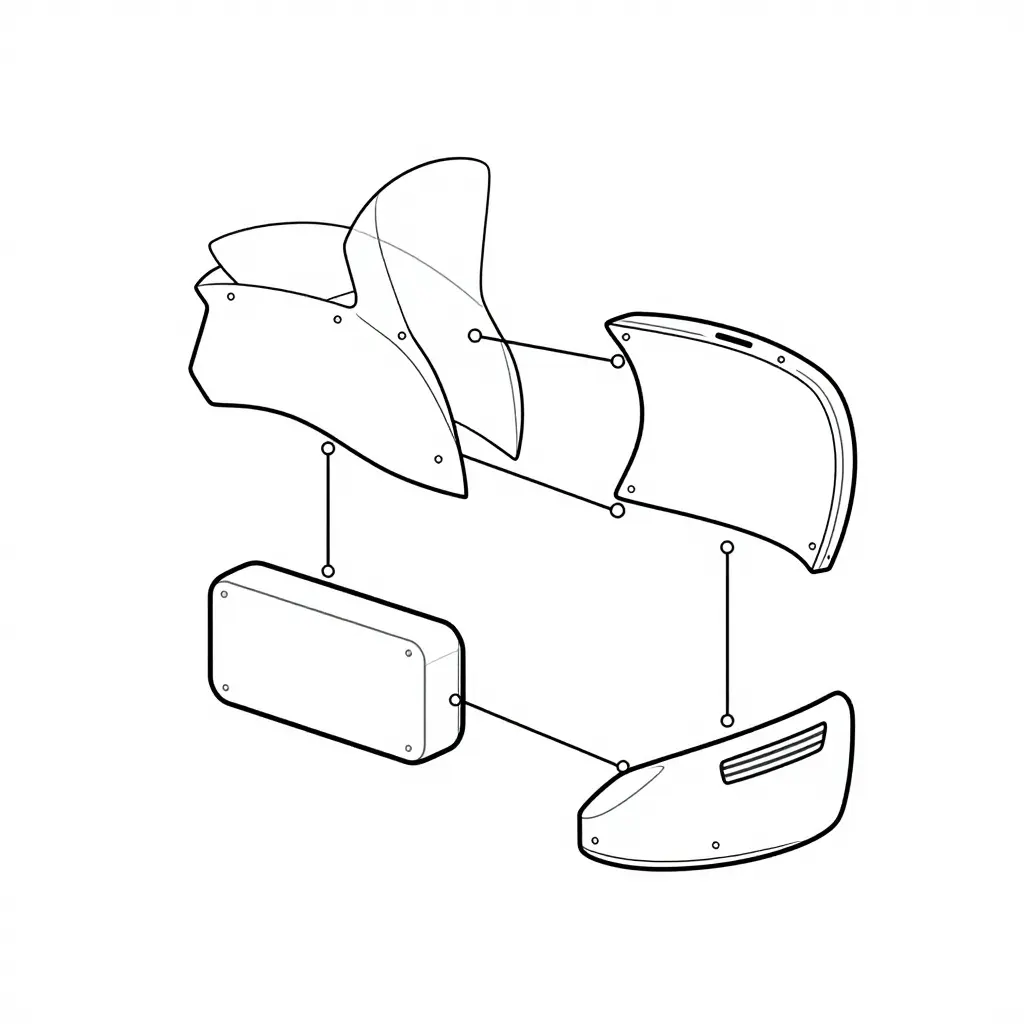
The Vent Duct and the Panels It Requires
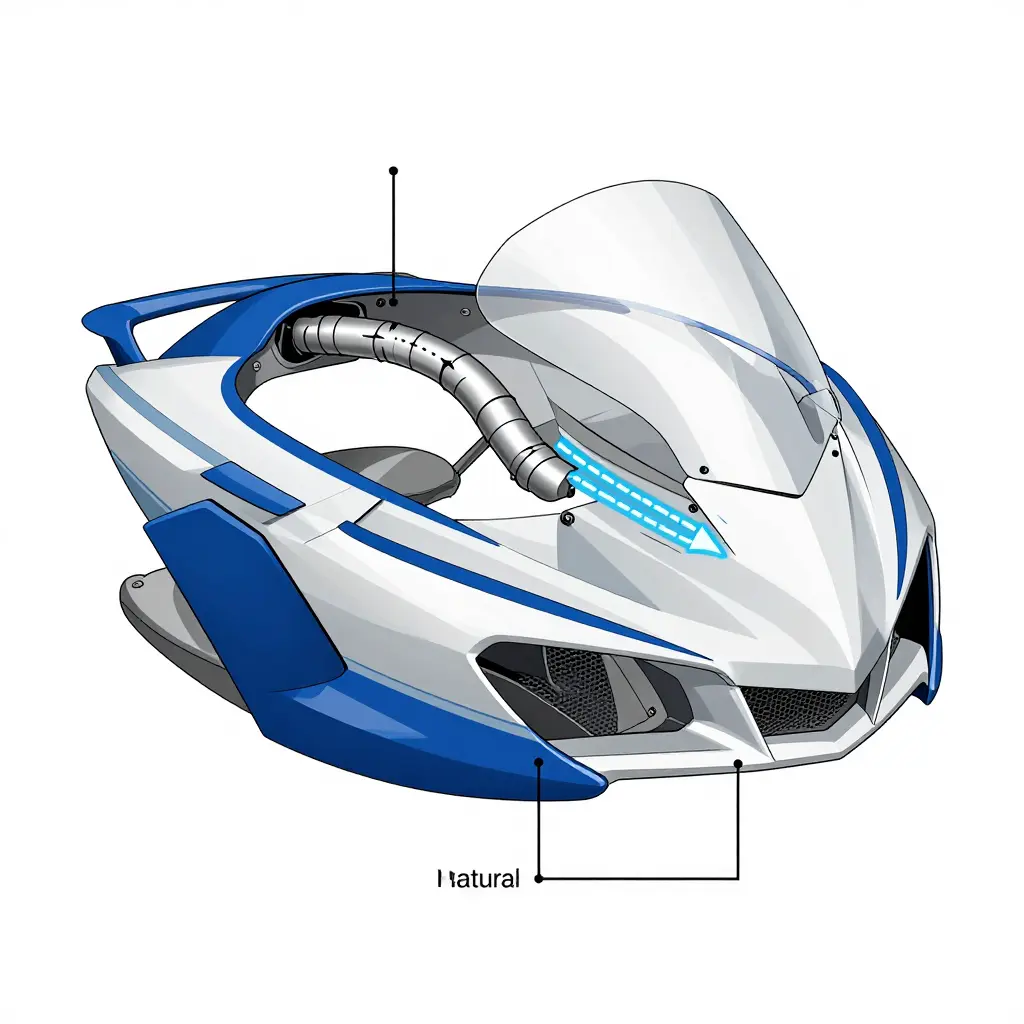
On the 1990 Yamaha Venture 1300 fairing, the vent duct is the component that guides airflow from the front intake through the fairing body and toward the rider or the engine bay. It does not float on its own; once the fairing is fully assembled, it is a fixed pathway that has to stay open and aligned.
How the Vent Duct Routes Air
The duct starts at an opening in the front or mid fairing and channels air rearward, following a curved internal path. Because the air must travel a set route, the duct keeps a specific cross-section along its length rather than tapering randomly. That fixed shape is what keeps the airflow predictable at speed.
How the Duct Sits Within the Fairing
The vent duct sits behind the outer shell, tucked into the space between the fairing skin and the inner structure. Its edges and tabs land on dedicated mounting points, so it holds a precise position relative to the fairing opening. The surrounding fairing panels hide it rather than leaving it on the surface.
Why the Duct Footprint Drives the Panels You Need
The shape and mounting points of the vent duct decide which panels are required to close the assembly around it. A duct that is wide at the base needs inner panels of matching width to seal the gap; mounting tabs that sit low need cutouts in the lower leg shields in the right spots.
| Panel | Role around the vent duct |
|---|---|
| Side panels | Close the outer gap beside the duct and follow its rear curve |
| Lower leg shields | Cover the lower air path and match the duct’s lower mounting points |
| Inner panels | Seal the space behind the duct and hide its internal routing |
When you order fairing panels for this model, confirm that the duct footprint lines up first. A panel set that fits the duct’s mounting points will close the assembly cleanly, while a mismatched set will leave gaps around the vent.
For riders comparing replacement options, reviewing full fairing panel kits helps you match the duct-driven layout before you buy.
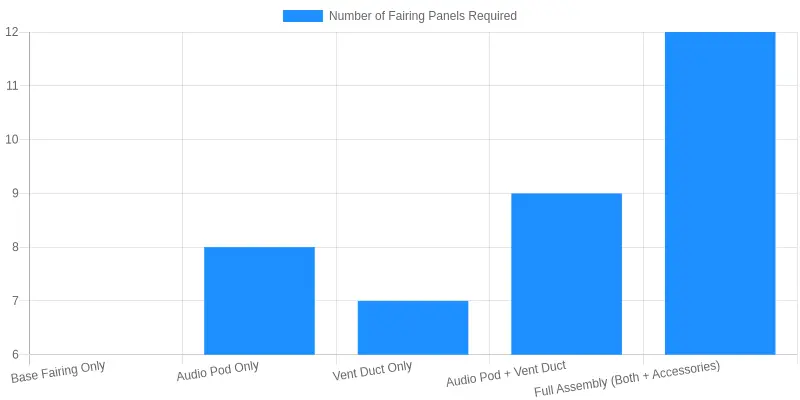
How Audio Pod and Vent Duct Change Your Panel Count
The chart below shows why two otherwise identical 1990 Yamaha Venture 1300 fairings can need a different number of parts. A base fairing is the lightest build. Add the audio pod and the count climbs, because the pod needs its own mounting fascia and trim covers. Fit the vent duct on its own and you swap a blank panel for a ducted one, a smaller bump. Combine both and you are in the middle-to-high range, while a full assembly with both plus accessories asks for the most panels of all. Every feature carries a panel count, so it is worth knowing which configuration you are building before you order. Browse related resources at Summit Fairings’ catalog to get the right fit the first time.
Panels and Parts Checklist for the Audio Pod and Vent Duct Setup
Once the audio pod and vent duct configuration on a 1990 Yamaha Venture 1300 is decided, source the surrounding Yamaha Venture fairing panels and related parts as a matched group. The components below are the ones the pod and duct directly determine, so confirm each before ordering. How complete fairing kits group these parts is covered in this guide to motorcycle fairing kits.
- Inner dash panel – The audio pod bolts directly to this panel, which has to carry the correct cutout, mounting bosses, and reinforcement for the pod’s weight.
- Upper fairing shell – The vent duct passes through it, so the panel needs a matching duct opening and contour.
- Side panels (left and right) – These close the gaps beside the pod and duct. Specify the version shaped to clear the vent duct housing and wiring.
- Lower leg shields – The vent duct often ends near the lower fairing. Pick leg shields with the outlet profile that lets air exit where the duct sends it.
- Vent-duct housing – It connects the duct opening to the fairing body, so it has to match the upper shell and side panels to keep the airway sealed and free of rattles.
- Audio pod trim and grille – The pod’s trim and speaker grille fit specific fairing contours. Source pieces sized for the chosen pod, not a generic set.
- Mounting brackets and fasteners – The pod and duct add load and vibration, so the brackets and hardware need a rating that holds both in place.
Checking each item against the final pod and duct layout keeps the assembly complete and aligned, with no last-minute substitutions.
1990 Yamaha Venture 1300 Fairing: Panel Map by Audio Pod and Vent Duct Setup
| Fairing Panel | No audio pod, no vent duct | Audio pod only | Vent duct only | Audio pod plus vent duct |
|---|---|---|---|---|
| Main outer fairing shell | Required | Required | Required | Required |
| Inner fairing panel | Required | Required | Required | Required |
| Center vent duct insert | Optional | Optional | Required | Required |
| Left vent duct trim | Optional | Optional | Required | Required |
| Right vent duct trim | Optional | Optional | Required | Required |
| Left audio pod side panel | Optional | Required | Optional | Required |
| Right audio pod side panel | Optional | Required | Optional | Required |
| Audio dash control cover | Optional | Replaced | Optional | Replaced |
| Vent blanking plate | Required | Required | Replaced | Replaced |
| Mirror cover trim | Required | Required | Required | Required |
Confirming Compatibility and Fitment
Once you know whether your 1990 Yamaha Venture 1300 carries an audio pod and how its vent duct is routed, the next step is confirming that a set of Yamaha Venture fairing panels will actually bolt up. The differences between configurations show up first at the mounting points.
Mounting Tabs
Panels made for audio-equipped bikes often add or relocate tabs to support the pod and its wiring, while non-audio versions omit them. If the tab pattern does not match your fairing frame, the panel will not sit flush no matter how you adjust it. Compare tab count, spacing, and angle against your original piece before committing.
Cutout Positions
Audio pods require specific openings for speakers and controls, and vent duct panels route air through shaped slots. A set of replacement fairings built for a vented assembly places those openings differently than a solid or audio-only panel. Measure the distance from the frame edge to the nearest cutout and check it against the listing specifications.
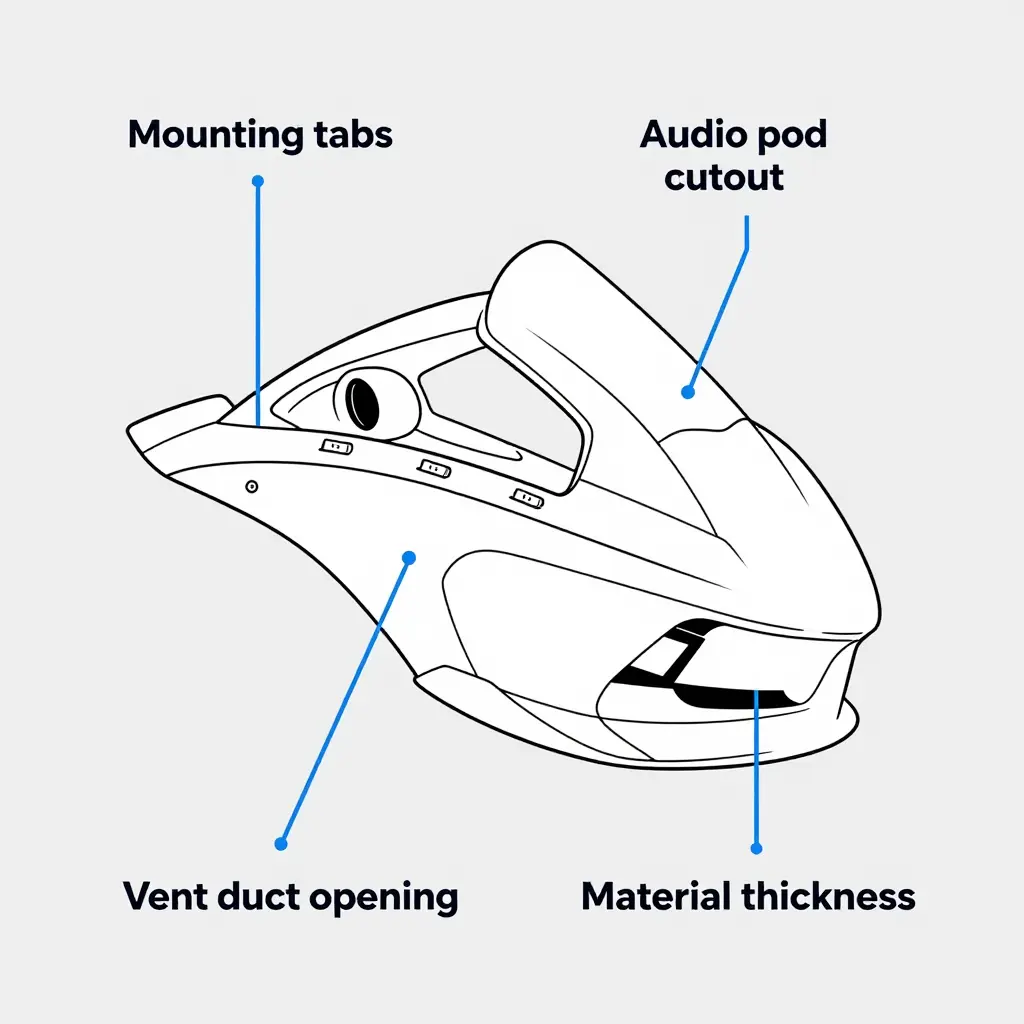
Material Thickness and Panel Alignment
Material thickness also affects fit. Thicker ABS holds its shape and aligns cleanly along the seams, while thinner panels can flex and pull away from the vent duct and pod housings. Alignment at the headlight, mirrors, and lower cowl should follow the same reference lines your original pieces used, so measure twice and dry-fit when possible.
Matching Panels to the Correct Assembly
To match panels to the right assembly, identify your audio pod and vent duct combination first, then select parts listed for that exact configuration. This avoids the common mismatch where a vented lower will not clear an audio-pod bracket, or where pod tabs have nothing to anchor to. If you are exploring options for other models too, it helps to review Yamaha fairing options that follow the same fitment logic.
Summit Fairings states that it stocks over 3,000 styles covering almost all motorcycle models, prices them 10-40% lower than other sites, and answers questions within six hours. With that range of motorcycle fairings, matching your specific pod and duct setup becomes far more straightforward.
Conclusion: Identify the Audio Pod and Vent Duct Before You Buy
What decides which panels belong on a 1990 Yamaha Venture 1300 fairing is the audio pod and the vent duct, not the model year alone. Both features alter the cutouts, mounting points, and contour of the surrounding plastic, so a panel shaped for a base model often will not seat correctly on an audio-equipped bike.
Put the panel layouts side by side and the difference is visible. An audio pod requires a side panel with a speaker opening and the correct internal bracket, while a vent duct calls for a panel with a matching recess and airflow channel. When owners order replacement motorcycle fairings as a complete set, these details matter even more, which is why ordering a full kit, with its own set of motorcycle fairing kit benefits, still calls for a careful panel-by-panel check. The same logic appears across the Yamaha range, including the sport models covered in this Yamaha R6 fairing overview, where trim and accessory choices drive fitment in much the same way.
Recognizing both the audio pod and the vent duct before ordering Yamaha Venture fairing panels prevents the gaps, misaligned bolt holes, and return shipping that come from guessing. If you want one place to start matching panels to accessories, take a moment to explore Summit Fairings’ full destination catalog.
Ready to order? Buy your motorcycle fairings at summitfairings.com, where prices run 10-40% lower than other sites, and every question gets a real answer within six hours.