
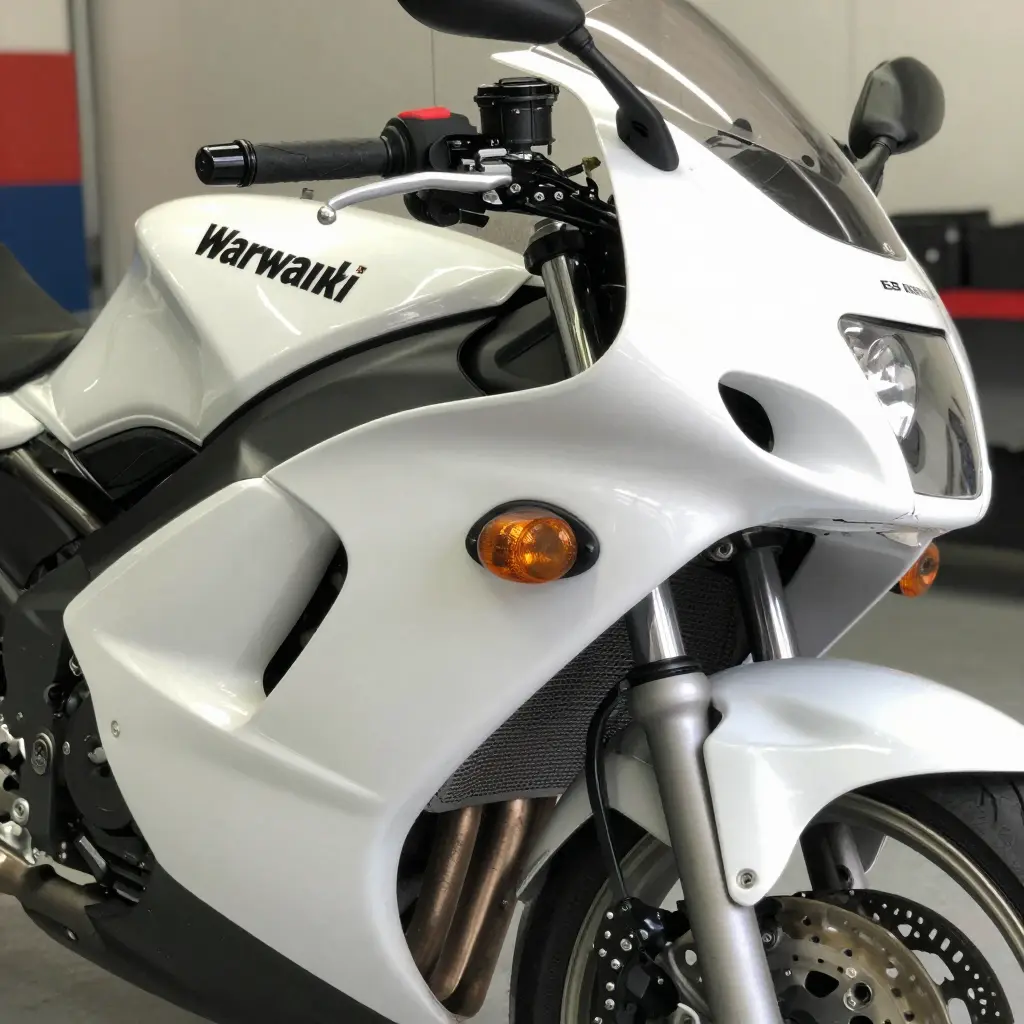
Full Kit or Belly Pan? Start With the Mounts, Not the Paint
Buying fairings for a 2009 ER-6n is a mounting decision. The round headlight bowl and the bare frame decide what can physically bolt on, so the ER-6f nose stay and bracket set matter more than the paint scheme. Those two parts, not the finish, separate a workable full kit from a belly pan.
The ER-6n left the factory naked: one round headlight in a shallow bowl, no moulded pockets behind it, no upper cowl tabs, no side-panel locating bosses. A fully faired bike carries all of that from the factory. A full kit has to supply the missing hardware before a single panel hangs straight.
That hardware is the ER-6f nose stay and its matching bracket set, which reproduce the mounting arrangement of the faired model. The ER-6n 650 frame leaves those attachment points exposed but empty, so a kit that skips the stay will fit badly however accurate the ABS mould is. This is why fairing fitment on this platform is judged at the stay, the bowl and the frame tabs, and why two kits with identical finishes can sit completely differently on the same bike.
A belly pan answers a smaller question. It attaches low, to the engine and the lower frame, and leaves the bowl and the upper mounts alone. The rest of this page works through the mounts one at a time.
Headlight Bowl Shape, Frame Mount Points, and Fairing Fitment
The ER-6n and ER-6f share a 649 cc engine and a general layout. They do not share a front end, and that is what decides whether a kit bolts on.
Two different front-end architectures
On the ER-6n the headlight sits in a headlight bowl: a round, largely self-supporting composite housing that holds the reflector, closes with a trim ring or lens, and bolts to a small bracket set near the headstock and fork tubes. There is no shell around it to hide a mounting structure, so the bowl is the structure. Every surface behind the lamp is visible, and every fastener shows. That makes the bowl a hard reference point, not a decorative cover.
The ER-6f goes the other way. Its headlight has a different shape and sits inside a faired nose, and that nose hangs on a multi-point internal cage, usually called a nose stay, that picks up several fasteners and spreads panel load across them. The cage exists because a large thin fairing is flexible: it needs many small attachments spread wide, not a few strong ones in a line.
| Reference point | ER-6n (naked) | ER-6f (faired) |
|---|---|---|
| Headlight carrier | Round bowl housing, fully exposed | Streamlined lens inside a nose shell |
| Support structure | Small bracket set at headstock and forks | Multi-point internal cage or nose stay |
| Panel load path | Bowl plus trim ring | Cage spreads load into the frame |
| Fastener count | Low | High, spread over the cage |
What the 2009 ER-6n 650 frame actually offers
Strip the bodywork off a 2009 ER-6n 650 and the frame offers a deliberately short list of frame mount points: threaded bosses on the main spars, bracketed lugs near the radiator and engine hangers, and the headstock-area brackets that carry the bowl. None of them are slotted or adjustable. They were placed for a naked machine with almost no panels attached.
A full kit has to reach them. Reach is the distance from a panel’s mounting pad to the bolt hole it must meet. Angle is the plane of that pad against the frame lug; a few degrees of mismatch pull the panel into a twist, and the twist shows up as a gap at the opposite end. Thread pitch is the fastener standard itself: an M6 x 1.0 boss will not take an M6 x 0.75 fine-thread bolt, and forcing a mismatched bolt strips aluminium rather than reforming it.
Panel shape is the most visible variable and the least critical. Composite panels can be flexed, trimmed and shimmed. Bolts cannot. Reach, angle and thread pitch outrank aesthetics when a kit is being evaluated, so browse custom Kawasaki fairings with those three dimensions in mind rather than the profile alone.
Why a panel can look correct and still sit wrong
A panel can copy the silhouette of an ER-6f nose and still sit wrong, because visual shape and mounting datum are separate things. If the bowl it was designed around is not the bowl on your bike, or if its mount reference points are not the ones on your frame, the outline lines up while the fastening plane does not. The panel is correct in profile and wrong in space.
The symptoms are readable: uneven shut lines at the tank and lower edge, fasteners you have to pull into place by hand, stress crazing around bolt holes within a few hundred miles, headlight aim that drifts after adjustment, contact with the fork tubes or bars at full lock. None of these are cosmetic faults. They are geometry faults, and the cause is a datum mismatch.
Fairing fitment is a reference-point problem before it is a styling problem. The bowl and the frame mount points decide where a panel is allowed to live; the panel’s shape only describes how it looks once it is there.
The two front ends never shared anchor points. The naked ER-6n carries its headlight in a compact round bowl that picks up a handful of bosses on the frame and instrument bracket. The ER-6f hides everything behind bodywork, so Kawasaki bolted a nose stay to the frame and welded bracket pads across it for the side panels, upper cowl and mirror stalks. A faired side panel has to land on pads that exist only on the -f, which is why it has nothing to bolt to on a -n frame. Confirm which front end a kit was moulded around before ordering custom Kawasaki fairings.
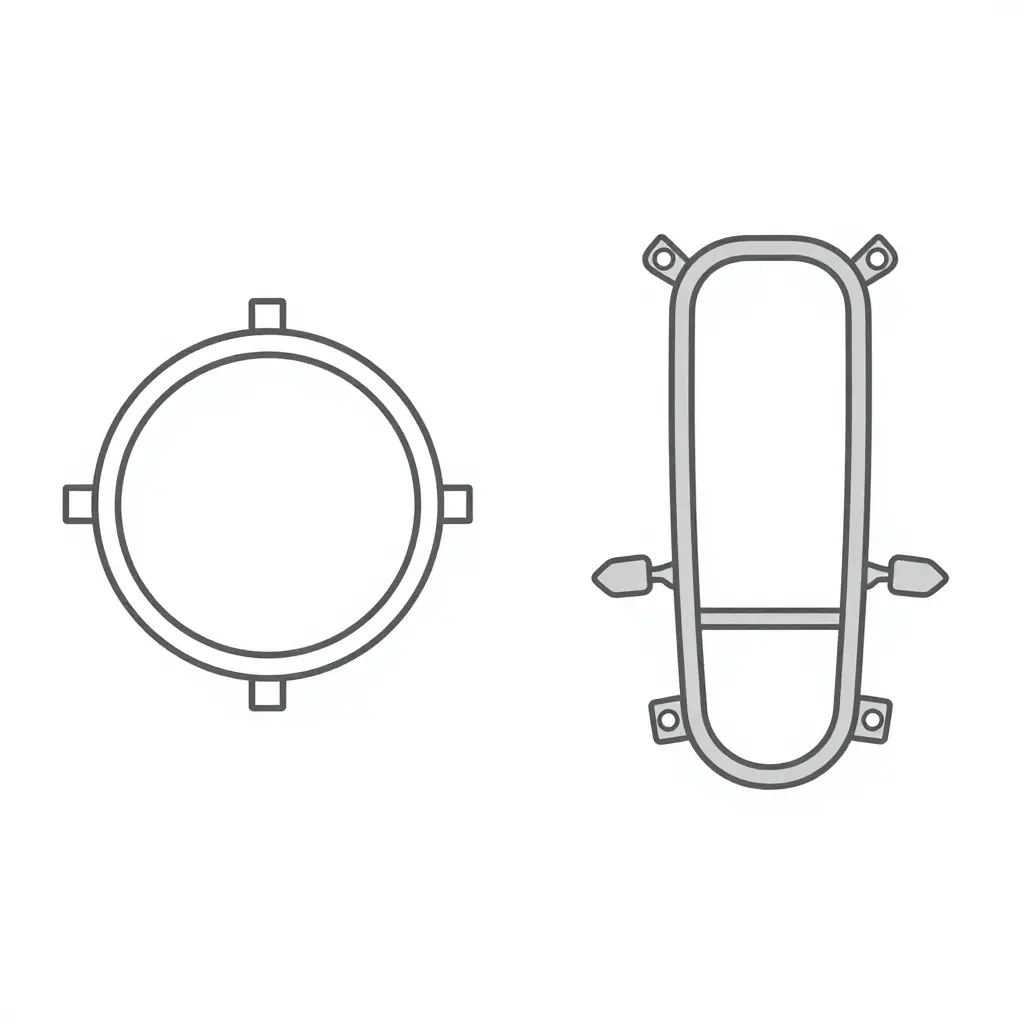
Left: the ER-6n round headlight bowl and its few frame-side mount bosses. Right: the ER-6f faired nose, with the nose stay cage and its spread of bracket pads that no ER-6n panel can reach.
The ER-6f Nose Stay and Fairing Bracket Set: The Real Gatekeeper of Fairing Fitment
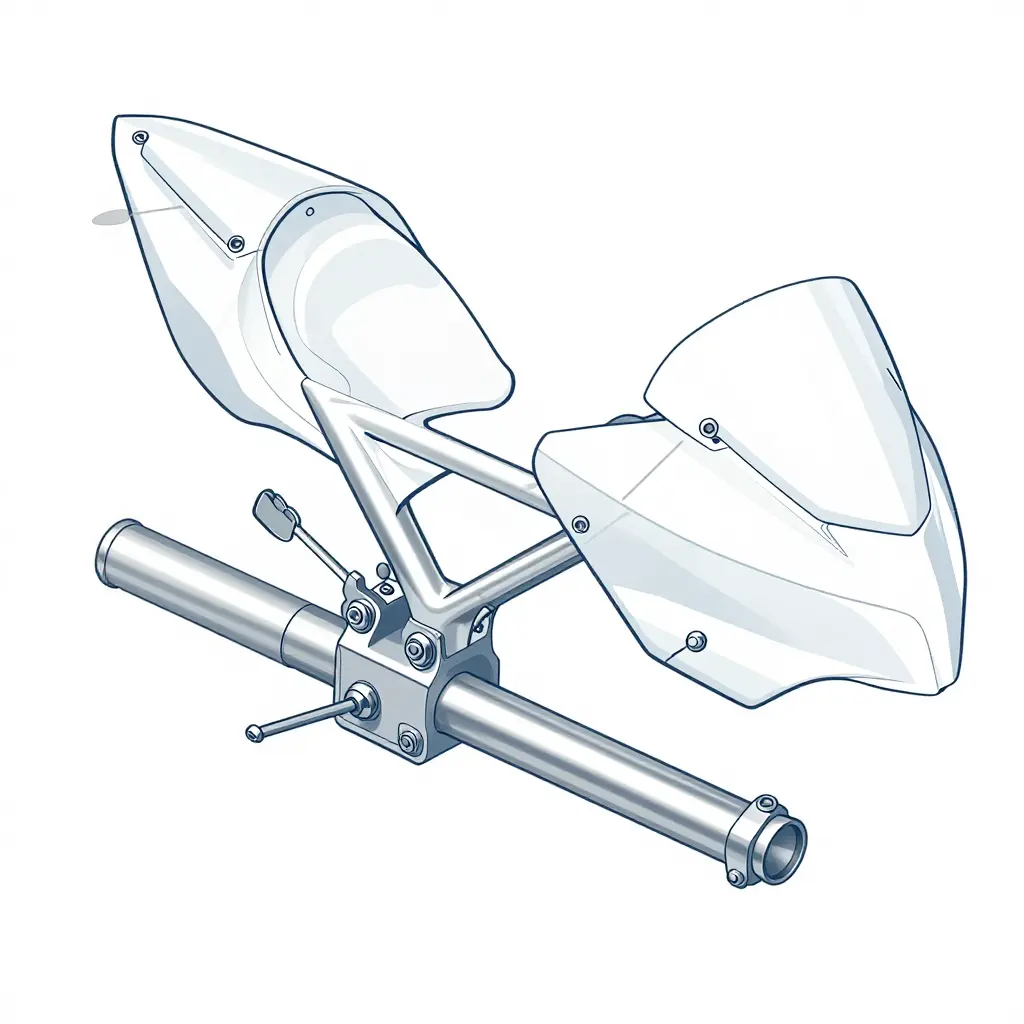
Anyone who has bolted a full fairing onto an ER-6n learns the same lesson: the panels are the easy part. The parts that decide whether the conversion works are hidden behind them.
The Nose Stay Is the Structural Spine
The ER-6f nose stay is the steel tube frame that bolts to the front of the ER-6n main frame and carries the upper and side panels ahead of the headstock. It is not a decorative bracket. It is the load path. The stay sets the longitudinal position of the fairing relative to the frame, holds the mirror mounts and the headlight housing reference points, and takes the vibration and wind load that the plastic panels cannot. A naked ER-6n does not have one, which is why a conversion depends on sourcing the correct part.
The Bracket Set Converts Frame Geometry Into Panel Geometry
The fairing bracket set translates between two design languages. The frame and stay speak in cast bosses, threaded lugs and fixed hole centres. The panels speak in tabs, slots and trim edges at their own angles. Shaped steel or aluminium arms, spacers and offset tabs move each attachment point to exactly where the moulded panel expects it.
Tab Count, Spacing and Angle Govern Compatibility
This is where compatibility is settled. A bracket set with four tabs at 120 mm will not hold a panel moulded for five tabs at 105 mm, however closely the paint matches.
- Tab count sets how many fixing points exist, and therefore how evenly load is distributed across the panel.
- Tab spacing sets the horizontal relationship between panel halves and controls whether the centre seam closes cleanly.
- Tab angle sets the pitch of the upper panel and the flare of the side panels, which is what you see as trim gap alignment.
A bracket that is dimensionally right in two axes and wrong in the third will bolt up and still leave the nose cone proud on one side.
What Happens Without the Correct Stay and Brackets
Kits supplied without the matching stay or bracket set fail in predictable ways rather than random ones.
| Symptom | Underlying Cause |
|---|---|
| Star cracks around mounting holes | Panel pulled into a tab that sits off-plane |
| Buzz and rattle above 60 mph | Insufficient or mis-spaced fixing points, stay flexing |
| Uneven trim gaps at the tank and nose | Tab angle error accumulating along the panel run |
| Fastener threads unreachable | Bracket throws the panel short of or past the lug |
| Panel distortion in summer heat | Stress locked into the plastic at assembly |
Owners blame the panels for all of these. Almost none of them are panel faults.
The Stay and Bracket Set, Not the Panel Count, Is the Compatibility Gate
A twelve-piece kit and a seven-piece kit can both be correct, or both be useless, depending on what hardware comes with them. Counting panels tells you how much plastic you are buying. It tells you nothing about whether the parts will mount. Verify the ER-6f nose stay and the matching bracket set first, then compare panel counts, finishes and prices. Confirm the stay and brackets, then confirm the panels.
Full Fairing Kit vs. Belly Pan Only: The Decision Matrix
Once the stay question is settled, the rest falls into place quickly. The two paths diverge at the first panel: a full kit wraps the ER-6n into ER-6f territory, a belly pan dresses the lower engine. The matrix below sets out both before the fitment detail.
Table 1: 2009 Kawasaki Ninja ER-6n fairing decision matrix – full fairing kit vs. belly pan only.
| Fitment factor | Full fairing kit | Belly pan only |
|---|---|---|
| Panels included | Upper, side, lower, tail, fender panels | Single lower belly pan shell |
| ER-6f nose stay required | Yes. ER-6f stay or equivalent | No |
| Bracket set required | Yes. Full multi-point bracket set | No. Light stay kit only |
| Headlight bowl treatment | Enclosed by upper cowl panels | Retained, fully exposed |
| Frame mount points used | Nine frame and subframe points | Three lower frame and engine points |
| Approximate hardware count | Twenty-six fasteners | Eight fasteners |
| Wiring changes needed | Headlight and indicator rerouting | None |
| Installation time band | Long band – full day | Short band – under two hours |
| Typical price band | Mid to high band | Entry band |
| Coverage of engine and frame | Engine, frame, and radiator covered | Lower engine and exhaust only |
| Reversibility to stock | Reversible with stay and bracket removal | Fully reversible, bolt-on removal |
| Best suited to | Full ER-6f style conversions | Budget naked-bike styling |
How to read the matrix
The nose stay and bracket set rows decide the others. A kit that needs the ER-6f stay will always need the matching bracket set, because the upper cowl and side panels share the same load path into the frame; hardware count, wiring and install time follow from that.
The headlight bowl row is easy to miss. The ER-6n bowl is shaped for an exposed lamp, so full kits enclose it with dedicated upper panels, while belly pans leave the bowl and its connectors untouched. That difference accounts for most of the price and labour gap between the two options.
If you are leaning toward the full conversion, compare moulds and panel counts across the Kawasaki-specific fairing kits before committing; the ER-6n and ER-6f share a chassis but not a bodywork blueprint. Belly pan shoppers can decide on the coverage row alone.
Either way, decide with the stay and bracket answers in hand. Bodywork that fights the frame mount points never looks right, whatever the paint costs.
Pre-Order Fitment Verification Checklist: 2009 ER-6n
Run these checks on the machine itself before you pay for anything.
- Inspect the nose of the frame for an ER-6f nose stay. Look behind the radiator shroud and above the headlight housing for the twin-arm steel stay that carries an ER-6f upper fairing. If it is absent, plan to source that part before any full kit will hang correctly.
- Count and record every available frame mount point. Trace both sides of the headstock, the front frame downtubes and the upper spar, then note each threaded bung with its position and thread size so you can compare the count against the kit listing.
- Confirm the headlight bowl type and diameter. Measure the bowl opening across its widest point and note whether it is the round ER-6n housing or a reshaped unit. A mismatched bowl will not seat inside the fairing aperture, however the bracket is adjusted.
- Check the tab count on the fairing bracket set against the kit specification. Lay the brackets beside the bike, count the mounting tabs on each piece, and match that number to the hardware sheet supplied with the kit.
- Confirm fastener thread pitch and reach for every bracket-to-frame bolt. Thread a sample bolt into each bung by hand to verify pitch, then check that the shank reaches full engagement without bottoming out or protruding into the radiator core.
- Verify clearance at the fork tubes and radiator. Turn the bars lock to lock with the side panels removed and confirm the inner fairing edges clear the fork legs and radiator tanks through the full steering sweep.
- Confirm the wiring harness can reach the new headlight position. Route the harness along its natural path and check that the headlight connector, turn signal leads and any auxiliary plugs reach the relocated mounting point with slack to spare.
- Confirm the side stand and footpeg areas stay clear of lower bodywork. Check that the side stand retracts fully and that your boot has room on the peg without contacting the belly pan or lower side panels.
- Record your findings and dry-fit before finalising the order. Photograph each mount point with a tape measure in frame, then send those images with your bracket count when you compare Kawasaki-specific fairing kits, so the supplier can confirm fairing fitment against your actual frame.
Worked in sequence, the checklist turns “will it fit” into a documented answer you can hand to any parts counter or fabricator.
Mount Points vs. Fasteners Across Four Front-End Configurations
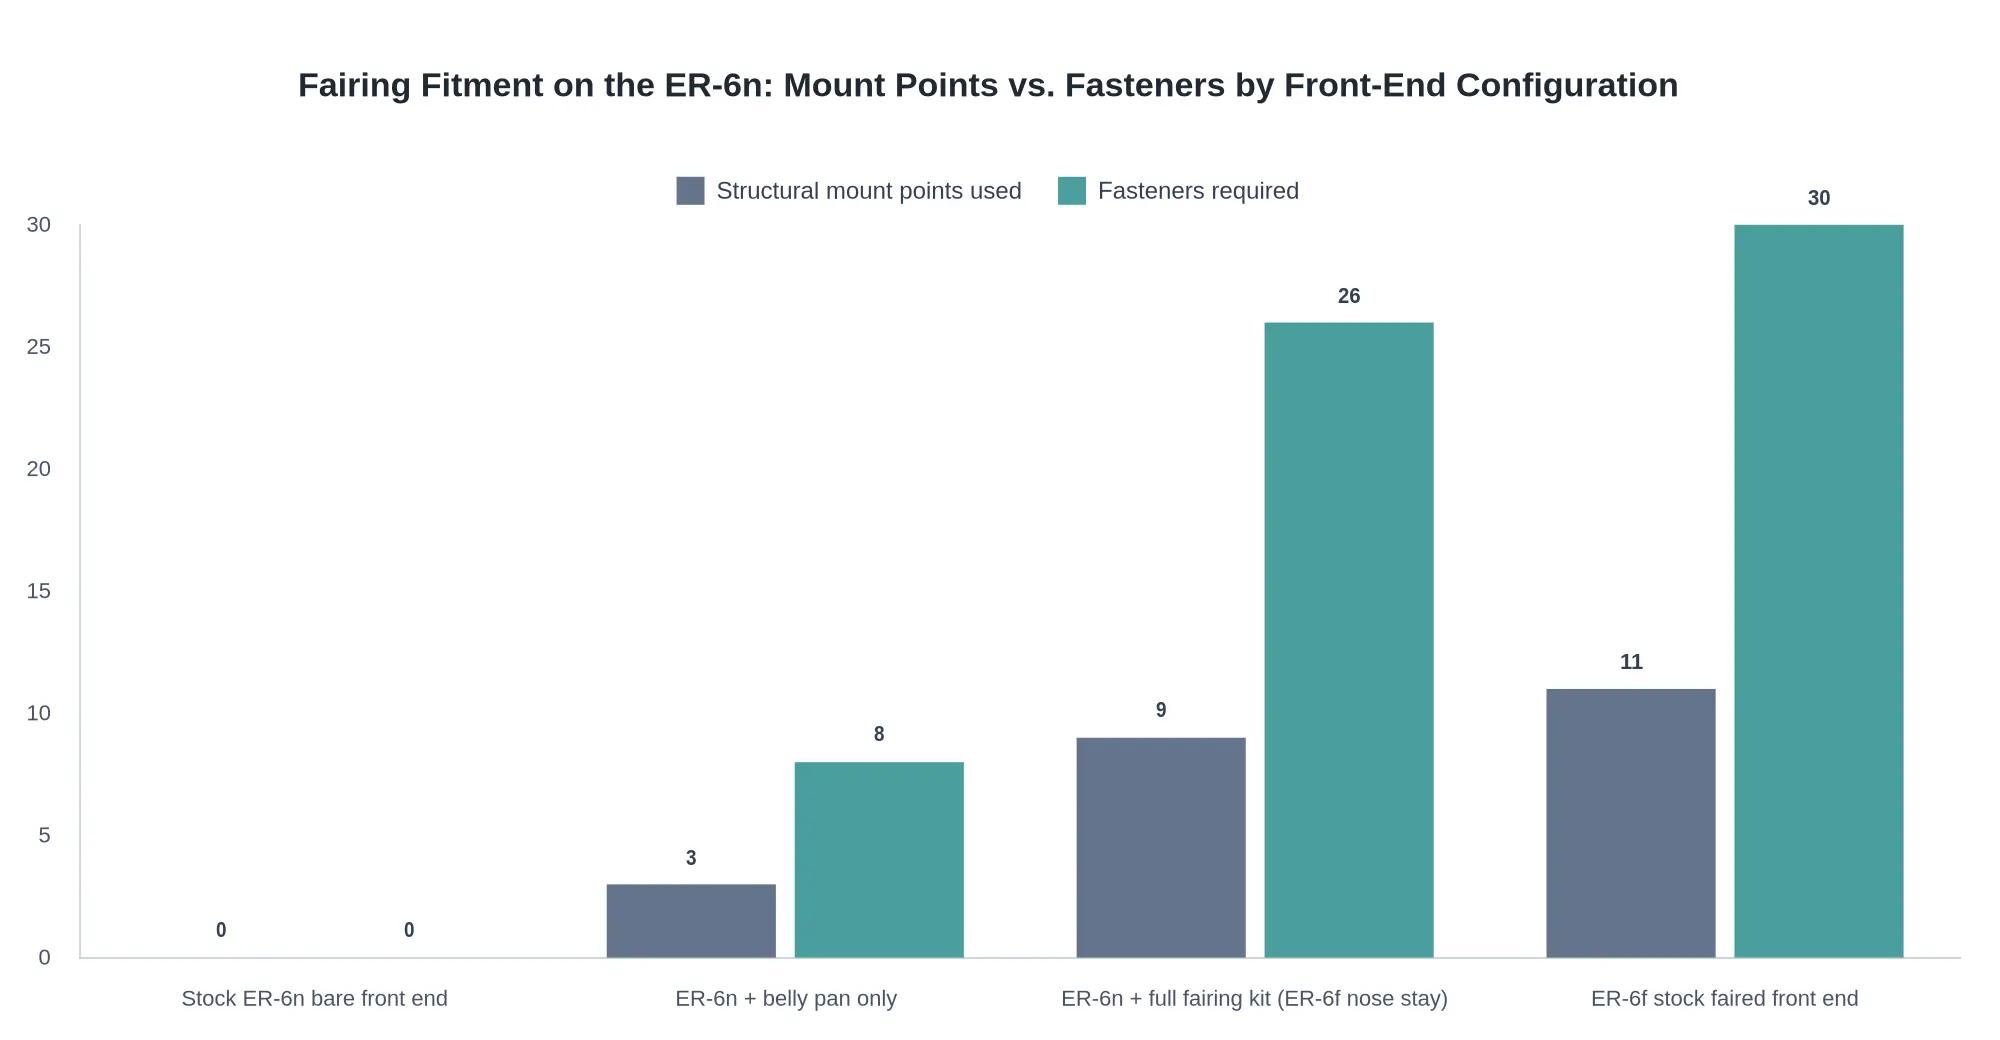
The difference is structural. A belly pan reuses three lower mounts and eight fasteners; a full kit needs nine mount points and twenty-six fasteners. The extra count comes directly from the ER-6f nose stay and bracket set tying panels into the frame. That hardware separates a mountable kit, such as these custom Kawasaki fairing kits, from an approximate one.
Belly Pan Fitment: The Simpler Route
A belly pan is the low-risk half of the fairing fitment decision. A full kit asks the frame to carry upper bodywork; a pan hangs off hardware the ER-6n 650 already has, which is why it bolts on without fabrication.
What a Belly Pan Actually Bolts To
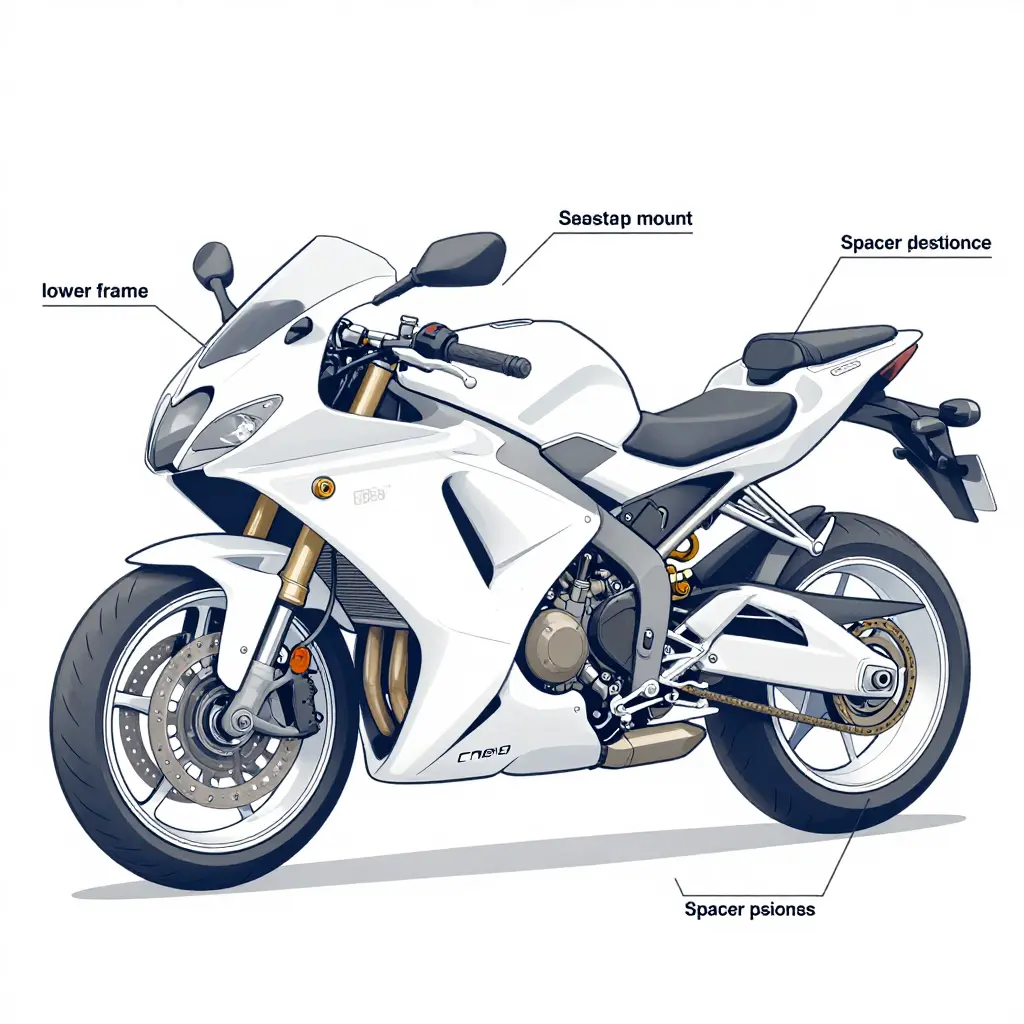
On the ER-6n 650, a belly pan attaches to the lower frame and engine, not to the headlight or cockpit area:
- Lower frame tabs and engine case bosses – the primary load points, usually the same threaded holes shared with the radiator lower bracket and side stand mount.
- Radiator lower mounts, where the pan wraps forward to close off the underside of the nose.
- Chassis rails near the sump, which set the pan’s lateral width and centreline.
Nothing reaches the cockpit, so the stock round bowl stays fully exposed. Its shape does not affect fitment: no shroud covers it, and no bracket has to be indexed to it.
Why No ER-6f Nose Stay Is Needed
A nose stay is a structural arm that carries the upper cowl, side panels and headlight assembly ahead of the frame. A belly pan has none of those parts to carry. It is a self-supporting lower shell anchored at the bottom of the bike, so the ER-6f stay and its bracket set are not part of the equation. That also means no mirror stalks, no clock surround and no upper fairing to align.
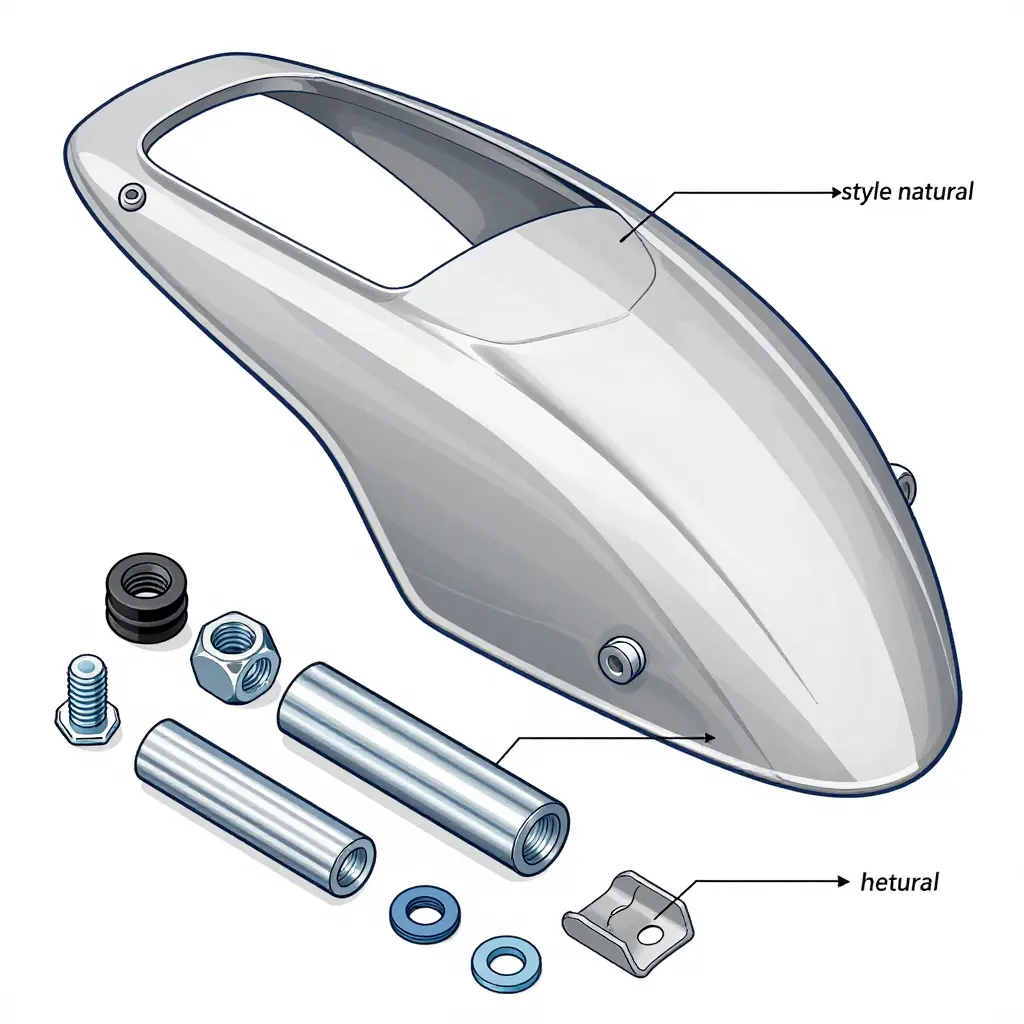
Fasteners and Spacers You Will Rely On
| Hardware | Typical Size / Role |
|---|---|
| Flange hex bolts | M6 x 20-25 mm into frame and engine bosses |
| Rubber well nuts | M5-M6, for the forward pan lip |
| Cylindrical spacers | 10-25 mm, to clear exhaust headers and radiator hoses |
| Nylon washers | Vibration isolation at contact points |
| Quick-release fasteners | Optional, for fast oil changes |
Where Exhaust, Airflow and Ground Clearance Decide the Choice
Exhaust routing comes first. The ER-6n’s collector and headers run close to the sump, so the pan has to be shaped or spaced around them; a pan designed for a different 650 variant will foul the pipes long before it reaches the frame. Radiator airflow is second: a pan that wraps too high across the lower core traps hot air leaving the radiator, and coolant temperature climbs in traffic. Ground clearance is third. The pan hangs below the sump, so its depth has to be weighed against suspension travel, kerbs and lean angle. A shallow, vented pan keeps all three in check.
What a Belly Pan Doesn’t Do
A belly pan gives no upper or side panel coverage. It does not shield the radiator’s upper face, clean up the cockpit, or turn the ER-6n into an ER-6f silhouette. It also cannot be extended into a full kit later without the nose stay and bracket set, because those parts, not the plastics, create the mounting points for upper and side panels. Treat them as two projects: pan first for the lower line, full kit once the stay is in hand. If you are weighing both routes, browse the Kawasaki-specific bodywork options and match panels to the hardware your frame actually offers.
Choosing the Full Fairing Kit Route
A full kit is the right answer when you want a 2009 ER-6n to read as a faired machine. One purchase covers the nose and headlight cowl, matched left and right side panels, and the lower sections that close the gap under the engine. The plastic stops being a set of panels on a few bolts and starts acting as a structure around the headlight, the radiator shrouds and the frame spars. That is why the hardware stops being a footnote. Each panel locates off the section in front of it, and the whole stack locates off the frame stay. One missing link and the fairing fights itself.
What a correct kit must include beyond the panels
An ER-6n kit is not an ER-6f kit, but it has to borrow the ER-6f’s geometry. Beyond the plastic, insist on four things:
- ER-6f-compatible nose stay. The naked ER-6n carries a compact headlight and instrument bracket. A full fairing needs the larger stay used on the faired ER-6f, because it anchors the upper cowl, its mirror mounts and the inner wings. Without it, the upper has nothing to bolt to.
- Matching fairing bracket set. Side and lower panels usually hang off dedicated sub-brackets at the frame spars and lower engine mounts. These are model-specific and rarely replaceable with generic L-brackets.
- Mounting hardware. Shoulder bolts, well nuts, grommets, spring clips, spacers and Dzus-style fasteners. Mixed hardware is normal on these kits; a bag of bolts that “looks close” is how stress cracks begin.
- Headlight and harness adaptation. The ER-6f headlight bowl and its mounting ears differ from the ER-6n unit, so expect either a compatible lamp or an adapter arrangement, plus revised harness routing for the repositioned headlight and turn signals.
Reading a listing like a fitment check
The product page tells you almost everything, if you read for specificity rather than panel count.
| Listing language | What it actually tells you |
|---|---|
| “Includes nose stay and bracket set” | Complete mounting chain; confirm ER-6f compatibility |
| “Stay available separately” | Panels-only kit; budget for the stay on top |
| Panel count only, no bracket mention | Incomplete kit; treat it as plastic, nothing more |
| “Direct bolt-on, no modification” with no stay named | Marketing claim; get fitment confirmed in writing |
Seven, eight or nine panels sells a kit, but the count says nothing about whether the fairing will sit straight or hold torque at speed. Panels without a confirmed stay and bracket set are raw material, not a conversion. Before checkout, ask one direct question: does this kit include the ER-6f-compatible nose stay and the full bracket set? A vague answer is your answer.
Sourcing the kit without guessing
This is where a specialist beats a marketplace listing. Summit Fairings is a fairing export specialist: the company lists more than 3,000 styles in stock, prices them typically 10-40% below comparable sites, and answers fitment questions within six hours, which matters when your question is specifically whether the stay and brackets are in the box. Start with their custom Kawasaki fairings if you want a specific colourway or race scheme built to order, or check ready-to-ship fairing kits when the bike is already apart and you need panels this week. Either route, put the stay and bracket question in the first message and keep the reply attached to your order.
Two answers settle it: whether an ER-6f nose stay is already fitted or bundled with your kit, and whether a matching fairing bracket set is available. Both yes means a full fairing kit; either missing means a belly pan.
If your 2009 ER-6n fails either check, look at custom Kawasaki fairings with the belly pan in mind rather than forcing a full kit onto mounts that were never there.
Frequently Asked Questions: 2009 ER-6n 650 Fairing Fitment
These are the six questions that decide a fairing purchase on the 2009 ER-6n 650.
Does a 2009 ER-6n full fairing kit need the ER-6f nose stay?
Yes. The ER-6f nose stay is mandatory. The ER-6n carries a round headlight shell with no upper fairing frame; the full kit’s side panels and nose bolt to that stay. Without it, the upper cowl has zero forward attachment points.
Can a belly pan be upgraded to a full kit later?
Yes, provided you buy the pan as part of an expandable system. A belly pan uses lower frame and engine mounts only. Moving to a full kit adds the ER-6f nose stay and fairing bracket set, so confirm your supplier stocks those two parts separately before ordering.
What confirms a fairing bracket set matches the kit?
Compare the bracket part numbers against the kit manifest and check the mount count and tab angles. Then confirm that the fairing bracket set follows the ER-6n 650 frame rails. Wrong angles load the plastic, not the frame.
Does the round headlight bowl have to be replaced for a full kit?
Yes. The round bowl is 2009 ER-6n 650 specific and mounts the headlight to the fork area. Full kits are cut for the ER-6f bowl, which is wider and carries the side-panel tabs. Swap the bowl with the stay; they work as one assembly.
How many mount points should a complete kit use?
Nine on a 2009 conversion: two above the headstock and the rest at the frame spars and the lower cradle shared with the belly pan. Ask the supplier to name all nine and check that list against the bracket set. A kit that cannot name them is guessing, and panels with missing brackets flap above 60 mph.
Where can fitment questions be answered quickly?
Summitfairings.com answers fitment questions within six hours. Send your model year, current hardware, and photos of the frame mounts. Compare bracket specifications in the custom fairings catalog and the featured products lineup before you order.
The Decision Rule, Stated Plainly
If a 2009 ER-6n can take the ER-6f nose stay and a matching fairing bracket set, both confirmed by part number and either on the bench or orderable, a full fairing kit is a sound purchase, because the panels finally have structure to attach to. If the stay or the bracket set is missing, unconfirmed, or promised vaguely by a seller, a belly pan is the right choice. It asks nothing of the frame that a naked ER-6n does not already provide, and it fits the first time.
Panel shape follows mounting hardware, never the reverse. Trimming, drilling and homemade bracketry will not make a full fairing behave like factory bodywork when the stay geometry is wrong; every gap at the headlight bowl and every fastener that will not reach its clip traces back to that one check. For current options, browse the available fairing collections.