
What a Tip Over Actually Damages on a 2008 Ninja 250
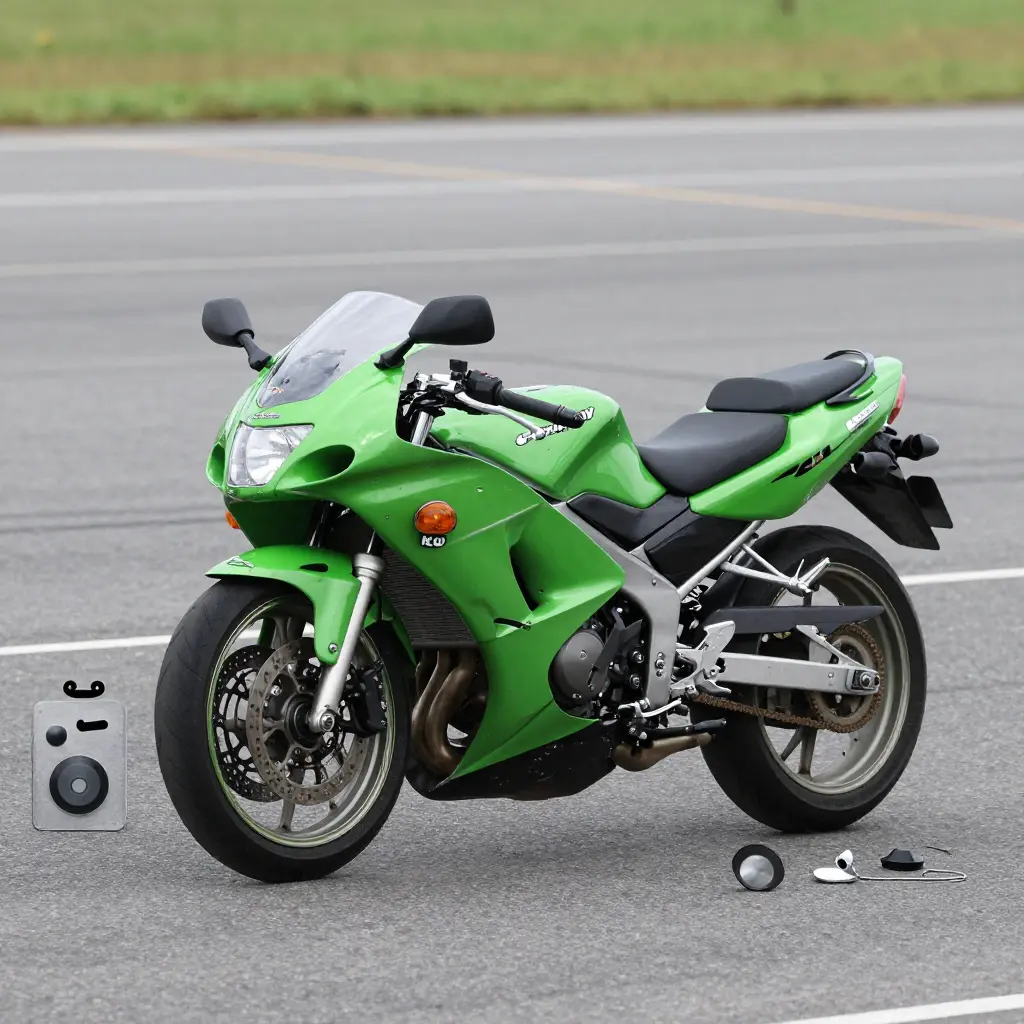
A low-speed tip over on the 2008 Kawasaki Ninja 250 almost never touches the frame. The fairings are what hits the ground, starting with the widest point of the outer skin, so the damage pattern is predictable and mostly cosmetic.
The outer side fairing panel takes road rash, cracks, or broken mounting tabs. The turn signal stalk bends or snaps, the mirror housing scuffs, and the bar end and clutch or brake lever grind down. Fall flat and the engine cover takes contact; on uneven ground the lower cowl or tail section can crack as well.
That list decides whether a side panel replacement covers the repair or whether a full fairing set makes more sense. Matching parts to the contact points on your own bike keeps the cost down and the result looking stock.
How the 2008 Ninja 250 Bodywork Bolts Together
The 2008 Ninja 250 bodywork is a bolted lattice rather than a stack of independent covers. The upper and lower cowls locate on the frame and headlight bracket, then clamp together along a seam that also captures the side fairing panel. Each side panel bridges out to its side cover, and the side covers fasten to the tail section and the rear subframe mounts. Panels overlap by a few millimetres, which is what keeps the seams tight at speed.
That overlap means a single impact travels through the whole stack. A cracked lower cowl often comes with bent tabs on the upper cowl and stretched fasteners behind the side fairing panel. Kawasaki mixes push-pins, well nuts and shoulder bolts here, so keep track of which fastener came from where and check every mating point before ordering OEM fairings. One cracked panel does not mean the whole set is compromised, but the panels around it usually deserve a closer look than they get.
What a Full Fairing Set Actually Contains
Comparing prices is easier once you know what should be in the box. A true full fairing set for a 2008 Ninja 250 breaks down into these pieces:
- Left side fairing panel (mounts to the left frame spar and mid-bracket, wrapping the engine bay)
- Right side fairing panel (mirrors the left, mounting to the right frame spar and mid-bracket)
- Upper cowl / front fairing (bolts to the front subframe around the headlight and windscreen)
- Lower cowl / belly pan (sits beneath the engine, attaching to the lower engine mounts and side panels)
- Left and right inner ducts (tuck inside the side panels, routing air toward the radiator and engine)
- Tail section panels (clamp onto the rear subframe on either side of the seat and taillight)
- Front fender (bolts to the front fork legs above the tyre)
- Side covers (small trim pieces filling the gaps between the tank, seat and frame)
- Hardware note: fairing bolts, grommets, clips and heat shielding are frequently sold separately, so confirm what is included before ordering, whether that is a full set or custom Kawasaki fairings for your model year.
Table: side panel replacement vs. full fairing set on a 2008 Kawasaki Ninja 250 (EX250J), compared on cost, effort, downtime and match risk. Kit options: custom Kawasaki fairings.
| Criteria | Single side panel replacement | Full fairing set (complete kit) |
|---|---|---|
| Panels replaced | One side panel; sometimes the lower cowl on that side | Upper cowl, both side panels, lower cowl, inner ducts, tail panels, side covers, front fender |
| Typical cost band | Low – roughly $50-$200 for one aftermarket panel; a genuine OEM panel costs considerably more | Higher – roughly $350-$800 for a painted aftermarket kit; $1,200+ for OEM panels bought singly |
| Colour and paint match effort | Moderate – single-panel blend, colour code required, sun-faded originals hard to match | Low to moderate – kit arrives pre-painted as a matched set, or budget for a full respray |
| Installation time | 10-20 minutes, basic hand tools | 4-8 hours, plus sorting fasteners and clips |
| Downtime | Same day; often rideable within the hour | 1-3 days typical, longer if paint or drilling is needed |
| Risk of visible mismatch with undamaged original panels | High – new panel against 18-year-old faded paint, plus adjacent panel bolt-hole and seam alignment | Low to none – every panel shares the same paint batch and mould |
| Availability of exact OEM vs aftermarket moulds | OEM colour-matched panel still orderable in some colours; aftermarket single-panel moulds common but fit varies | Full aftermarket kits widely stocked in many schemes; complete OEM sets rarely available as a bundle |
| Situation each option suits best | Isolated tip-over scuff, tight budget, otherwise clean original bodywork | Cracked or missing multiple panels, faded or mismatched paint overall, full repaint or custom colour planned |
Damage Triage After a Tip Over
Put the bike on a stand and work through the panels methodically before you order a single part.
- Cracked ABS vs. scuffed paint only. Look for spider cracks, whitened edges, or splits along the lower curve; a panel with paint damage and no crack is cosmetic.
- Mounting tabs and screw bosses. Flex every tab lightly and check each boss for splits or missing chunks. Broken anchors decide whether a panel can be reused.
- Panel-to-frame alignment. Refit the panel dry and see whether the seams sit flush and the bolt holes line up without force.
- Stress marks around fastener holes. Whitened rings or star patterns radiating from a hole mean load damage, not surface wear.
- Headlight bracket and fairing stay. Sight down the stay tubes and compare symmetry. A bent fairing stay throws every panel out of alignment.
On 2008 Ninja 250 fairings, the nose and side panels share short, tightly spaced tabs, so one broken boss can rule out a solo side-panel repair. Sort what you find into three piles:
- Cosmetic: scuffs, scratches, or paint chips with intact structure.
- Structural: cracked ABS fairings, snapped mounting tabs, or a deformed fairing stay.
- Hidden: stress marks and bent brackets that only appear once the panels come off.
With the classification clear, compare Kawasaki fairing sets against single-panel options.
The 2008 Ninja 250 Fairing Zones at a Glance
The bodywork splits into seven removable zones, and the seams between them matter more than the shape of any one panel. The schematic maps each zone and its overlap points.
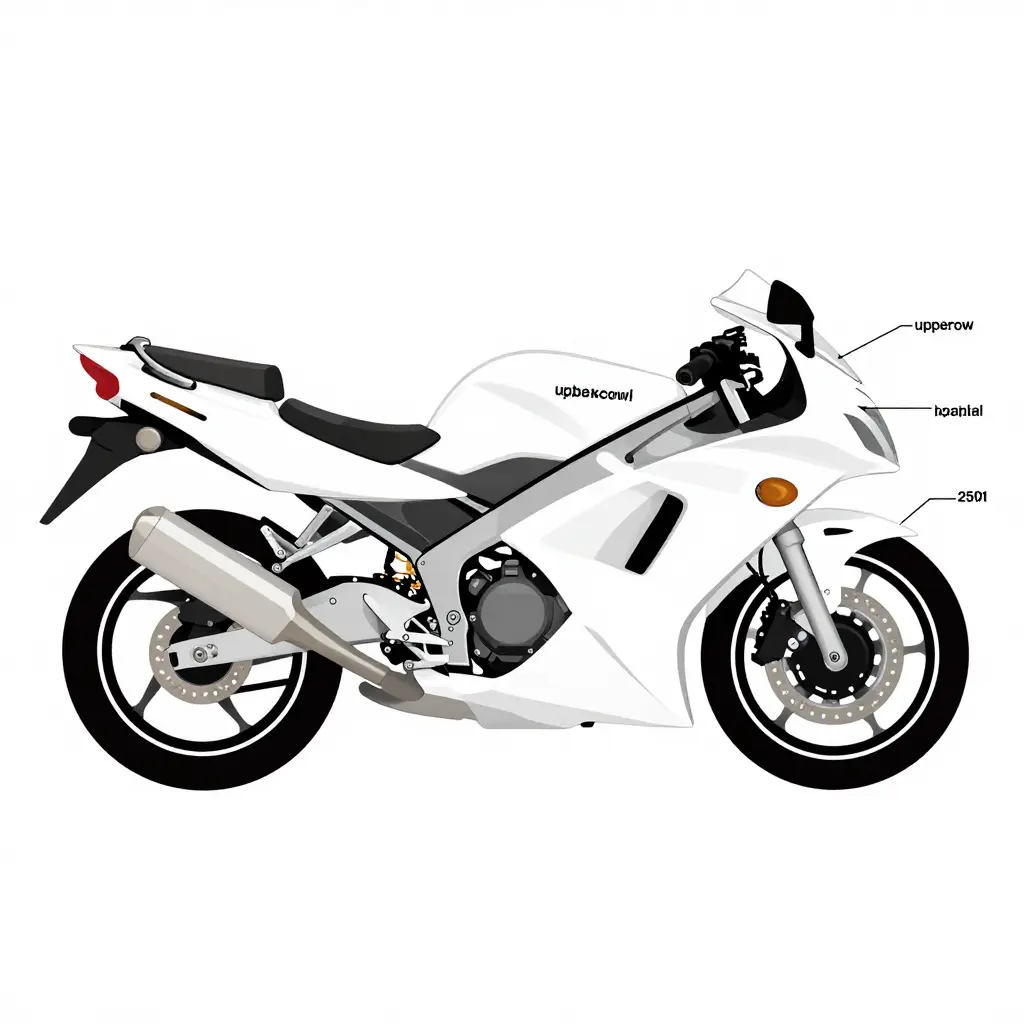
What each zone covers
| Zone | Location | What it protects |
|---|---|---|
| Upper cowl | Nose and headlight surround | Headlight housing, gauge cluster wiring, front turn signals |
| Left side panel | Upper left flank | Radiator shroud area, frame spar, left turn signal |
| Right side panel | Upper right flank | Frame spar, right side of the engine bay |
| Lower cowl | Belly / chin area | Oil filter, lower engine cases, exhaust headers |
| Side covers | Mid-flank, below the seat line | Battery box, airbox side, mid-frame hardware |
| Tail section | Rear seat and taillight surround | Subframe rails, taillight, seat lock |
| Front fender | Above the front wheel | Fork lowers, brake lines, front tyre spray |
Reading the overlap points
Watch the seams where zones meet, not the panels themselves. The three-way joint at the nose, where the upper cowl meets both side panels, is the first place a tip-over load travels. The lower cowl also tabs into the side panels, so a scraped belly pan often comes with a cracked mounting ear on the panel above it. If you are only replacing the painted outer skins on one flank, the custom Kawasaki fairings range covers colour and fitment for the 2008-2012 generation.
Replace the single panel when the damage is isolated: one outer panel, original paint still in decent condition, and a colour match you can actually buy. On an otherwise unmodified bike, one matching panel keeps the factory look without disturbing the rest of the bodywork.
A full set starts to make sense at two or more damaged panels, broken tabs across the set, or originals that are faded or have been repaired more than once. A colour change you were planning anyway settles the question, because a new aftermarket set delivers it in one step.
Whichever route you take, count panels first, inspect tabs and paint second, and order once. The custom Kawasaki fairings listings for the Ninja 250 are worth comparing while you decide.
What the Numbers Actually Look Like
Four paths are realistic after a tip over: a single OEM side panel, a single aftermarket side panel, an aftermarket full set, and an OEM full set. The chart lines them up by price band.
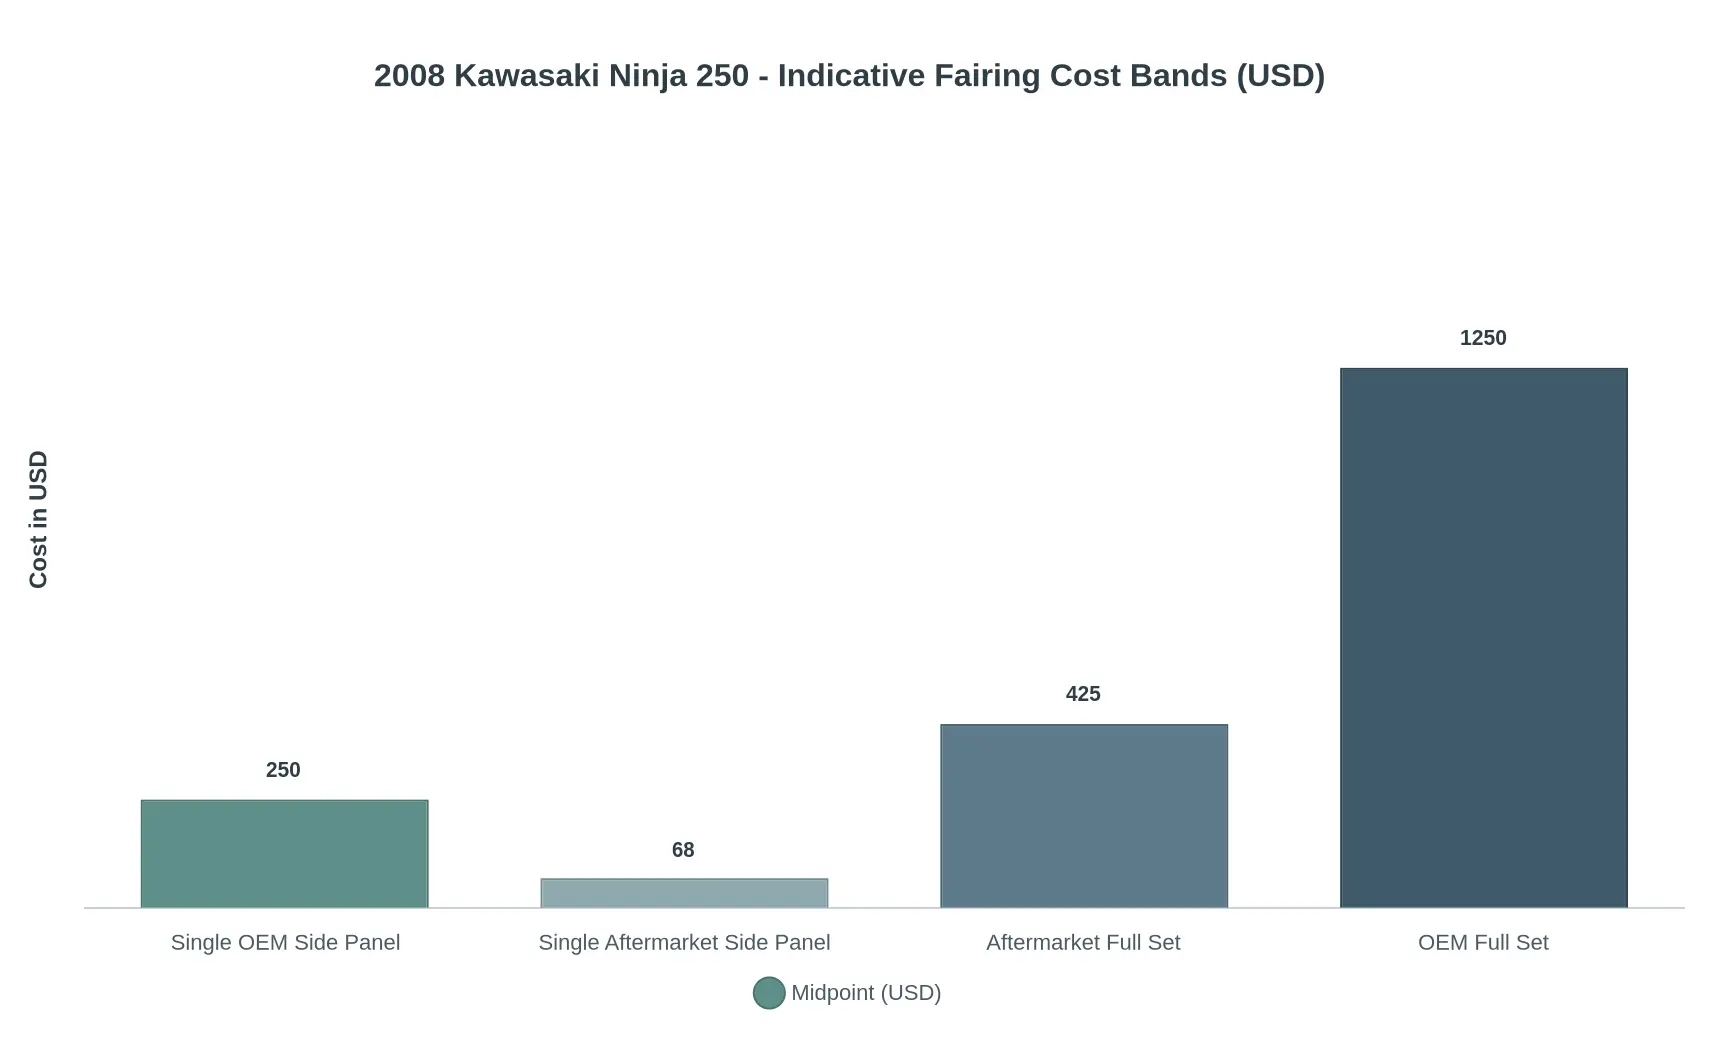
Figures are indicative ranges for comparison only, not quotations. Actual prices vary by finish, paint scheme, shipping and vendor.
The ladder climbs faster than most owners expect. One genuine panel already accounts for a large share of what an aftermarket set costs, and a factory set runs into four figures. If you are leaning toward replacing the whole lot, the custom Kawasaki fairings range shows how a set is priced and configured.
Step-by-Step Panel Replacement Workflow
The order you take things off matters as much as the parts you buy. Work through this sequence and you avoid cracked tabs, mixed-up hardware, and panels that refuse to line up at the end.
- Disconnect the battery: Pull the negative terminal before you unplug any turn signal or headlight connector. It costs a minute and prevents shorts while you work around exposed wiring.
- Remove the mirrors: Unbolt both and set them on a towel. The upper fairing stays are almost impossible to reach with the mirrors mounted.
- Pull the turn signals: Unplug and remove the front signal pods so the side panels clear the nose. Tape the left and right connectors separately if the harness colours have faded.
- Remove the seat and tail panels: Unbolt the seat, then work the tail section off the rear subframe. Go slowly here: the tail clips crack easily when the plastic is cold.
- Label fasteners by location: Bag or tray the bolts by position (upper, mid, lower, inner). Mixing lengths is how threads get stripped later.
- Release the side panel clips: Squeeze the push-pins and free the clips from their grommets. On a cold day, warm the plastic first to cut the breakage risk.
- Remove the inner ducts: Lift out the black ducts and air guides behind the side panels, and keep each duct with the panel it came from so nothing gets swapped.
- Transfer heat shielding and grommets: Peel the shielding off the old panels and press it onto the new ones in the same positions. Seat every grommet and rubber cushion firmly before fitting.
- Test-fit before final torque: Hang the panels loosely, check the gaps and clip seating, and only snug the fasteners once everything sits flush.
- Refit in reverse order: Torque the panels back on in reverse sequence, reconnect the signals and battery, then test every light. Going all the way to a colour-matched set? Browse custom Kawasaki fairings.
Keep the hardware organised and the job usually finishes faster than the teardown took.
Where the 2008 Ninja 250 Panels Actually Bolt On
The mounting map is the other half of the job: every grommet, clip, screw boss and frame-side tab has to line up before the panels sit flat and stay quiet.
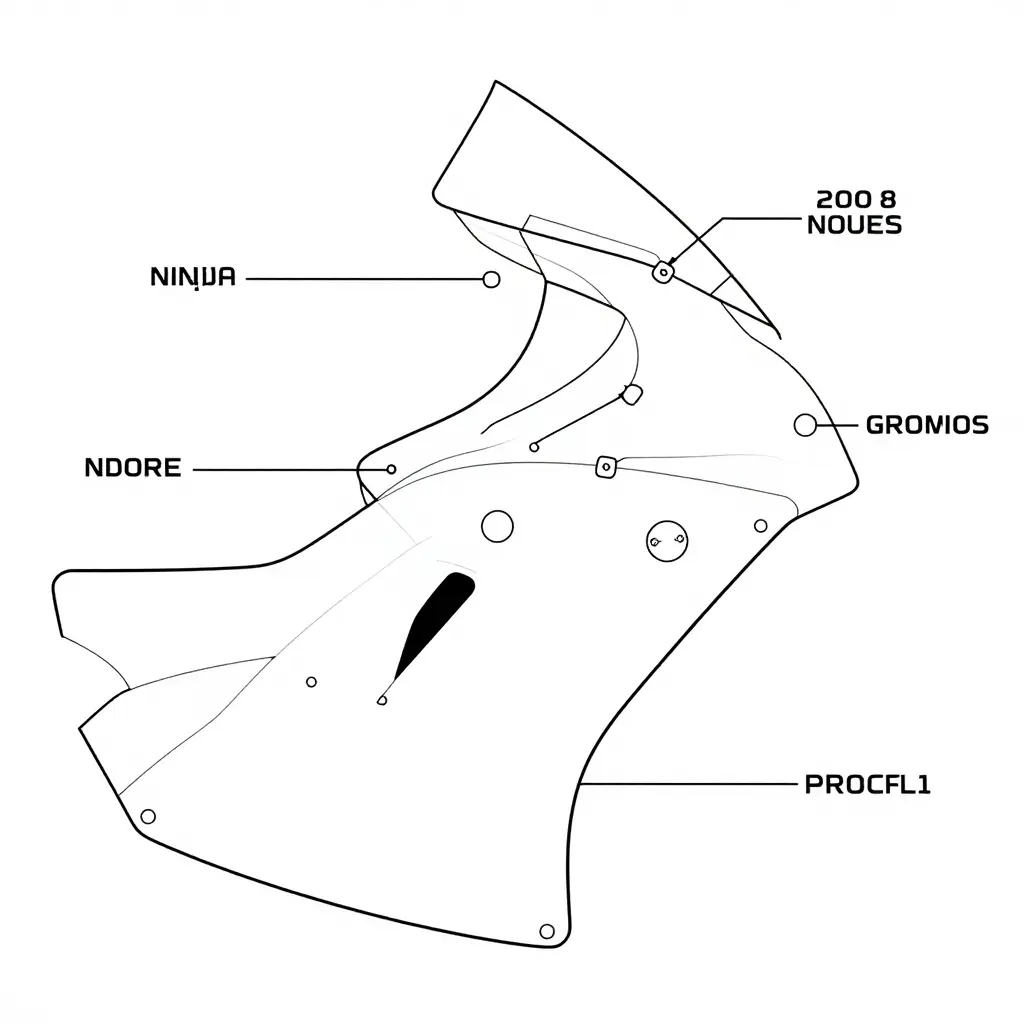
Reading the Diagram
| Symbol | Part | What It Does |
|---|---|---|
| Open circle | Grommet | Receives a shouldered tab; isolates vibration |
| Triangle | Push clip / snap tab | Locates the panel edge, no tool needed |
| Square with center dot | Screw boss (upper cowl) | Threaded or self-tapping anchor point |
| Hexagon | Frame-side mount | Hard point on the bike, not on the plastic |
| Straight line | Leader / fastener path | Shows which panel ties to which |
Why the Connections Matter More Than the Shape
A 2008 Ninja 250 side panel does not hang on one bolt. It clips into the upper cowl along the top edge, drops onto a frame-side grommet at the rear, and meets the lower cowl along a shared seam. Break one link and the panel sits proud, buzzes at 6,000 rpm, or cracks at the next clip.
That is the argument for buying panels that reproduce the original mounting geometry rather than only matching the silhouette. Replacing a side panel on its own means checking that the clip tabs still spring, that the grommets are not ovalised, and that the lower cowl’s leading edge still meets the panel line. If the tip-over pushed the frame-side tab or sheared a boss on the upper cowl, a full set is usually the cheaper route: fewer return shipments, one colour match. You can compare both in the Kawasaki fairing range before deciding.
Quick check: dry-fit with the fasteners loose, confirm every clip and grommet engages by hand, then torque in a cross pattern. If a hole needs force, the panel is wrong, not the bike.
Mould Accuracy and Pre-Drilled Holes
Mould accuracy is the difference between a set that bolts on and one that fights you. Good aftermarket panels, including the custom Kawasaki fairings made for this model, come from tooling copied off OEM parts at the tank seam, the headlight cutout and the mount tabs, so they should sit flush with even gaps. Panels should arrive pre-drilled; if you are drilling your own holes, alignment is your problem rather than the seller’s. Reuse original grommets and clips while the rubber is still soft and replace every hardened one. Refit the heat shielding on the lower cowl too, or the bare plastic above the exhaust will discolour within weeks.
Colour Match: Code, Then Blend
Order by factory colour code when the rest of the bike wears original paint; the code is the only reliable match. The new panel will still read brighter than bodywork that has spent eighteen years in the sun, so blend across the adjacent panel instead of trusting the code to do the work. Give new paint a fortnight before you judge it.
Sourcing and Pricing Your 2008 Kawasaki Ninja 250 Fairings
Sourcing panels starts with a supplier who knows the bike. Look for a catalogue that states fitment and finish plainly: exact year coverage, which panels are included, and whether the set arrives painted, primed or raw. For a proven match, browse custom Kawasaki fairings; if you need to get back on the road quickly, ready-to-ship fairings leave the warehouse from stock. Weighing colour and graphic options? Compare custom fairings schemes against your factory livery before committing.
For scale, the supplier lists more than 3,000 styles covering almost all motorcycle models, prices 10-40% lower than other sites, and a six-hour maximum response time for questions. Those are the seller’s figures, not independently checked ones.
Before you order, confirm fitment year, colour code and hardware list.
Frequently Asked Questions
Can a cracked side panel be repaired instead of replaced?
A small crack or scuff on a single panel can often be repaired with plastic welding or epoxy and reinforced from behind, and that fix holds up when the damage sits in a non-stressed area. A side panel replacement makes more sense when the crack runs through a mounting tab or the plastic has torn around a bolt hole, since those points carry load and rarely stay put after a patch. Both routes keep the rest of the bodywork intact, so repair is a legitimate first option before you buy anything.
Will an aftermarket full set fit exactly like OEM?
A well-made full fairing set is moulded from tooling taken off the original panels, so mounting holes and panel gaps land close to stock, usually within a millimetre or two. Fit quality varies by manufacturer, and aftermarket fairings generally need more attention during installation than OEM fairings, particularly around the nose and the tail section. Dry-fit every piece before you tighten anything and most alignment complaints disappear.
How long does a full set swap take?
Plan on four to eight hours for a first-timer working carefully, and about two hours for someone who has done it before. Most of that time goes into labelling bolts, pulling the old panels without cracking tabs, and lining up the new pieces. Leaving the fasteners finger-tight until every panel is mounted shortens the job considerably, and checking the custom Kawasaki fairings listing beforehand confirms you have the right pieces on hand.
Do replacement panels come with the fairing bolts and clips?
Most sets ship as panels only. Bolts, grommets and spring clips are ordered separately unless the listing states otherwise, so check the parts list against your side panel replacement order. Reusing original hardware is fine while it is intact, but worn clips and stripped bolts should be swapped out at the same time as the panels. Checking the list before ordering prevents an install that stalls halfway through.
Does a new single panel match faded original paint?
A fresh panel usually looks slightly brighter than bodywork that has spent years in the sun, because paint fades across the whole bike rather than in one spot. That mismatch is the main reason owners step up to a full fairing set instead of replacing one piece at a time, since every panel then starts from the same point. OEM fairings and aftermarket fairings both show the difference, so it is worth requesting a colour photo or paint code before you commit.
The Bottom Line: Match the Repair to the Damage
One damaged outer panel with intact mounting points argues for side panel replacement: it is the cheaper fix and it keeps the rest of the bodywork original. Two or more damaged panels, cracked or snapped tabs, or a colour change you wanted anyway justify a full fairing set. Either way, treat hardware and fitment as seriously as the plastic: check bracket alignment, bolt kits and model-year compatibility first, and get fitment confirmed in writing. The Kawasaki fairing range lists year coverage, so start there and order only the panels you need.