
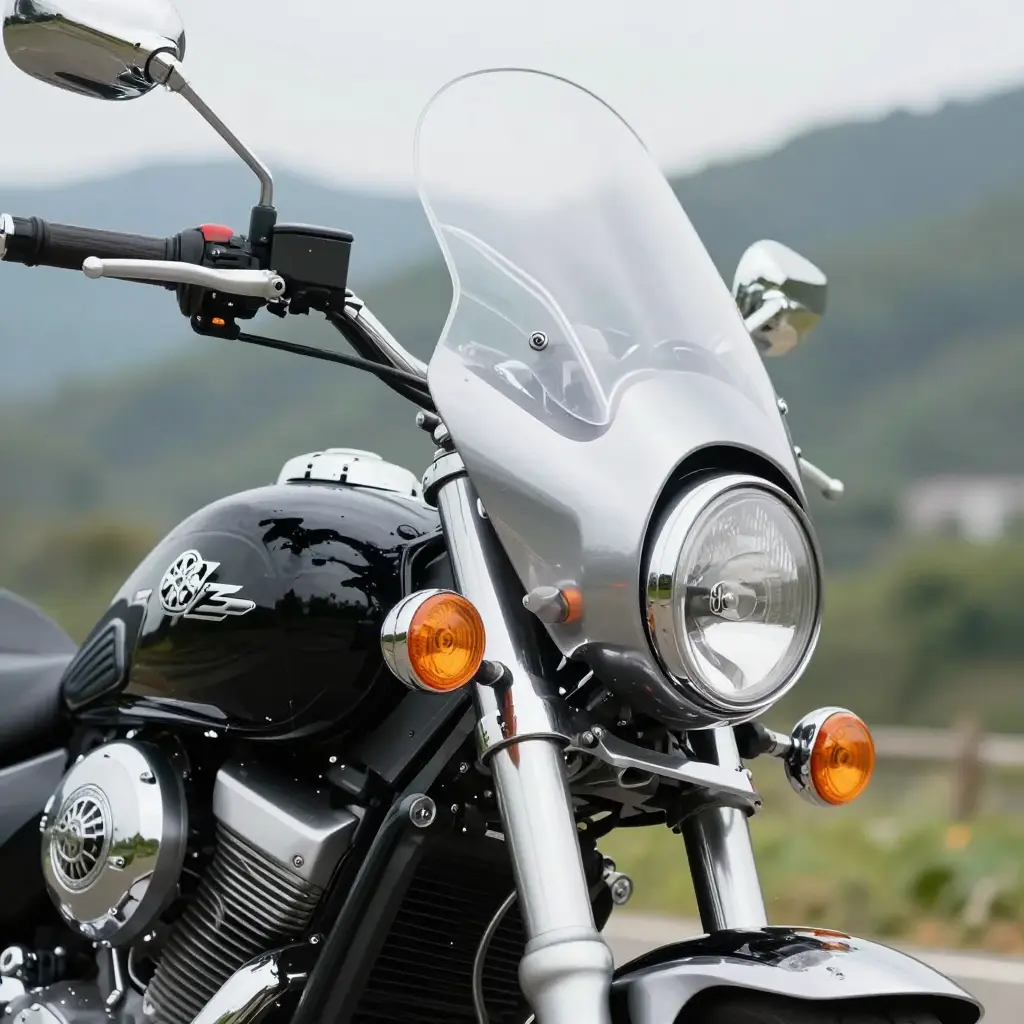
Why the Passing Lamp Bar and Turn Signal Relocation Decide Your Mount Kit
On a 2002 Yamaha V Star, the fairing itself rarely decides which mount kit fits. The passing lamp bar and the turn signal mounting do. Settle those two and most kits bolt up cleanly; get them wrong and even a “universal” kit will sit crooked.
A mount kit’s brackets bolt to the fork at the triple tree, upper and lower. The passing lamp bar clamps to the same stretch of fork, usually wrapping the legs just below the lower tree. Both parts want the same clamp points, bolt bosses, and clearances.
Passing lamp bars are not standardized. Width, clamp diameter, and mounting height change by year and by aftermarket brand, so a kit machined to clear a factory bar may foul a wider replacement. Some kits need the bar removed entirely; others are shaped to sit around it. That one difference separates mount kit families from each other.
Turn signals are the second conflict. The V Star’s factory signals sit close to the headlight housing or bolt straight to the passing lamp bar. A fairing widens the front profile, so the signals have to move. Where they end up on fork ears, the fairing body, or a dedicated bracket decides which hardware the mount kit must include.
The rule that follows: pick the mount kit for the bar you actually run and the signal position you plan, not for the fairing shape alone. Measure the bar and signal geometry first, then match the kit to those numbers. Yamaha-specific fairing options are built around these fork-area conflicts, so they are a sensible place to start.
Mount Kit Compatibility by Passing Lamp Bar Configuration
For a 2002 V Star, the passing lamp bar narrows the mount kit choice more than anything else. Find your bar in the table below, note the kit style it calls for, and confirm that against the fairing you want before ordering.
| Mount Kit Style | Fits Stock Passing Lamp Bar (Yes/No) | Fork Tube Spacing Assumption | Turn Signal Position Required | Typical Use Case |
|---|---|---|---|---|
| OEM-style bar retained | Yes | Stock 2002 V Star fork spacing | Factory turn signal location kept | Bolt-on fairing that reuses the OEM lamp bar |
| Passing lamp bar removed / relocated | No | Fork-clamp based, bar-independent | Signals relocated to forks or fairing | Fairings with integrated signals; bar deleted |
| Handlebar-mounted / fork-mounted crossover | No | Adjustable or variable clamp width | Handlebar-mounted or re-mounted on fork | Universal kits for riders swapping setups |
| Wide-bar aftermarket setup | No | Wider than stock, outboard clamps | Signals moved outboard | Custom wide light bars and aftermarket setups |
How Your Passing Lamp Bar Configuration Decides the Mount Kit
Not every 2002 V Star reaches the fairing install with the same front end. The lamp bar, the turn signals, and the fork clamps form one tight package, and the mount kit has to match the version on your bike. Miss that and you will be drilling, shimming, or shipping parts back.
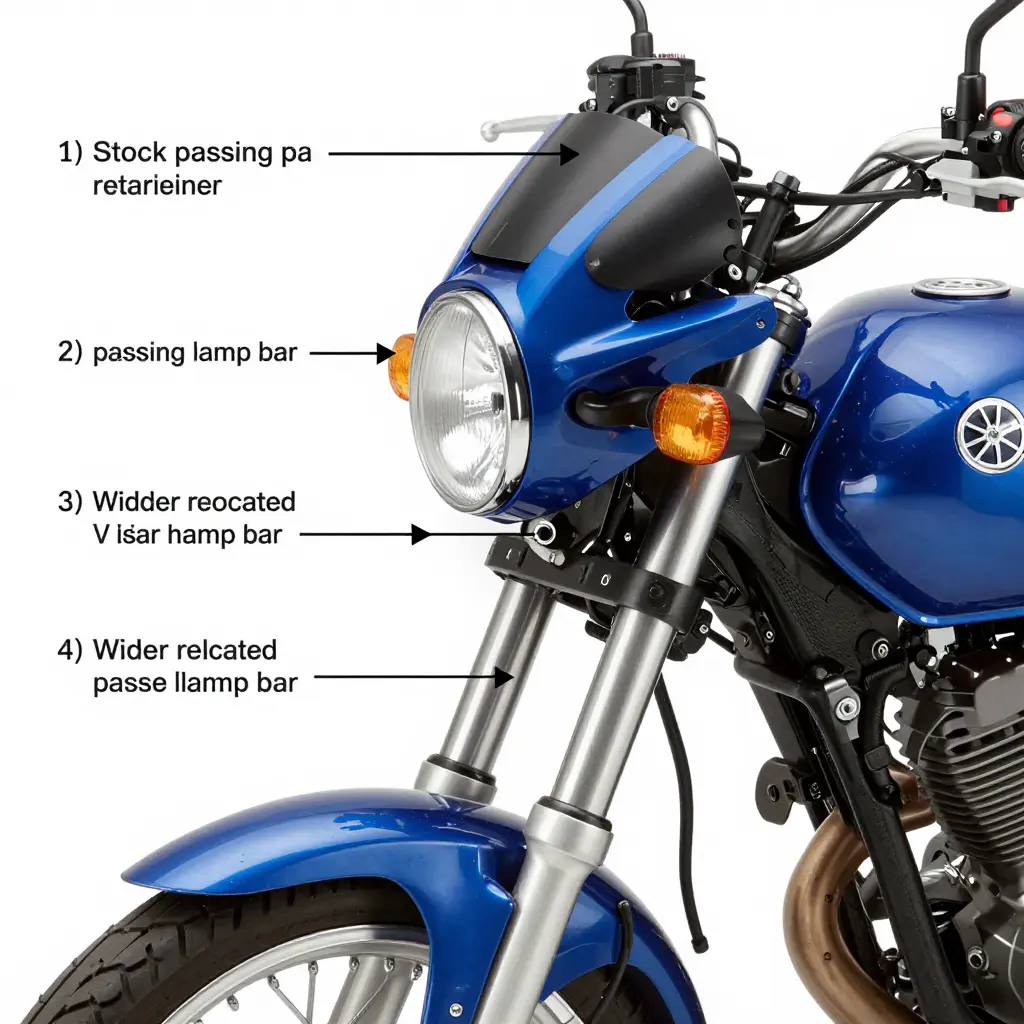
Keeping the stock passing lamp bar
Keep the factory bar and the mount kit has to straddle it. The bracket must clear the upright posts of the lamp bar; if it does not, it hits them and the fairing never seats fully against the fork. Bolt holes are the easy part, since the stock bar reuses the original fork clamp bolts and the spacing stays factory.
Removing the passing lamp bar
Pull the bar and the geometry opens up. A low-profile kit clamps straight to the fork tubes, and the bolt holes left behind are clean and unobstructed. It is the simplest fitment path, at the cost of the passing lamps.
Swapping to a wider or relocated lamp bar
A wider aftermarket bar pushes the fairing forward and outward, and the mounting geometry moves with it: clamp spacing grows, the bracket arms need more reach, and the fairing sits farther from the triple tree. The kit needs longer standoff and bolt holes repositioned to match.
Check your setup before you order
- Note whether the bar is stock, deleted, or a wider aftermarket unit.
- Measure the fork clamp spacing center-to-center.
- Check bolt hole alignment against the turn signal mounts.
Match those numbers to the custom Yamaha fairings mount kit guide, then order.
A front-view schematic of the 2002 V Star front end marks three interface points: where the mount kit bracket meets the passing lamp bar, the second bracket contact at the fork tubes, and the turn signal position. It is a map for the breakdown that follows.
Turn Signal Relocation: Why It Decides Which Mount Kit Fits
The 2002 V Star’s factory turn signals ride on long stalks bolted near the top of the fork assembly, below the headlight and inboard of the passing lamp bar. The stalks are not compact: they project outward at nearly a right angle and occupy the same vertical band the mount kit and the lamp bar both need. The conflict is physical, not cosmetic: the OEM signal and the bracket cannot share the space, so turn signal relocation usually comes first, before any bracket will seat.
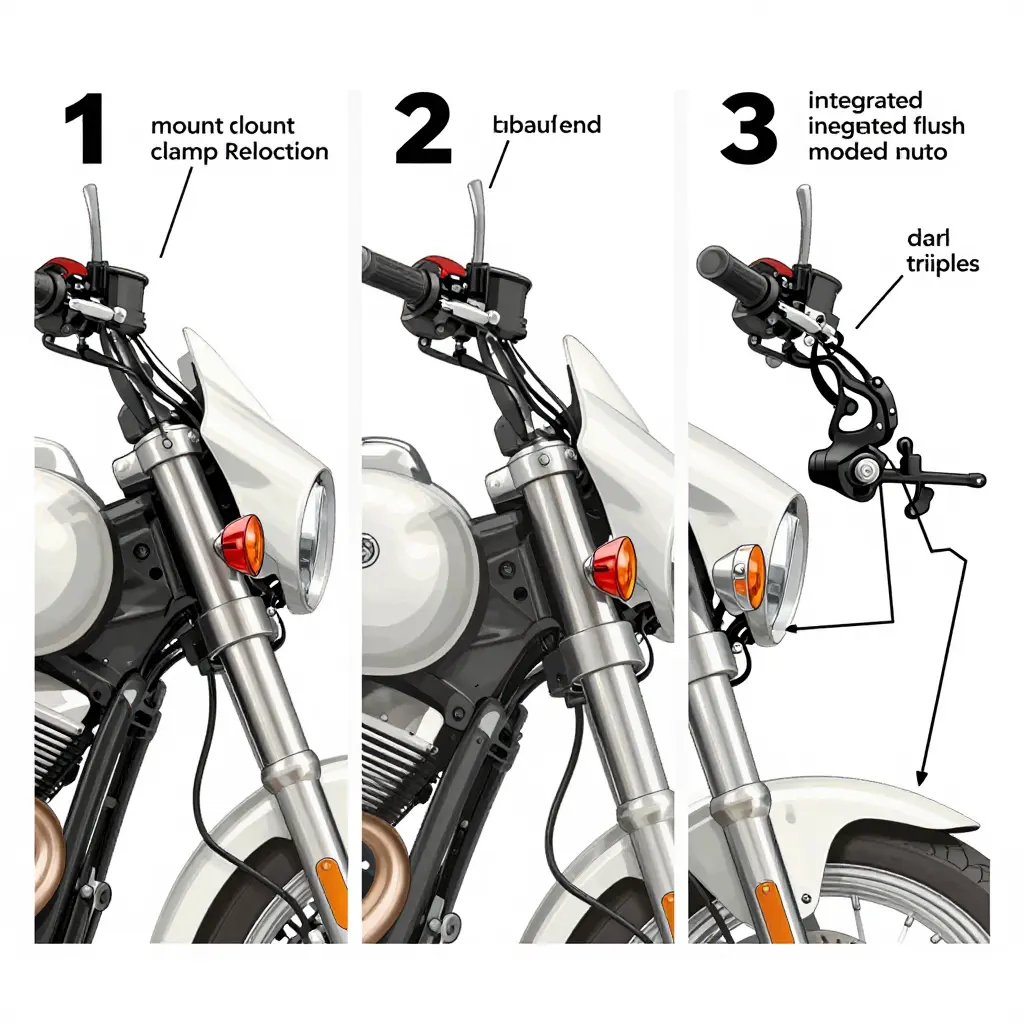
Leave the stock signals alone and one of three things happens: the kit cannot bolt down, the fairing shell will not clear the stalks, or the signals get pinched at full steering lock. Each relocation method below frees that space differently, so the method you choose decides which mount kits stay open to you.
Fork-mount clamp relocation – Use this when the kit keeps the passing lamp bar and the fairing’s lower edge sits close to the fork tubes. Clamping the signals to the fork tube itself pulls them inward and frees the bracket’s space. It is the least invasive option and keeps most of the OEM wiring run, so it stays compatible with a broad range of kits.
Bar-end relocation – For setups where nothing can remain on the forks, which is common with full-width fairings and wide passing lamp bars. Moving the signals to the handlebar ends clears the fairing’s footprint entirely and opens up kits that assume an empty fork area, but it needs longer wiring and different signal hardware.
Fairing-integrated signals – Only possible when the fairing shell is molded with dedicated signal pockets. It is the cleanest route, since external stalks disappear. Compatibility changes at the root: the fairing carries the signals, and the kit no longer routes around them.
Adapter bracket relocation – Use it when a specific kit is drilled for a signal position your bike does not produce on its own. Adapter brackets re-index the OEM signals to where the kit expects them, so the stock lamps and connectors stay.
Whichever route you choose, match the resulting geometry to the hardware. If you want a shell that pairs with a relocated front end, look at our custom Yamaha fairings before committing to a bracket.
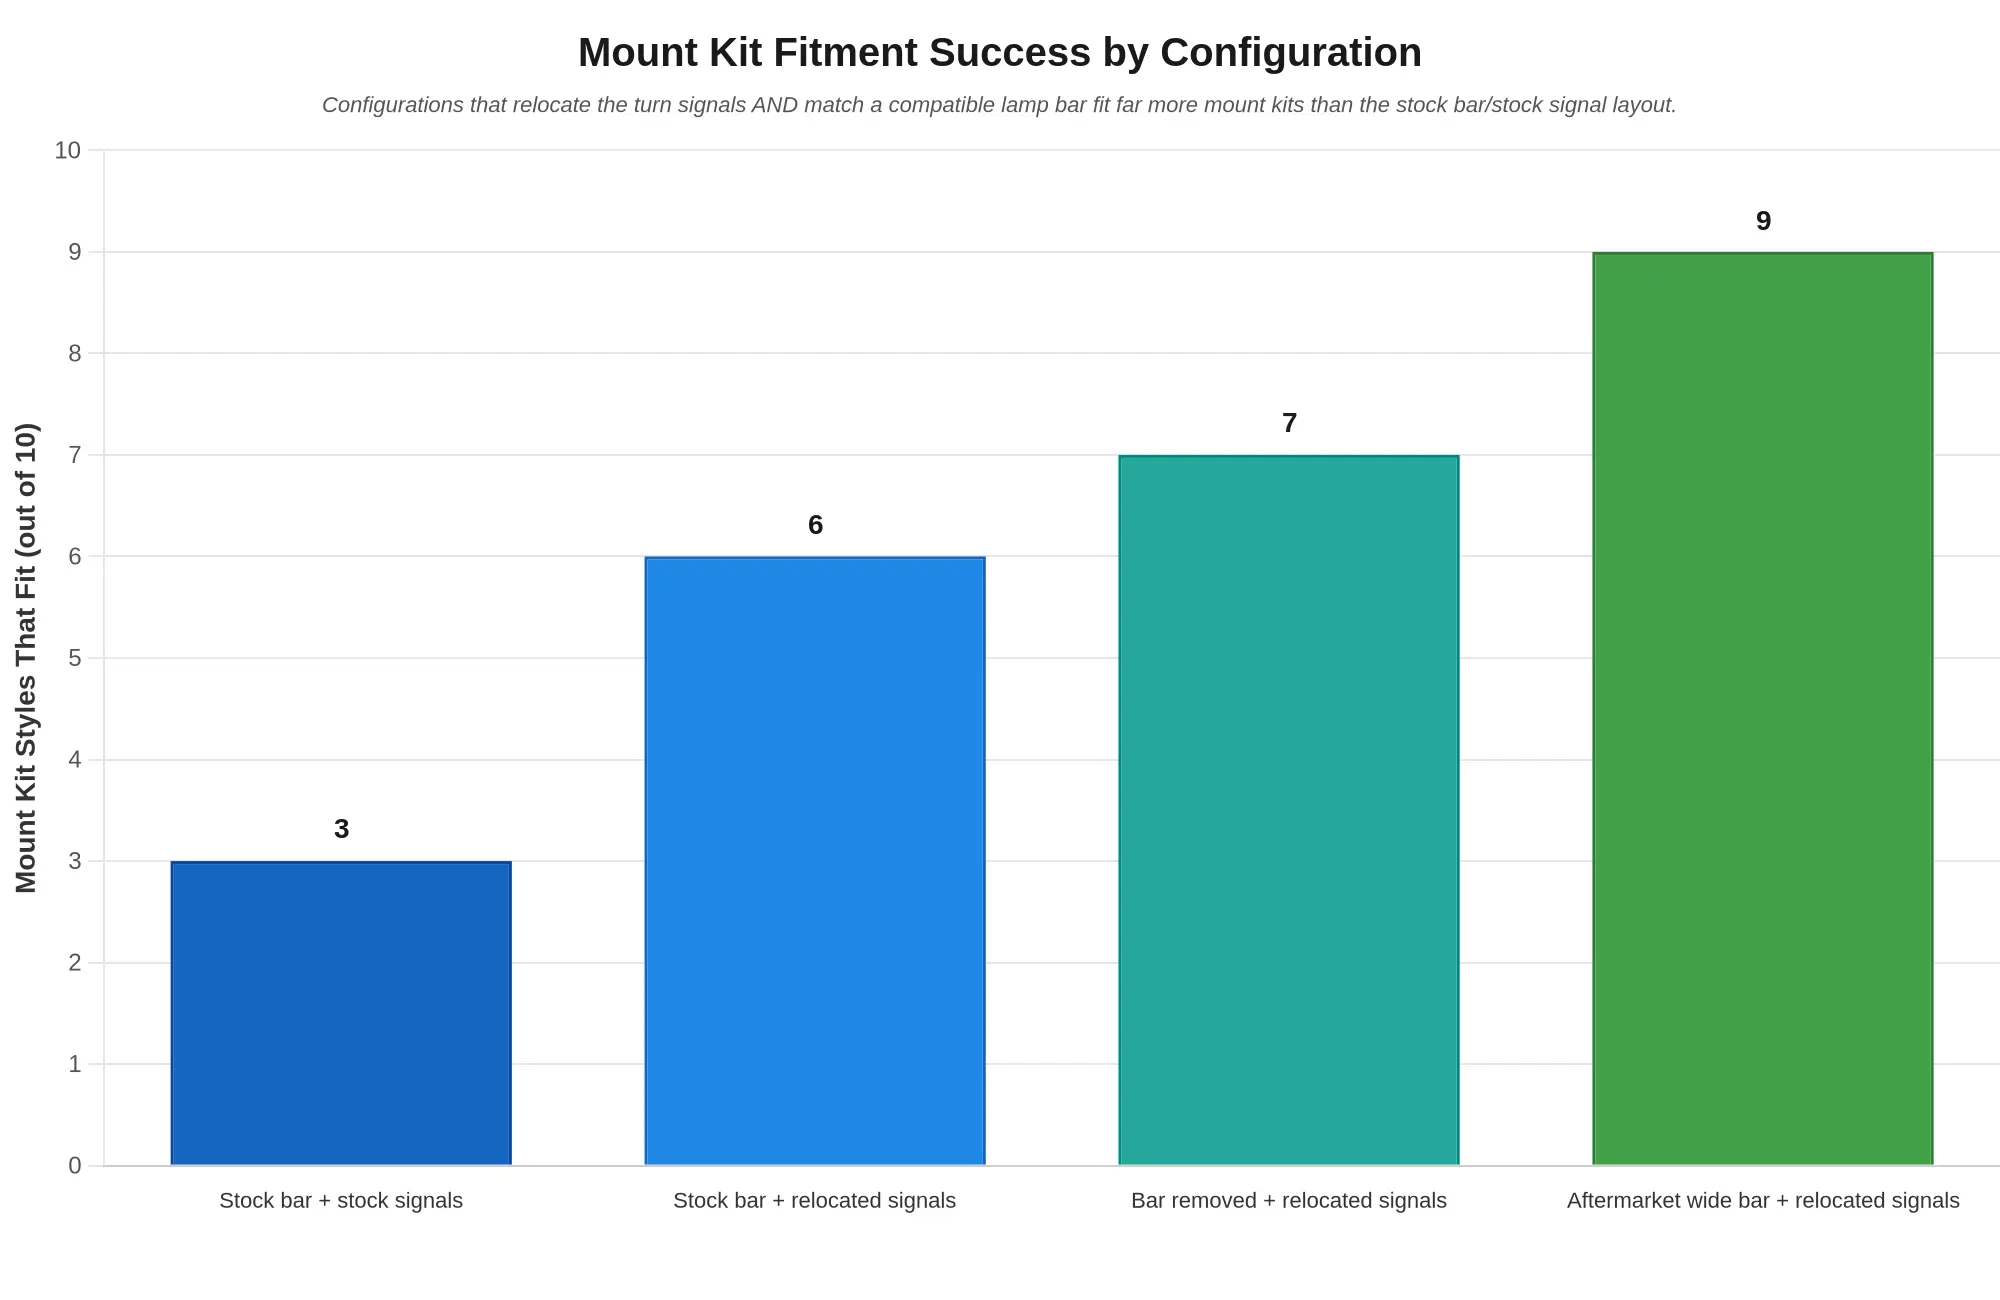
Chart data
| Configuration | Mount Kit Styles That Fit (out of 10) |
|---|---|
| Stock bar + stock signals | 3 |
| Stock bar + relocated signals | 6 |
| Bar removed + relocated signals | 7 |
| Aftermarket wide bar + relocated signals | 9 |
Axis labels
- X-axis: Mount kit configuration (lamp bar + turn signal layout)
- Y-axis: Mount Kit Styles That Fit (out of 10)
Configurations that relocate the turn signals AND match a compatible lamp bar fit far more mount kits than the stock bar/stock signal layout.
How to Measure Your 2002 Yamaha V Star Front End and Choose the Right Fairing Mount Kit
A 2002 Yamaha V Star fairing project comes down to the mount kit. The right kit makes the finished bike look factory; the wrong one fights you all weekend. Six measurements settle it. Get a digital caliper, a steel tape, a marker, and a flashlight, and work through the steps in order.
Step 1: Stage the bike and gather your tools
Park the V Star on level ground and stand it upright in a wheel chock. Clear anything blocking the fork area. Use the caliper for diameters, the tape for spans, and the marker for reference dots, and photograph each measurement with the tape visible in the frame.
Step 2: Measure the fork tube diameter
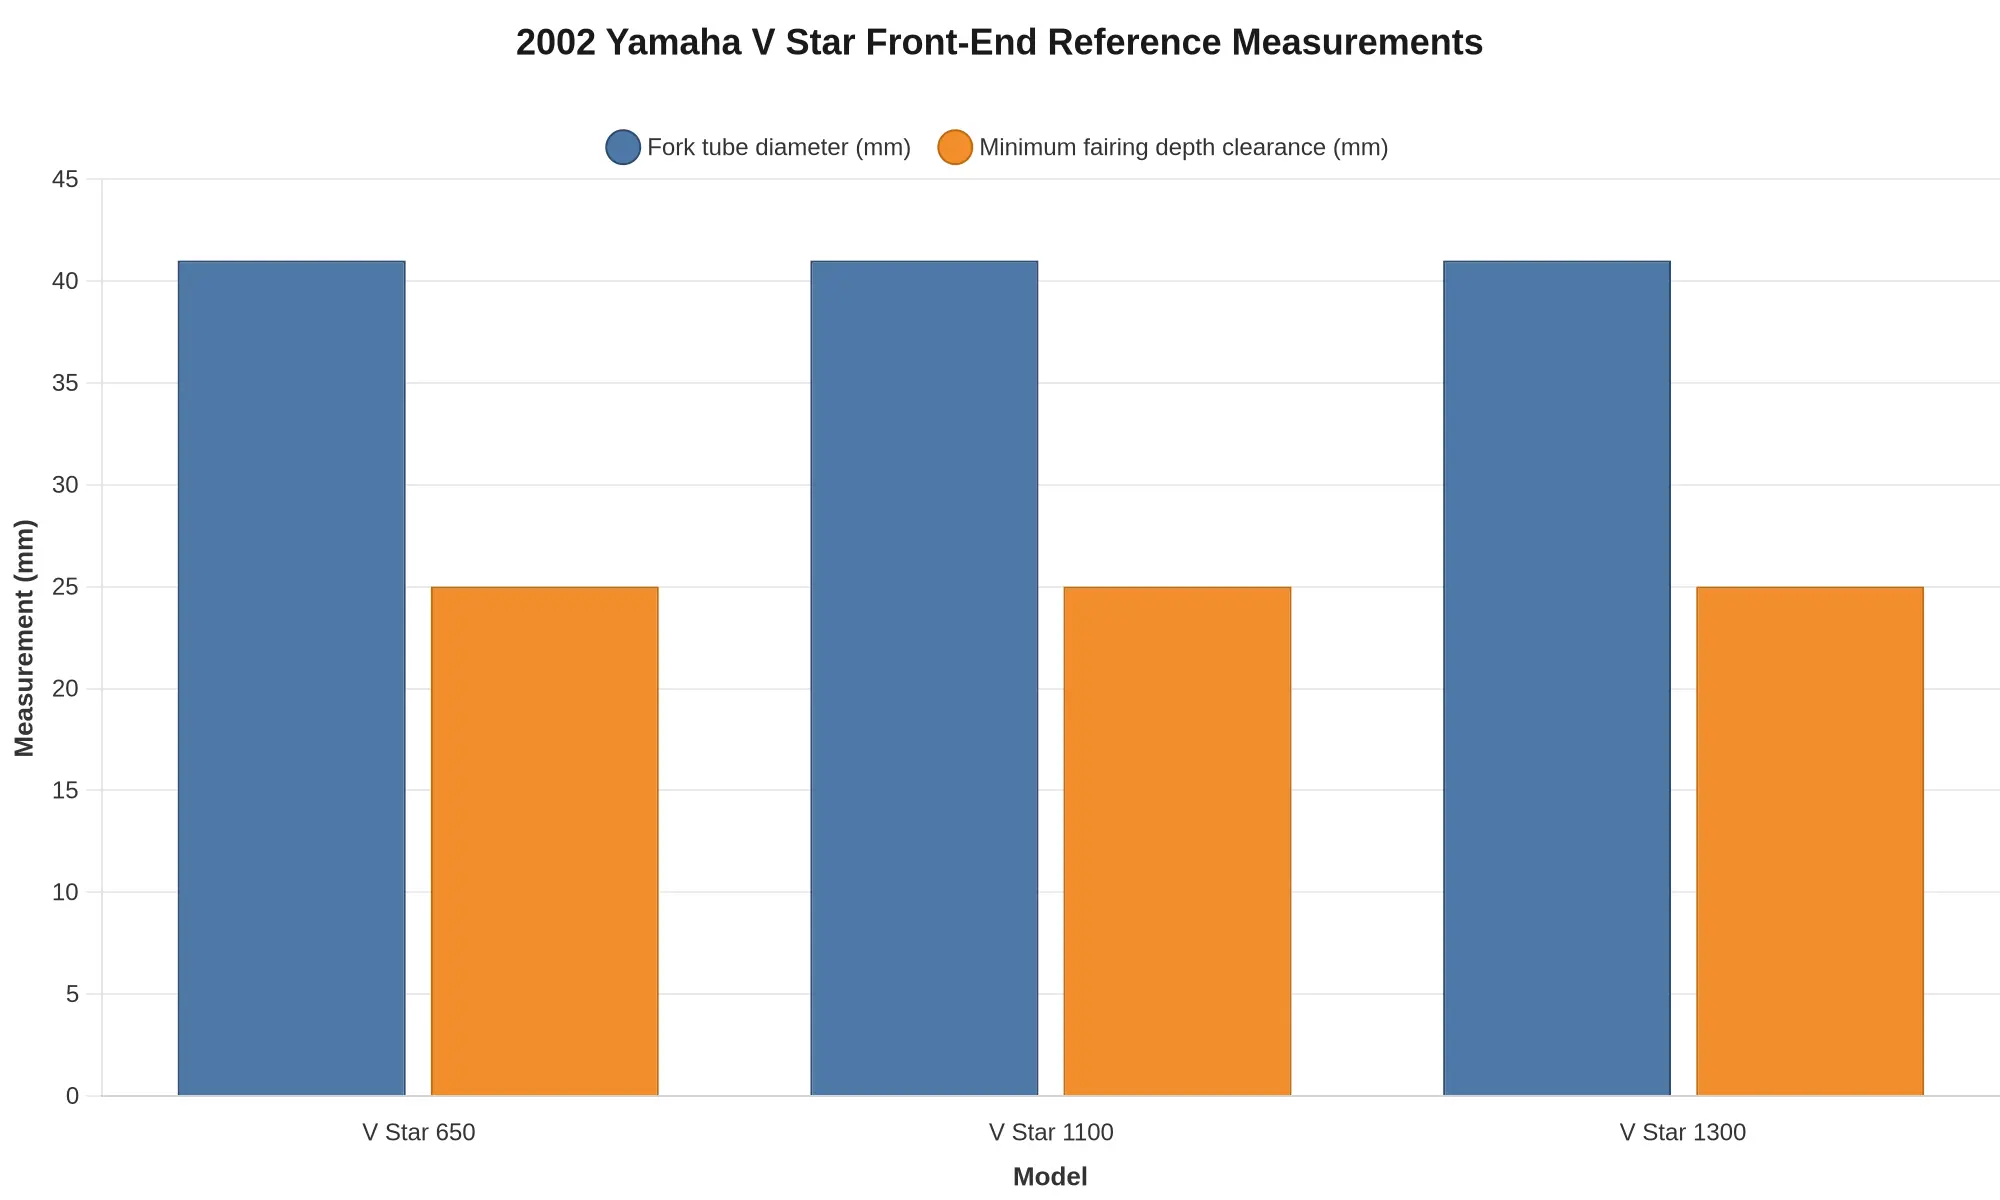
Close the caliper jaws around the upper fork tube just below the triple tree and read the outside diameter in millimeters. The 2002 V Star family runs 41 mm tubes, but confirm yours: fork covers or swapped sliders can change the number. This diameter sets the clamp size the kit ships with.
Step 3: Measure the fork tube spacing
Measure center-to-center between the left and right tubes at the same height and record it in millimeters. Spacing sets how wide the mount’s fork clamps must be; a kit built for a different gap will not bolt up square, however much you shim it.
Step 4: Note the passing lamp bar width and bolt pattern
The passing lamp bar sits ahead of the forks and often becomes the mount’s anchor. Measure its overall width, then the distance between its mounting bolts horizontally and vertically, and sketch the bolt pattern. Kits key off the exact 2-bolt, 4-bolt, or offset layout, so a rough guess here means a second order.
Step 5: Confirm the turn signal relocation position
A fairing usually forces the front signals to move. Decide where they land: the passing lamp bar, the fairing’s own brackets, or dedicated tabs. Measure the gap so the lenses clear both the fairing body and the bars at full lock. Turn signal relocation is the step most riders skip, and the one that produces rattles and rub marks later.
Step 6: Check fairing depth clearance
Measure from the fork tubes back to the fuel tank, the handlebars, and the headlight bucket. Subtract the fairing’s mounting depth to get your clearance and leave at least 25 mm of air gap at full steering lock. Trace the cable and wiring routing too, so nothing pinches.
Step 7: Match every number to the kit specification
Compare your notes against the mount kit spec sheet. This chart shows baseline front-end figures for the V Star family; the 650 and 1100 are the 2002 models, and the 1300 joined the line in 2007:
Use this table to translate your own readings into a spec:
| Your measurement | Where to read it | Match it to |
|---|---|---|
| Fork tube OD | Caliper at upper tube | Mount fork clamp diameter |
| Fork tube spacing | Center-to-center of tubes | Clamp spacing / bracket width |
| Passing lamp bar width | End to end of the bar | Mount anchor width |
| Passing lamp bar bolt pattern | Horizontal + vertical bolt distances | Kit hole layout |
| Turn signal relocation point | Gap on bar or fairing tabs | Supplied relocation brackets |
| Fairing depth clearance | Fork tube to tank and bars | Minimum 25 mm air gap |
Step 8: Order with confidence
Once your numbers line up with a spec, order the kit that matches exactly rather than the one that is close. For a fairing built to pair with the right hardware, browse our custom Yamaha fairings for the V Star platform. Measure carefully the first time and the install fits into an afternoon.
Common Fitment Mistakes and How to Fix Them
Most failed installs on a 2002 V Star fairing project trace back to four oversights. Check each one before buying and the job gets simpler and cheaper.
- Ignoring the passing lamp bar width
- Assuming stock turn signals will clear the fairing
- Mismatching the fork clamp diameter
- Choosing a mount kit before measuring
Ignoring the passing lamp bar width. On a 2002 V Star, the bar sits almost exactly where many fairing shells want to sit. Skip measuring its outside width and its standoff from the fork tubes and you will order a shell that fouls the lamps or pinches your hands at full lock. Fix: measure the bar end to end and note the gap to the forks before choosing a fairing.
Assuming stock turn signals will clear the fairing. The V Star’s factory signals protrude farther than most riders expect, and full-size shells typically collide with them. Fix: plan for turn signal relocation from the start, whether to the handlebar, the triple tree, or a dedicated bracket, so the fairing mounts without contact.
Mismatching the fork clamp diameter. A mount kit is only as good as its clamp. A 39 mm clamp will not torque down safely on a 41 mm tube, so never assume the size. Fix: verify your actual fork tube diameter with calipers, then match it to the clamp size the kit specifies.
Choosing a mount kit before measuring. Buy the kit first and the fairing second and you reverse the process, which is how returns happen. Fix: measure the fork diameter, the bar width, and the signal position first, then pick the kit that matches. Compare options in our Yamaha V Star fairing collection.
Get the measurements right and most fitment problems never appear.
Frequently Asked Questions: Fairing and Mount Kit Fitment
Does a standard mount kit work with the stock passing lamp bar?
Yes, provided the kit is spec’d for the OEM bar. On the 2002 V Star, most mount kits index off the factory passing lamp bar and its mounting bolts rather than the fork tubes. Kits drilled for the stock bar’s roughly 4.5- to 5-inch bolt spacing bolt straight into the existing holes, so the bar stays put. Fit an aftermarket bar with wider or narrower spacing and the bracket spacing has to match it, or the holes will not line up.
Do the turn signals have to be relocated?
In most cases, yes. The stock front signals sit on the passing lamp bar exactly where the fairing’s inner mounting plate lands, so relocation is usually required. There are two common options: move the signals to the fork legs with a fork-clamp kit, or to a dedicated bracket on the fairing’s lower edge. Fork mounting keeps the wider stock spacing and is the cleaner choice for DOT-visible lighting.
How do I tell which mount kit fits my specific bar configuration?
Measure three things first: the center-to-center bolt spacing of the bar, its tube diameter, and the offset from the steering neck out to the bar. Compare those to the kit’s spec sheet. Kits are grouped by bar type, not just model year, so a 2002 V Star kit built for a Silverado bar will not bolt to a Classic bar without an adapter. If you are unsure, photograph the bar with a tape measure across the bolt holes and check it against a Yamaha fairing fitment guide.
Are aftermarket and OEM setups different?
Yes, and that difference shapes your parts list. OEM Yamaha fairing hardware uses the factory bar and its welded mounts, so fitment is fixed and predictable. Aftermarket kits use a universal bracket that clamps the bar or fork, which adds adjustment range but leaves the geometry to you. They reuse the OEM signal mount only if the bracket has a matching tab; otherwise the relocation hardware is sold separately.
Can I install the kit without removing the passing lamp bar?
Usually yes. On the 2002 V Star, the mount goes on with the bar in place: loosen the bar bolts, slide the bracket behind the bar, and re-torque to spec, typically 12 to 16 ft-lb. You only need to remove the bar when the bracket is a wrap-around design that fully traps the tube, in which case the lamp wiring has to come off first.