
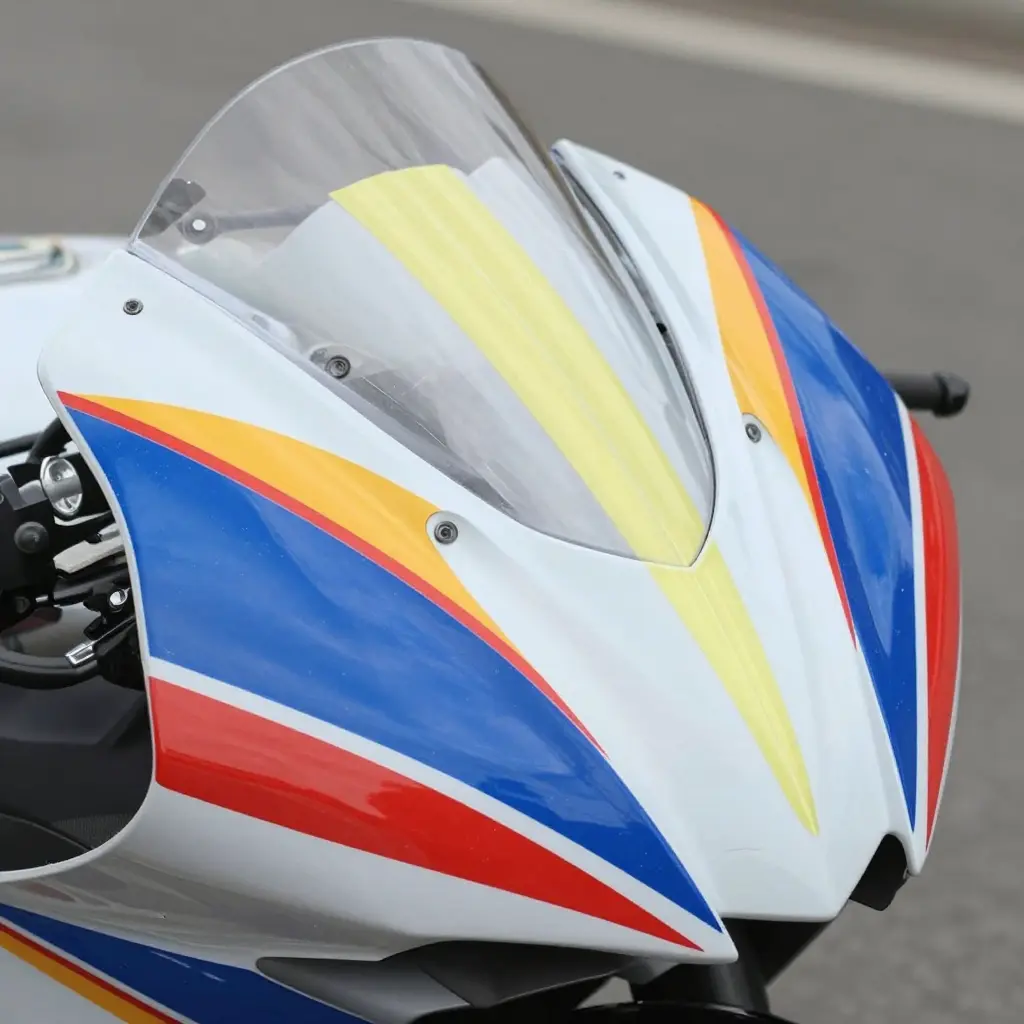
Pinstriping Fundamentals on Motorcycle Fairings
A pinstripe is a narrow line applied along a fairing panel edge or a body line. On a motorcycle fairing, these thin accent lines follow the shapes molded into the plastic, tracing the leading edge of a nose cowl, the sweep of a side panel, or the crease that separates two colors. On custom fairings, pinstriping is often the step that pulls a whole paint job together.
A pinstripe can be a single line or a group of two, three, or more. When a group is used, each line runs alongside the others at a set distance. That measured distance is the parallel offset.
The word parallel has one precise meaning here: a constant gap between two or more lines along their full length. If the gap is 6 mm at the start and 6 mm at the end, the lines are parallel. If the gap widens or narrows, they are not.
Staying parallel is straightforward on a flat surface. It becomes harder on a curved fairing, because the panel bends away in more than one direction. A strip of tape laid straight across a curved surface will still drift, so the installer has to account for curvature continuously. To see how fairing panels are built and why their contours matter, read this guide to what motorcycle fairings are.
Two factors decide the outcome: the width of the tape you use, and the curvature of the panel it sits on. Narrow tape bends more easily around tight radii, while wide tape resists and lifts at the curve.
Matching tape width to panel curvature keeps every line true and the offset constant from end to end.
Choosing the right pinstriping tape width means weighing your design against the curvature of the panel underneath it. The table below pairs common tape widths with the fairing work they suit, the surfaces they hold best on, a spacing that keeps parallel lines reading evenly, and how likely the lines are to drift apart on a curved panel.
| Tape Width (mm) | Typical Use on Fairings | Best-Fit Surface | Recommended Line Spacing | Risk of Line Divergence |
|---|---|---|---|---|
| 3 mm | Fine accent lines near edges | Flat or gently curved | 4-6 mm | High on tight curves |
| 6 mm | Crisp single stripes | Gently curved panels | 8-10 mm | Moderate on compound curves |
| 10 mm | Bold single stripes, borders | Mildly curved surfaces | 12-15 mm | Moderate |
| 12 mm | Dual-tone borders, wide accents | Broad flat panels | 15-20 mm | Low to moderate |
| 19 mm | Large graphic bands, block borders | Flat surfaces only | 22-30 mm | Low on flat, high on curves |
A rough rule: the narrower the tape and the tighter the curve, the shorter the distance your spacing stays parallel, so thin lines need a flatter landing spot or extra relief cuts. If you are planning a full respray or a fresh panel set to lay these lines onto, start from clean, quality custom motorcycle fairings before you ever peel the backing.
How Tape Width Drives Parallel Spacing
In motorcycle fairing pinstriping, the tape is both the mask and the reference edge. Because the second stripe is measured off the first, tape width sets how much error the panel will absorb before the two stripes stop reading as parallel.
A wider tape covers more of the fairing at once. On gentle sweeps it bridges shallow dips and crowns, so small imperfections in the panel do not show up along the stripe edge. On a tight radius it cannot follow the surface: it wrinkles and lifts, and the edge you were using as a reference is no longer straight.
Narrower tape behaves the opposite way. It wraps tight bends without wrinkling, which is why it holds up on complex panels, but it also follows every local bump and low spot. With little material to spread an error, a small misalignment at the start of a run becomes a visible drift by the end.
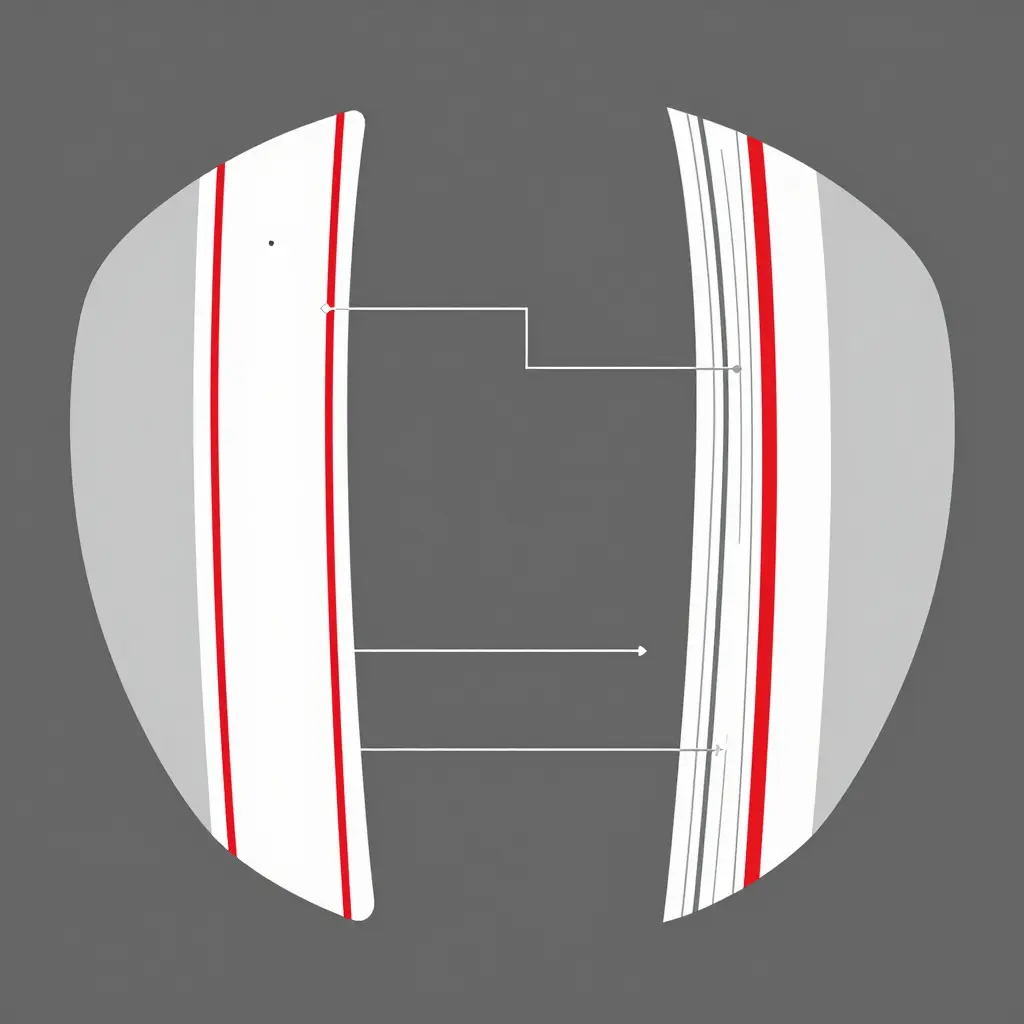
- Wide tape: bridges shallow dips on gentle curves, but wrinkles and lifts on tight radii.
- Narrow tape: hugs the contour and wraps tight bends, but carries every bump along and needs a guide line to stay true.
- In practice: match the width to the tightest radius in the run, then set the gap before laying the second stripe.
If you are building up aftermarket panels for a custom fairing project, test the tape on a curved offcut first. The width that stays parallel on the bench is the width that will stay parallel on the bike, and quality bodywork gives that stripe a cleaner surface to sit on.
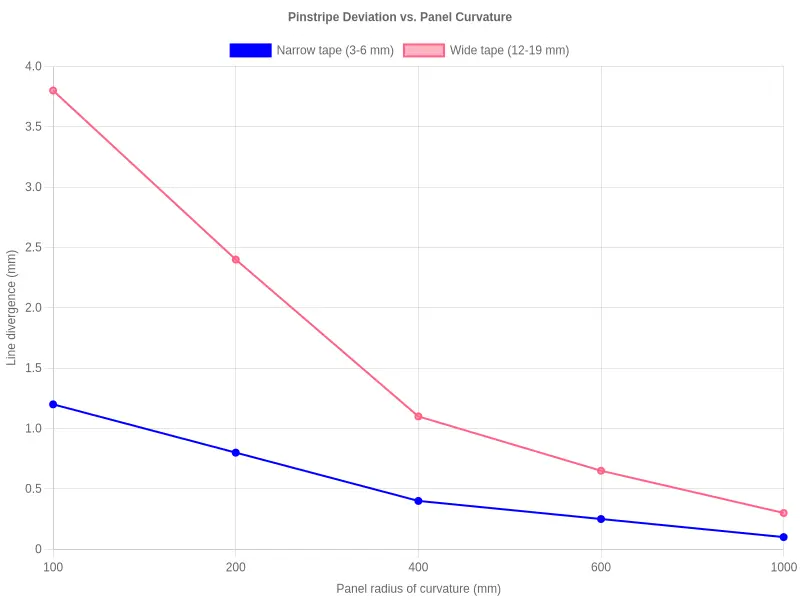
How Panel Curvature Affects Pinstripe Parallel Lines
Panel curvature is why a pinstripe job can look flawless on a flat bench and uneven once it lands on a fairing. A motorcycle fairing is almost never a flat sheet. Each shape rises and falls in three directions, and the tape follows the surface, not your plan. Knowing the different motorcycle fairing types and their benefits helps you predict where a panel will bend before you lay a single strip.
Convex peaks bulge outward. When tape crosses a rounded crown, it stretches across the top and pulls the spacing tight. The stripe above rides a longer path than the stripe below, so the two slowly pinch together.
Concave scoops do the opposite. Inside a recessed hollow, the tape has more surface to cover, so the gap opens wider than you intended. The stripe dips, drifts, and breaks the even rhythm.
A compound curve combines both directions at once, bending sideways and vertically. This is where most pinstripers lose control of spacing.
When curvature changes, the tape path has to bend. A straight line wants to stay straight, but the panel forces a curve. To keep the lines parallel, the inner line travels a shorter distance while the outer line covers a longer one. Hold the spacing constant and the outer stripe drifts away while the inner stripe crowds in.
The fix is to adjust spacing as you cross each change in panel curvature. Narrow the gap on the outside of a bend and widen it on the inside. Small, deliberate corrections keep the parallel lines reading true.
How Curvature Separates Parallel Lines
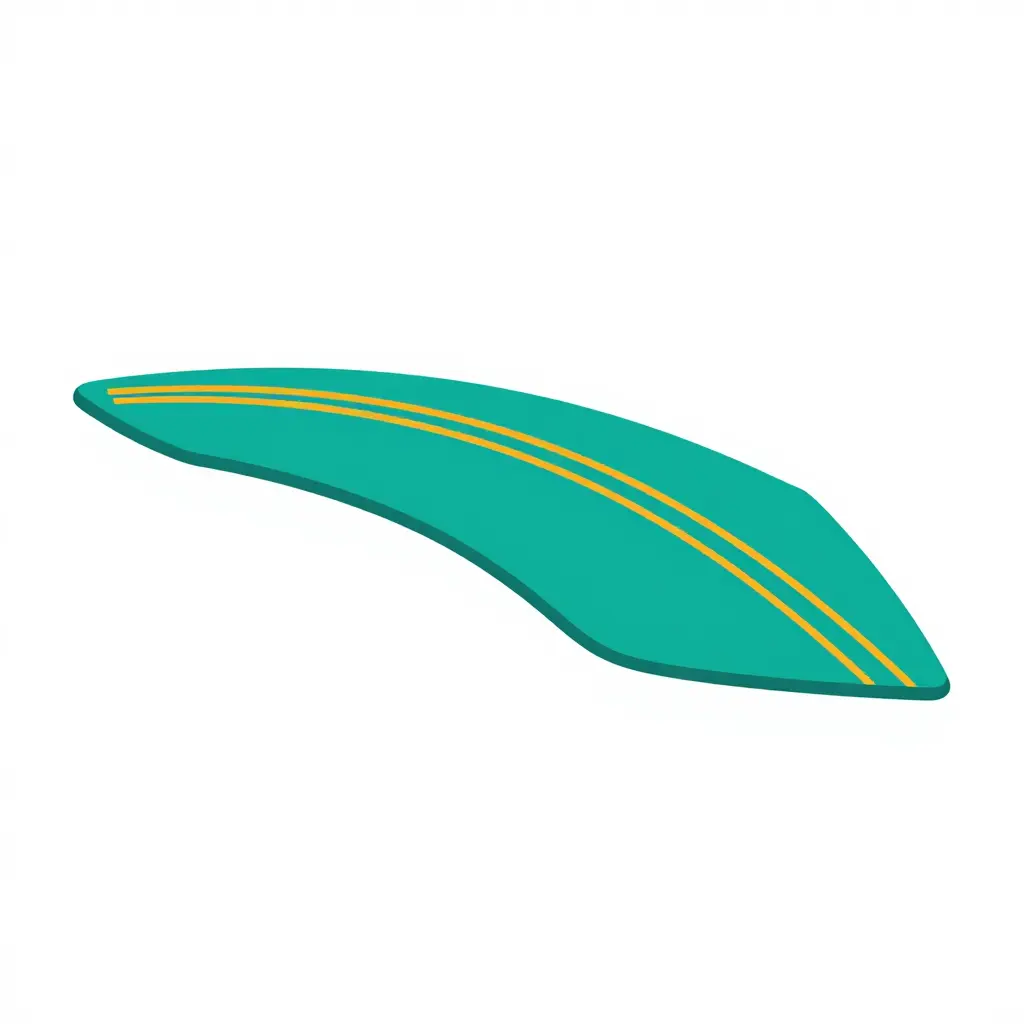
The sketch above reduces the problem to one curved surface and two straight-minded pinstripe lines. On the convex section, the surface bulges outward and the two lines peel apart. On the concave section, the surface scoops inward and the lines squeeze together.
That is the headache every striper eventually meets: you laid two perfectly parallel strips of tape on a flat table, and the moment they ride over a fairing they stop behaving. The panel decides the final spacing, not your steady hand.
Curvature governs the job. Pick your tape width with the tightest bend in mind, plan for the squeeze at the concave dip, and the finished lines will look deliberate instead of accidental.
Technique: Keeping Pinstripe Lines Parallel on Curved Fairings
Parallel lines on a curved surface are measured, not drawn freehand. This sequence keeps spacing even from the nose to the tail of any fairing.
Match tape width to curvature. Use narrow tape (1/16 to 1/8 inch) for tight bends because it flexes without wrinkling, and reserve wider tape for flatter sections where it holds a clean edge. On a heavily curved panel, thin tape lies flat and keeps the gap between lines constant.
Lay a reference guide line. Apply one continuous strip of masking tape along the intended center path. Every outside line is measured from this guide, so it has to look straight in appearance and hold a consistent height.
Mark spacing at equal intervals. With a divider or compass, tick equal marks along the guide line at identical distances. Even spacing is what makes the finished lines read as parallel when panel curvature changes the visual angle across the surface.
Stagger tape application around high-curvature points. Do not stretch one long strip around a bend. Apply short overlapping segments instead, pressing each one flat before moving on, so the tape follows the surface without lifting or rippling.
For a clean, well-fitted surface that accepts tape evenly, start with quality motorcycle fairing kits. Learn more in this guide to motorcycle fairing kits benefits.
Keeping pinstripes parallel has less to do with a steady hand than with matching your materials to the surface beneath them. The tips below cover the jobs that go wrong most often.
- Choose a tape width that matches the scale of your graphic rather than whatever roll is closest to hand, because an oversized tape on a small design forces awkward overlaps that wreck symmetry.
- Step down to a narrower tape width on tight radii and small features, since a slim line bends more smoothly and keeps both edges tracking true.
- Test your tape width on a scrap panel before you commit, because brands stretch at different rates and a two-minute trial saves a full re-stripe.
- Break long runs into shorter segments around sharp panel curvature, because tape cannot stretch infinitely without thinning and lifting at the edges.
- Warm the tape gently before laying it over aggressive panel curvature, as a little heat lets the adhesive flow and prevents the wrinkles that break parallel spacing.
- Give compound custom fairings the flexibility they demand by using a fine-line vinyl that follows complex curves, because rigid tapes buckle instead of conforming.
- Keep a few inexpensive spare panels from Summit Fairings’ affordable practice panels guide on hand, since rehearsing each pass on real plastic builds the muscle memory that keeps your finished lines even.
Good pinstriping on a motorcycle fairing rewards patience. Most failures come from three repeatable errors.
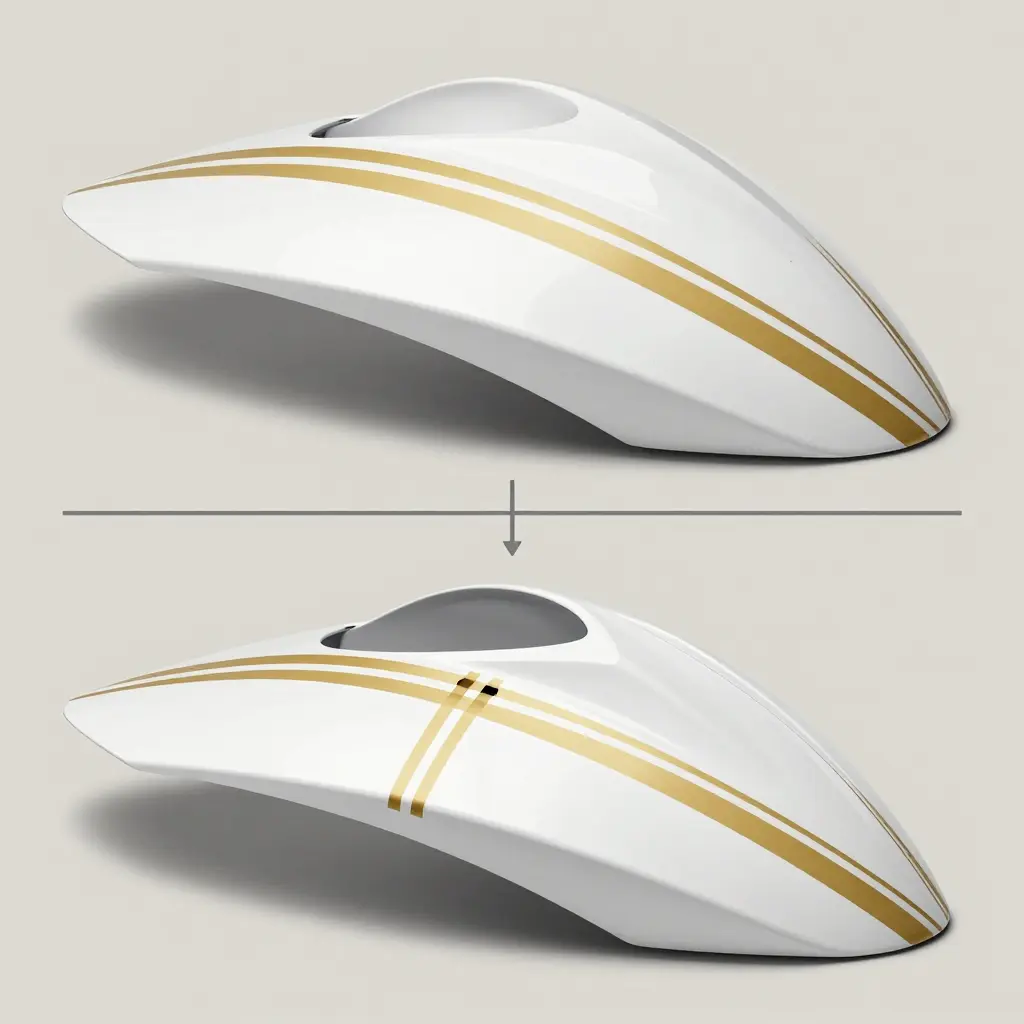
Uniform tape spacing on non-uniform curves. A fairing is not flat. Its radius changes from the nose to the tank. Keep one fixed gap and the tape drifts. On tight bends the gap narrows. On gentle sweeps it opens wide. Now your parallel lines are not parallel. They pinch and splay, and the eye catches that wobble from across the garage.
Over-stretching tape around a bend. Pulling tape tight feels safe. It is not. Stretched vinyl stores tension. Hours later the edge lifts or the strip snaps back, and the clean arc becomes a kinked line. Tape width controls this. Too wide, and the vinyl fights the bend. Too narrow, and it wanders off your guide curve.
Ignoring the fairing’s mold seam. Every molded motorcycle fairing has a seam. It runs where the panels join. Skip it and your baseline tilts, so both stripes ride uphill on one side. Follow the seam, and your layout stays true.
Clean lines come from matching tape width to curvature. If you want to see why that finish matters for resale and protection, read about the benefits of a properly finished motorcycle fairing.
Frequently Asked Questions About Motorcycle Fairing Pinstriping
Pinstriping a motorcycle fairing rewards patience and careful measurement more than artistic flair. The questions below explain how tape width and panel curvature decide whether your finished lines stay parallel.
How do I choose tape width for a curved panel?
Match the tape to how sharply the surface bends. Narrow tape around 1/8 inch conforms easily to tight curves without wrinkling, while wider tape of 1/4 inch or more suits gentle, sweeping arcs on larger fairings. Forcing wide tape around a tight radius causes the edges to lift and pulls your lines out of shape.
Does narrow tape always keep lines parallel?
No. Narrow tape does not automatically keep lines parallel, because its flexibility lets it wander when you guide it by eye. Parallelism depends on consistent spacing and a steady reference line rather than on tape width alone. Even a slim 1/8-inch strip drifts on a compound curve unless you first lay down a center guide.
How does panel curvature change the required spacing?
Panel curvature changes the required spacing because tape travels a slightly different path along the inner and outer edges of each stripe. On a convex surface the outer line covers more distance, so a gap that looks even when measured flat appears uneven once wrapped. To compensate, many stripers taper the gap slightly or re-measure at several points along the curve.
Are factory fairings easier to stripe than aftermarket ones?
Factory fairings are typically easier to stripe than aftermarket ones because their panels follow consistent, well-defined contours and clean seams. Aftermarket fairings vary more in thickness, primer texture, and curve radius, so tape often needs extra burnishing to sit flat. Even so, a carefully prepped custom motorcycle fairings panel can be striped just as cleanly with patience and the right materials.
What tape material works best for motorcycle fairing pinstriping?
Vinyl pinstriping tape is the standard choice for motorcycle fairing pinstriping because it flexes without tearing and holds a crisp edge on curves. Thin calendered vinyl outperforms thicker tapes on tight radii, which otherwise crack or lift. Always clean the panel and apply tape at room temperature for the best adhesion.
Closing Thoughts: The Geometry You Can’t Ignore
Tape width and panel curvature work as a single system, and together they decide whether your pinstripe lines stay parallel. Change one without accounting for the other, and your offsets drift, wobble, or pinch at the tightest bends. Match the tape to the panel’s contour and you get consistent offsets from the nose to the tail, no matter how aggressive the bodywork becomes.
That holds across every motorcycle fairing pinstriping job, from a single touch-up on a scuffed side panel to a full custom layout on a fresh set of fairings. The painters who work fast are not cutting corners; they are choosing materials that already agree with the shape of the part in front of them. Get the geometry right first, and the finish follows.
When it’s time to source panels worth striping, Summit Fairings is a reliable reference point. The company supplies motorcycle fairings across a huge range of makes and models, offers 10-40% savings versus other sites, and backs orders with a six-hour reply promise on questions. You can review the full range at Summit Fairings.